Geometry Nodes – make an object follow a curve
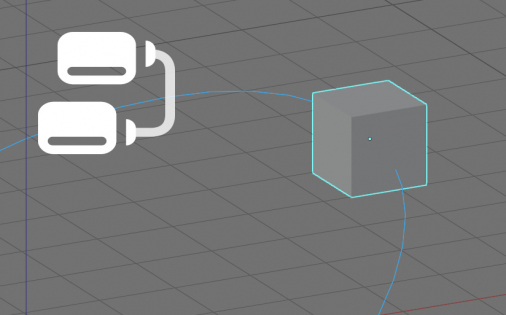
We can make a mesh move along a curve in Blender using Geometry Nodes. Let’s take a simple example of how to do this.
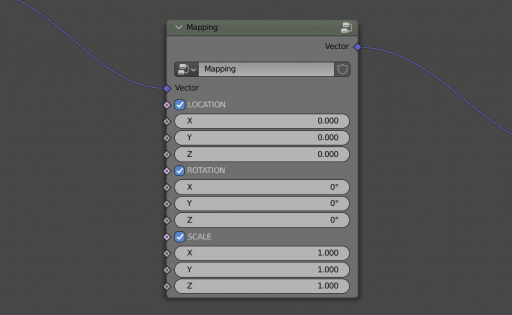
The Mapping node does not exist in Blender Geometry Nodes by default. However, we can build it ourselves.
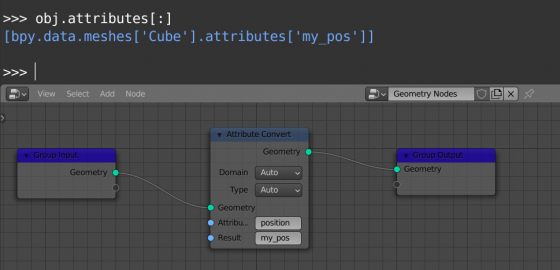
With Geometry Nodes in Blender is easy to create additional custom attributes for objects and transfer the necessary data to them. However, there is no direct access to such created attributes.
Accessing custom attributes created in Geometry NodesRead More »
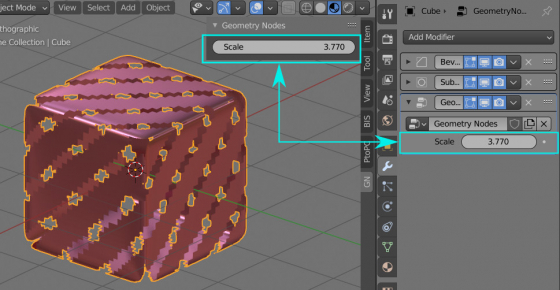
Input parameters from Blender Geometry Nodes are automatically placed on the “Geometry Nodes” modifier panel in the “Properties” window on the modifier tab. However, this tab is not always open, and it is not always convenient to switch to it to adjust values. For quick access to the input parameters of Geometry Nodes, we can duplicate them on the custom panel in the 3D Viewport window.
How to show parameters from Geometry Nodes inputs on a custom UI panelRead More »
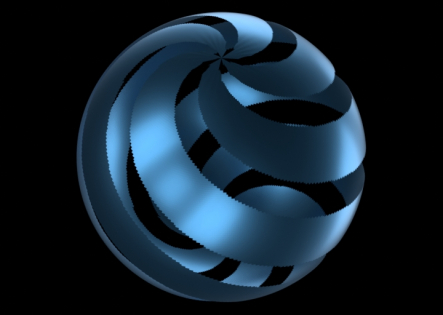
Geometry Nodes has a node that allows us to remove required vertices from a mesh. This is the “Delete Geometry” node.
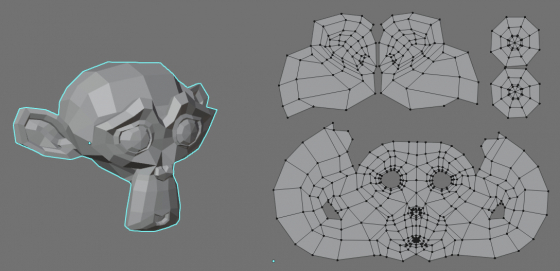
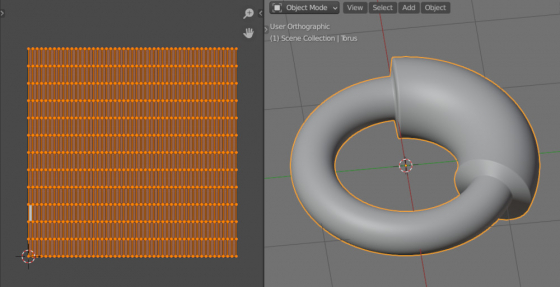
With the coordinates of the UV, we can manipulate not only materials but also the geometry of the mesh itself. We can connect the UV coordinates with the mesh geometry using “Geometry Nodes” in Blender.
Using UV coordinates for working with mesh geometryRead More »
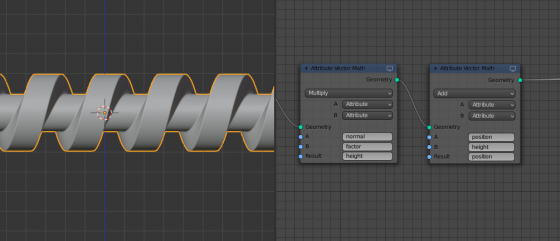
Let’s look at how we can use displacement with the “Geometry Nodes” in Blender.
First, add a cylinder (with the 0.1 diameters, without upper and lower closing polygons) to the scene: shift+a – Mesh – Cylinder.
Switch to edit mode (tab) and add edges to make the uniform grid: ctrl+r – 100 – Enter.