2.77

Creating panels for placing Blender add-ons user interface (UI)

One of the essential conditions of comfortable work is the convenience and speed of accessing add-ons functional. It is not enough to write an add-on and register it in Blender API system. Be sure to give the easy call add-on functions ability to the user. So, any add-on should determine a place to put interface buttons that provide access to its functionality.

This tutorial is for Blender 2.79 and older. For the last Blender versions, please see this tutorial.

All available Blender user interface located on panels. Three panels are the most used: T-bar – opens/hides by pressing the t keyboard button, N-bar – opens/hides by pressing the n button, and the Properties panel – called in the main menu of any window, typed it as Properties.

Blender API allows defining users panels to place add-on functional buttons on any of these three main panels.

Creating Blender add-on

Blender scripting system provides lots of opportunities to simplify and accelerate the workflow, allowing to outsource routine operations to the system and expanding work opportunities through access to the scripting language. However, writing a good script which can be used frequently in various projects, uncomfortable each time to reconnect it to each new project. In addition, this script can be improved with some windows and editable parameters fields. Making complete add-on from the script, you can expand it with additional functionality and connect to the Blender add-ons system.

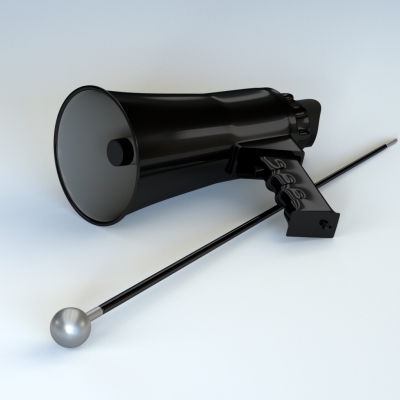
User-created Blender add-on

Installing add-ons to Blender

From a certain time to improve work speed and convenience it is necessary to have some functionality that does not exist in the base Blender. To improve its capabilities Blender community users wrote a lot of extras – add-ons. The required add-ons can be purchased or free downloaded from specialized Internet sites. After receiving the necessary add-on, it needs to make a few steps to install it to the Blender program.

For example, let’s install to the Blender add-on allowing to make wireframe render by pressing a certain key combination.

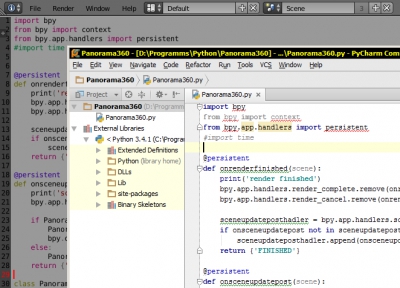
Using external IDE PyCharm for writing Blender scripts

Blender has an internal text editor to write scripts on Python language. However, this editor is much inferior to specially designed for writing code IDEs. There is no satisfactory autocomplete, comfortable syntax lighting, possibility to organize projects in Blender internal text editor – all those things that determine the speed and ease of code writing. However, it is not difficult to connect and use an external IDE for writing Blender scripts.

External IDE for scripting in Blender

Creating screws

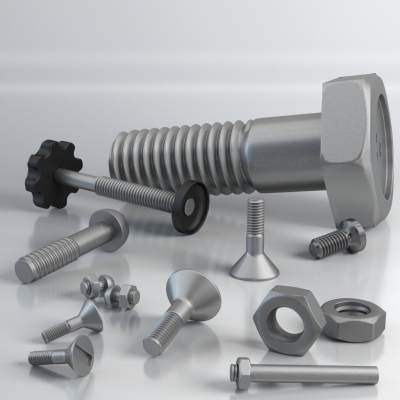
To create screws in Blender the easiest way is to use plugin, like Bolt Factory, which comes in standart complectation. But the plugin features are not always enough, and the result of using Subdivision Surface modifier on the screw created by plugin is not very beautiful. However, it is not difficult to create screw manually.

Screws
Screws

Lets create high poly screw suitable to render in any major plans.

Filling volume with items

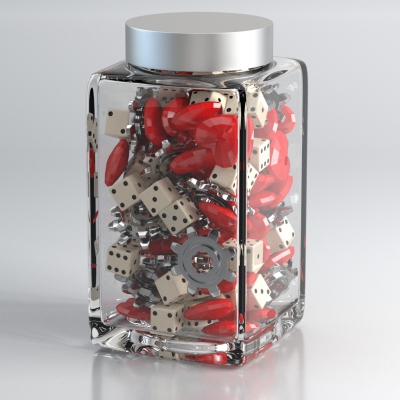
Some times during the modelling process the problem of filling some volume with number of items occurs. For example it may be a jar with coffee grains, sugar bowl with pieces of sugar, bag of jewels, box with screws and nuts, a bowl of candy, and many others.

Jar filled with items

All this can be made manually. Creating some copys of items and filling voulume with arranging them in a random order. However this approach much time and efforts to control that the items do not overlap with each other and with the walls of the filled object. To simplify our work we can use the Rigid Body tool – solid-state simulation in Blender.

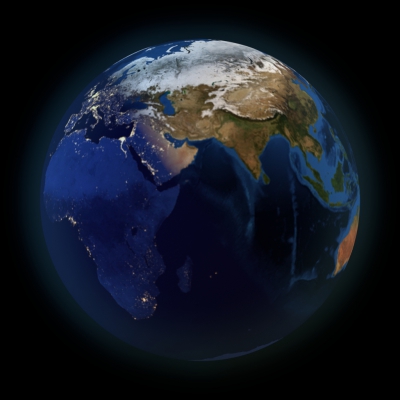
Planet sides separation by “day” and “night”

Each planet in “from space” view has two sides: “day” – illuminated by Sun, and the opposite – “night”, with no Sun lighting.

Earth sides separation by "day" and "night"
Earth sides separation by “day” and “night”

While modeling a scene with planet, it is not difficult to achieve this effect by lighting setup. Leave only one lighting source in scene and place it in the right place. However, the result is not so good as real space photographs. To achieve a greater similarity, the proper texture with a darkened face and bright lights – night lights of big cities, mast be mapped to the “night” side of modelling planet.