Tips

Hiding node groups from menu and search results

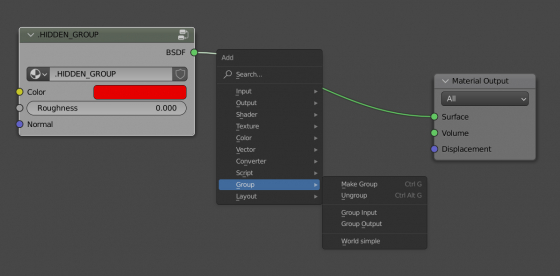
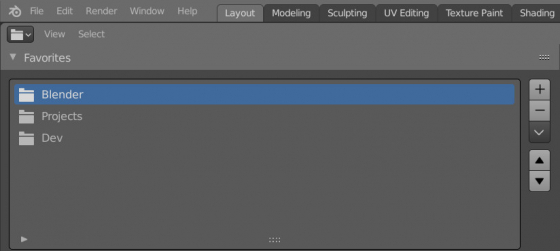
When we create complex shaders in Blender, consisting of a large number of node groups, the menu for adding new nodes to the material gets clogged up very quickly. In a long list of node groups, it becomes difficult to find the one we need, and even a search does not always save the day. The list of node groups in the menu can be reduced by hiding unnecessary node group names from it.

How to show parameters ​​from Geometry Nodes inputs on a custom UI panel

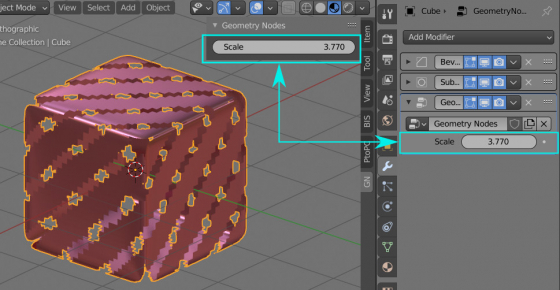
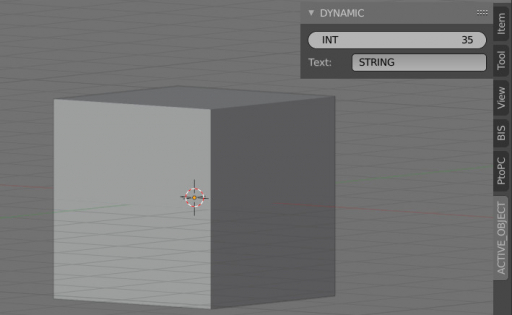
Input parameters from Blender Geometry Nodes are automatically placed on the “Geometry Nodes” modifier panel in the “Properties” window on the modifier tab. However, this tab is not always open, and it is not always convenient to switch to it to adjust values. For quick access to the input parameters of Geometry Nodes, we can duplicate them on the custom panel in the 3D Viewport window.

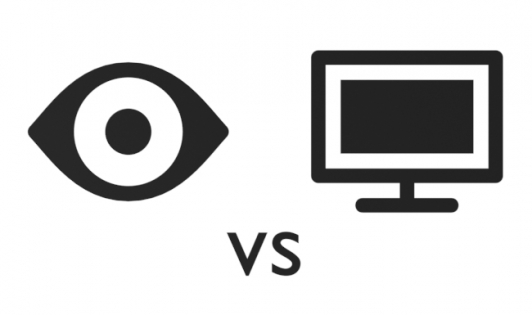
Difference between the “eye” and the “monitor” icons when hiding objects

To hide objects in the 3D Viewport window, we can click the “eye” icon in the outliner near the desired object name (press the “H” shortcode), or we can click the icon with the “monitor” image. In both cases, the object will be hidden.

So, what’s the difference between these two variants?

It is very simple:

Clicking on the “eye” icon hides objects only in the currently active scene of the blend file.

Pressing the icon with the “monitor” hides objects in all scenes of the blend file at once.

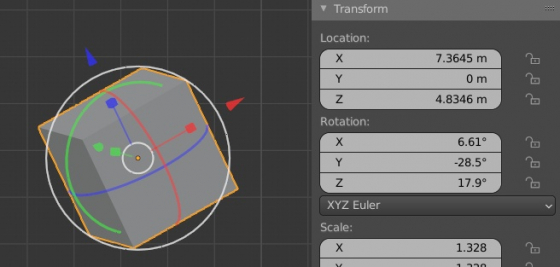
How to apply transformations to a mesh with the Blender Python API

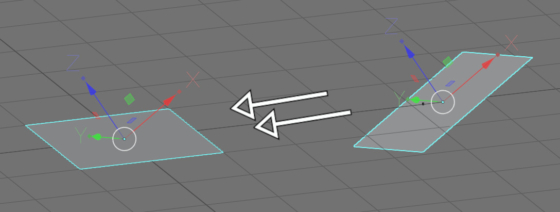
To apply all transformations to an object, all its vertices must be multiplied by its global matrix, the matrix itself must be made identity.

To apply all transformations to the active mesh, we need to execute the following: