Blender add-on: Focal lock for Blender 2.79
Focal lock for Blender 2.79 – a fork of the original “Focal lock” add-on to work with Blender 2.79.
Focal lock for Blender 2.79 – a fork of the original “Focal lock” add-on to work with Blender 2.79.
Switching the selection mode between vertices, edges, and polygons in mesh edit mode is mapped by default to pressing the 1, 2, and 3 keycodes on the keyboard. However, if it is more comfortable to use these hotkeys for other functions, we can change this mapping.
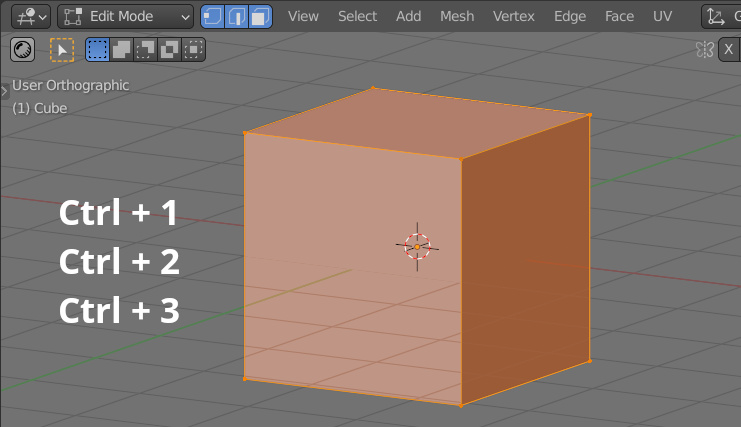
How to change the hotkey for switching selection mode between vertex-edge-faceRead More »
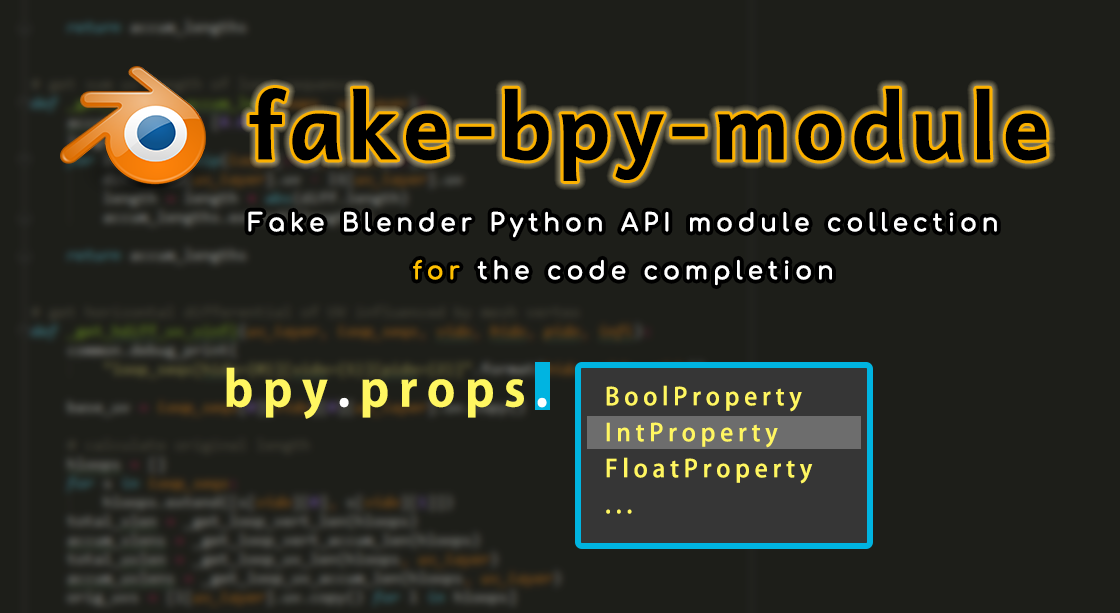
Blender Python API autocomplete modules by Nutti update – added branch for Blender 2.81a.
Last release: 2020.01.11.
Author GitHub: https://github.com/nutti/fake-bpy-module
Only files (without pip installation) https://github.com/Korchy/blender_autocomplete
In Blender 2.80 and 2.81, the button for blocking mesh transformations (Manipulate center points) has been moved to the N-panel, the “Tool” tab (Options – Transform – Affect only – Locations) and changed to the checkbox.

By Andrew M.
“Many letters about the simple”
I need a frame. No, two frames: one larger, the other smaller, but made from one profile. I drew a rectangle, set the desired dimensions, duplicated, set other sizes. I drew a separate profile. For a section to both rectangles I applied this profile. … why did I get different frames? And none matches the size of the profile? Ah, I forgot to apply the scale. Applied. The dimensions of the cross-section changed, became different, but again not equal to the profile. How to make them equal – read below!
Solving the problem of the discrepancy between the size of the track section and the profile applied to it
This problem occurs when the path for profiling is constructed in any way but then scaled to the desired size. In this case, it does not matter if its scale is 1 or not. If we apply the profile we need to it, then it will be different in size from the set … Why? We will see now.
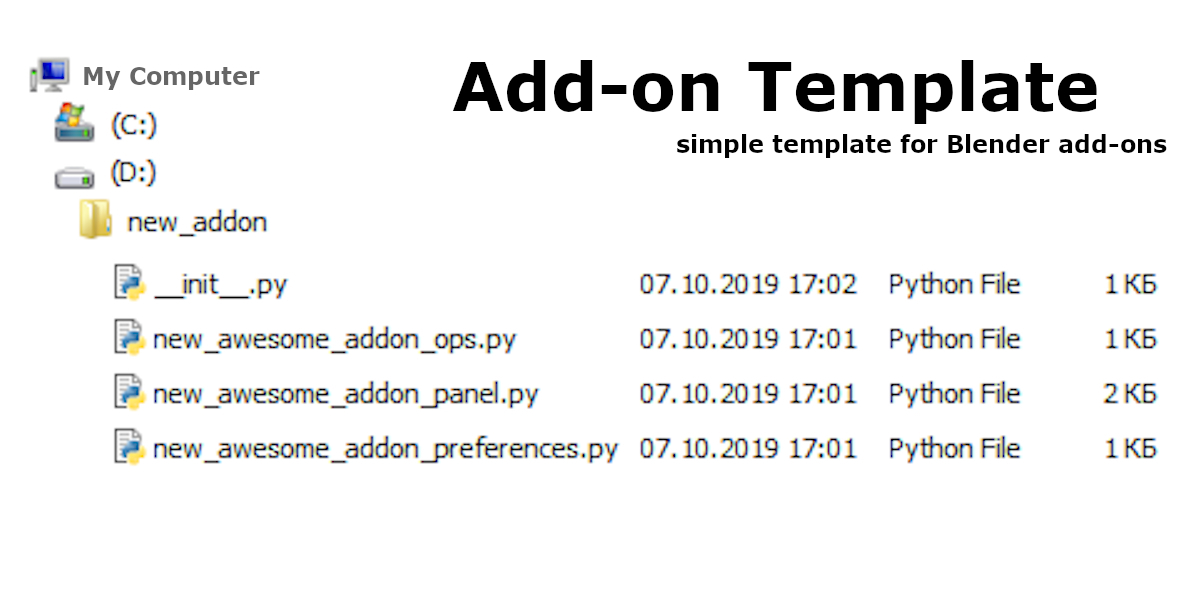
Blender 3D add-on template generator
This script generates the initial template for the Blender add-ons development.
2.79: selecting with the right mouse button
2.80: left-click selection
2.79: called by pressing the “t” key
2.80: it’s gone, functions moved to the main menu and to the context right-click menu
2.79: “a” – select all and deselect all
2.80: “a” – select all, “a – a” or “alt+a” – deselect all
15 changes that you need to know when migrating from Blender 2.79 to Blender 2.80Read More »
Code autocomplete greatly simplifies writing scripts or developing add-ons for Blender. One of the best autocomplete modules for today is developed by Nutti. Last updated 20190718.
The project is hosted on the author’s GitHub: https://github.com/nutti/fake-bpy-module
The modules are distributed via pip or as a pre-generated-modules. Author also provides a module generator with which you can assemble autocomplete modules yourself.
With the Blender popularity growing, the number of add-ons created for it by third-party developers is growing too. A lot of high-quality professional add-ons are written for Blender now. Over time, the number of add-ons is becoming more and more. And on this wave aggregators appeared – programs and services independently searching for add-ons and allowing Blender users to install add-ons quickly, many at once, and bypassing add-on distribution channels selected by their authors. What caused a negative reaction of add-on developers.
How to protect your add-on from downloading through aggregatorsRead More »
Nutti, the author of the “fake-bpy-modules” project, has made the installation of the Blender Python API autocomplete modules through the pip platform. Pip installation is faster and easier, but sometimes we just need to copy the autocomplete modules to our project but now they are not included in the Nutti’s GitHub.
Copies of the autocomplete modules for Blender versions 2.79 and 2.80 can be downloaded directly from here: https://github.com/Korchy/blender_autocomplete
 Get on Gumroad
 Get on Patreon
 Get on GitHub
 Buy on Mechanica
 Buy on Blender Market