Fast connection of nodes
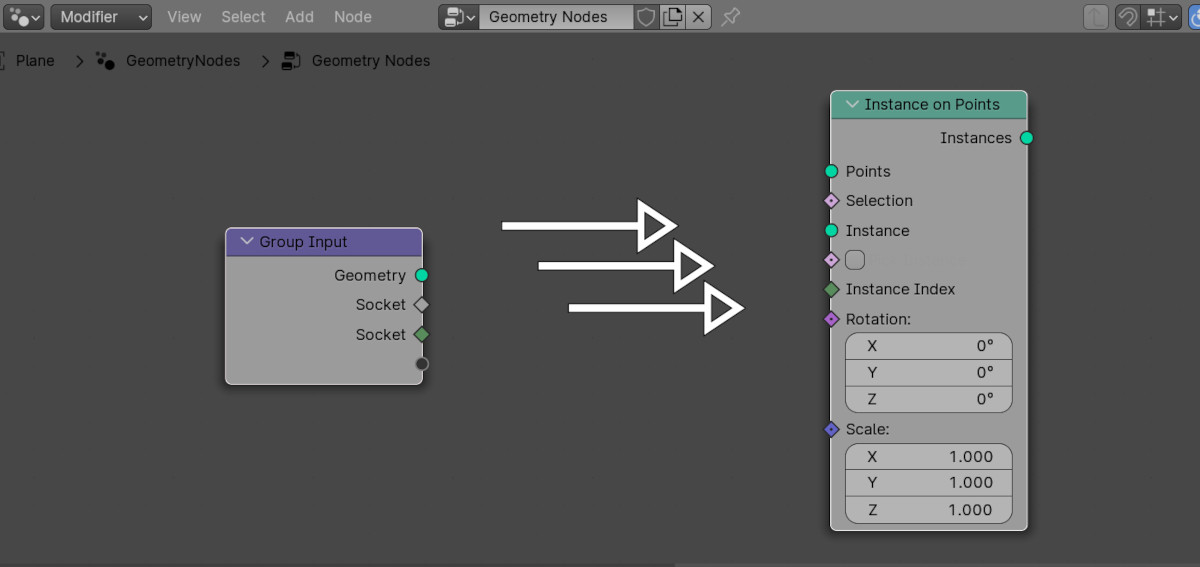
Usually we create links between two nodes by left-clicking the desired socket on the first node and drag-and-drop the link to the desired socket on the second node. This is not always convenient, especially if the nodes are located far from each other. However, in Blender it is possible to quickly connect two nodes with links based on the socket type, simply by pressing the “f” key.
 .blend file on Patreon
