Blender

Rotating texture by nodes

In order to achieve the desired texture mapping on the object surface, we need a convenient tool for manipulating the texture coordinates. Especially for procedural textures mapped to the object without using UV-s.

The “Mapping” node combines tools for texture moving, rotating and scaling is suitable for most of the texturing tasks. But sometimes its power is not enough. Its major drawback is that it allows setting adjustment values only in certain fields within the node body. These fields have no inputs and cannot be connected to the other nodes.

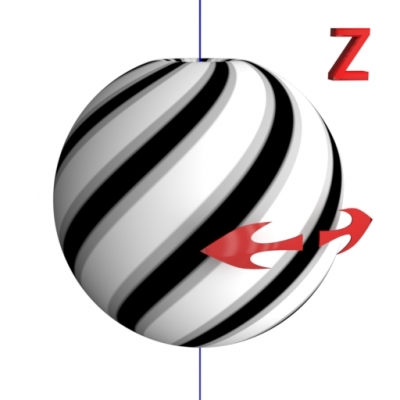
However, we can implement the required functionality devoid of the “Mapping” node lack with the help of some other nodes. Let’s consider how to build a node tree to rotate the texture around the Z-axis of the object by a random value.
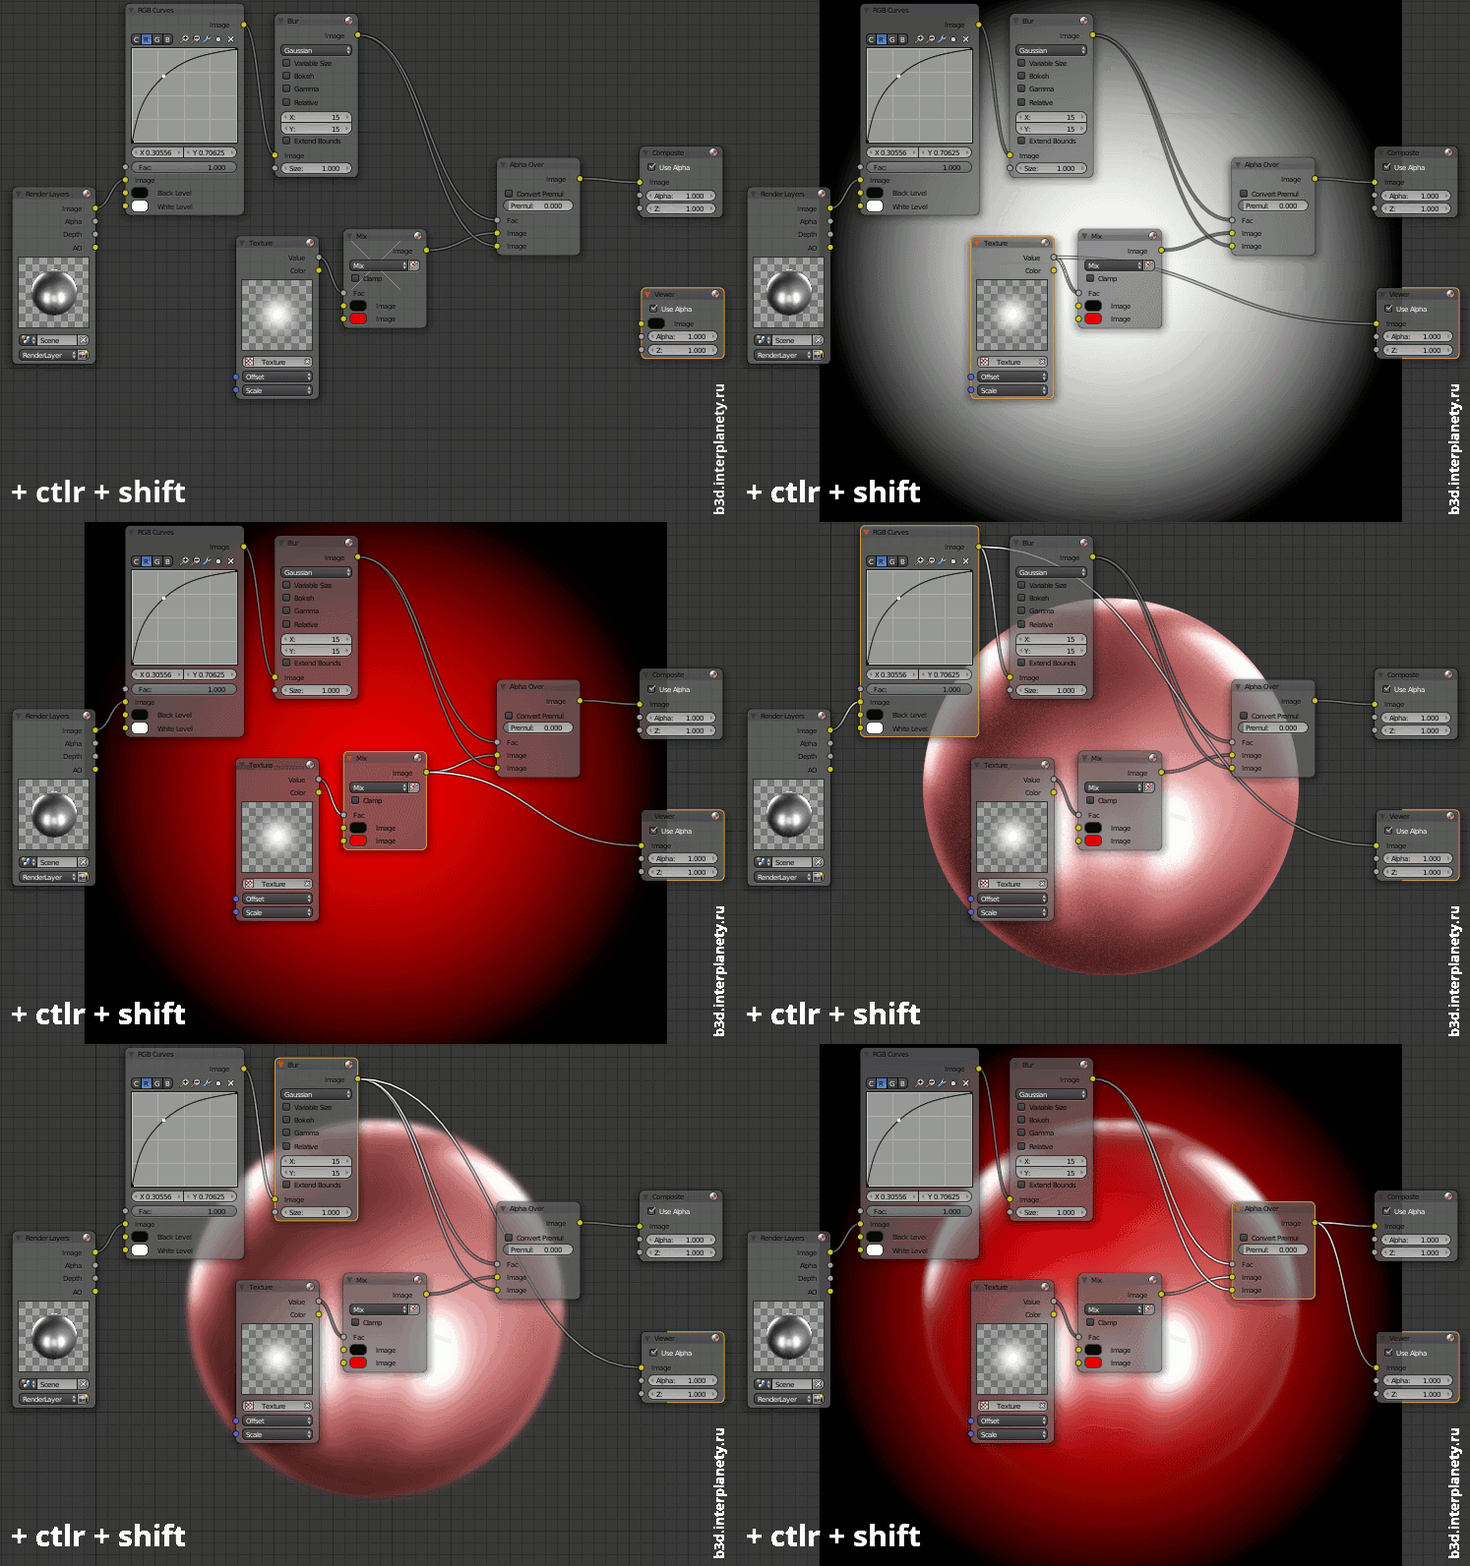
Fast intermediate nodes view in compositing

Creating a node tree in the compositing window, sometimes it is necessary to see the intermediate result given by some parts of the node tree. For fast viewing click left mouse button on the desired node with the “ctrl” and “shift” keys pressed. Blender adds a new View node (or uses one of the existing) and connects the output of the selected node to it. The result is displayed on the backdrop (if the corresponding checkbox checked) or in the UV/Image Editor window in “Viewer Node” mode.

If the clicked node has several outputs, each subsequent click on that node switches the view to its next output.

Creating pop-up panels with user UI in Blender add-on

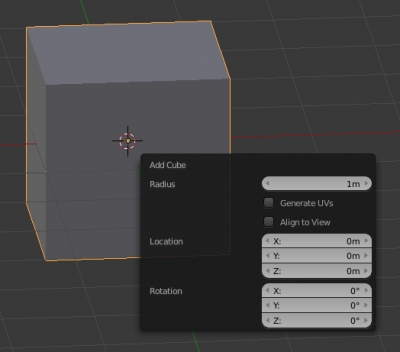
In addition to common panels (N/T/Properties) and their sub-panels, to display the user interface elements while developing Blender add-ons you can also use pop-up panels appearing on the screen when a user presses a certain key combination or perform any action. The simplest example of such panels is the panel that appears when the f6 key is pressed immediately after adding an object (shift+a) to the scene.

Blender API provides developers the ability to create such panels for their add-ons. Let’s consider the creating of a pop-up panel as an example of the “Message box” window.

Modeling with curves: wires and pipes

Creating thin long objects like pipes and wires is the often task in the interior, scientific of fantastic scenes. One of the easiest and most convenient ways to create such objects is using curves.

The main curves advantage is the easiest control and editing: any time you can change the shape of the curve, move its points, add new and delete unnecessary ones. You do not have to work with a lot of mesh points, but only with several points of the curve, which is much more convenient. Preprocessing for rendering scene with curves is also performed faster than with meshes.