One of the distinguishing Blender features is that many things can be performed in various ways, choosing the most convenient and fastest for your taste. For example, a screw can be created not only by drawing the profile of its teeth. Let’s try an alternative way:

- Add a plane to the scene:
- shift+a – Mesh – Plane
- Switch to the edit mode:
- tab
- Select two vertexes

- Delete them, leaving the single edge.
- del – Vertices
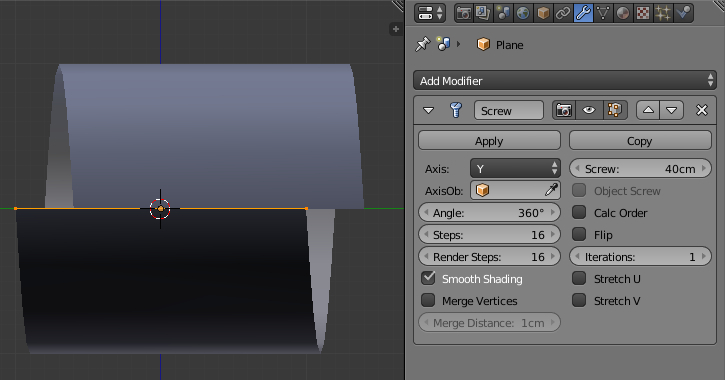
- In the Properties window in the Modifiers tab add the Screw modifier
- Add modifier – Screw
- Axis – Y
- Screw = 0.4 – this value sets the screw course
- Add modifier – Screw
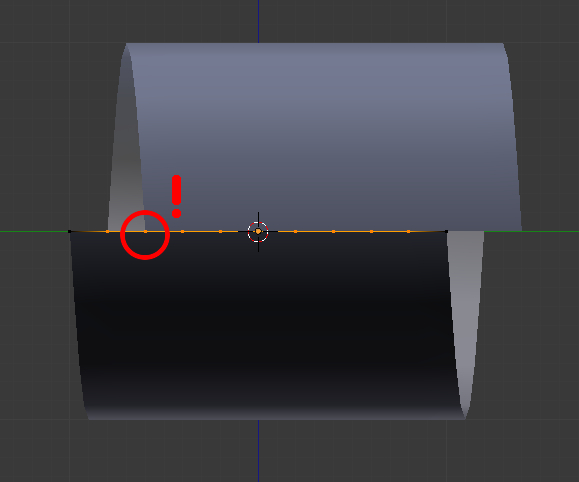
- Subdivide the edge into 10 parts. Set the number of subdivisions so that one of the subdivision points fit with the extreme point of the edge.
- ctrl+r – 9 – enter
- Switch to the object mode
- tab
- Apply the Screw modifier
- Apply in the modifier panel
- Switch to the edit mode
- tab
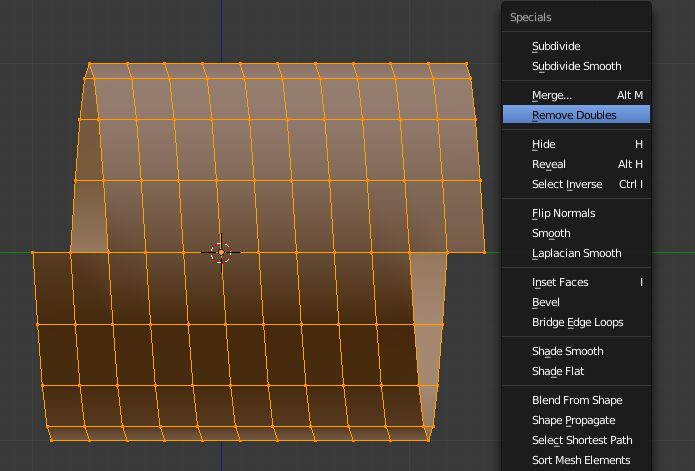
- Select all vertexes
- a
- Merge fitted points
- w – Remove Doubles
- Correct normals
- ctrl+n
- Switch to the “edge select” mode. Select the whole loop by clicking on the edge with the “alt” key pressed.
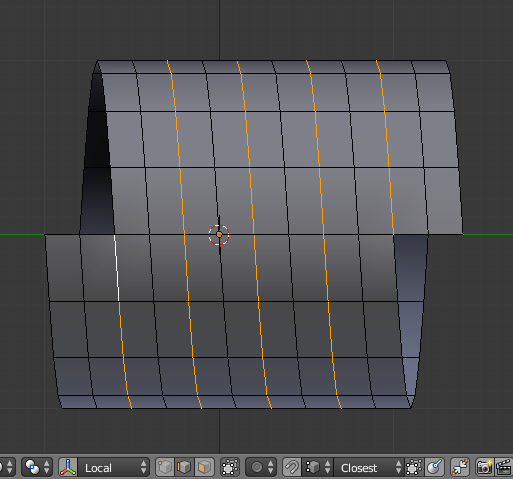
- Form the base of the tooth
- ctrt+b – mouse move
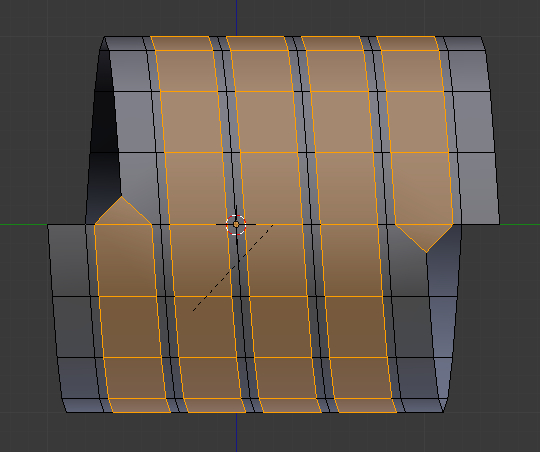
- Form the height of the tooth
- e – Esc – alt+s – mouse move
- Form the edge of the tooth
- alt+s – mouse move

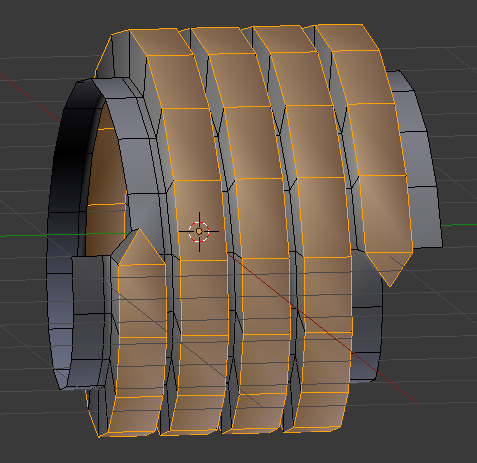
- Add a few additional loops (highlighted) to form rigid chamfers. Separately create each loop.
- ctrl+r – slide the created loop closer to the edge
- Switch to the object mode
- tab
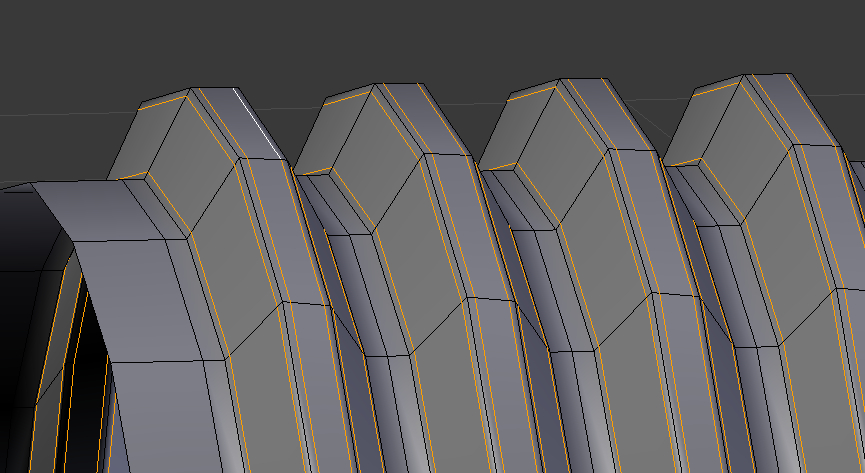
- In the Properties window in the Modifiers tab add the Subdivision Surface modifier. In the N-panel on the Smooth mapping.

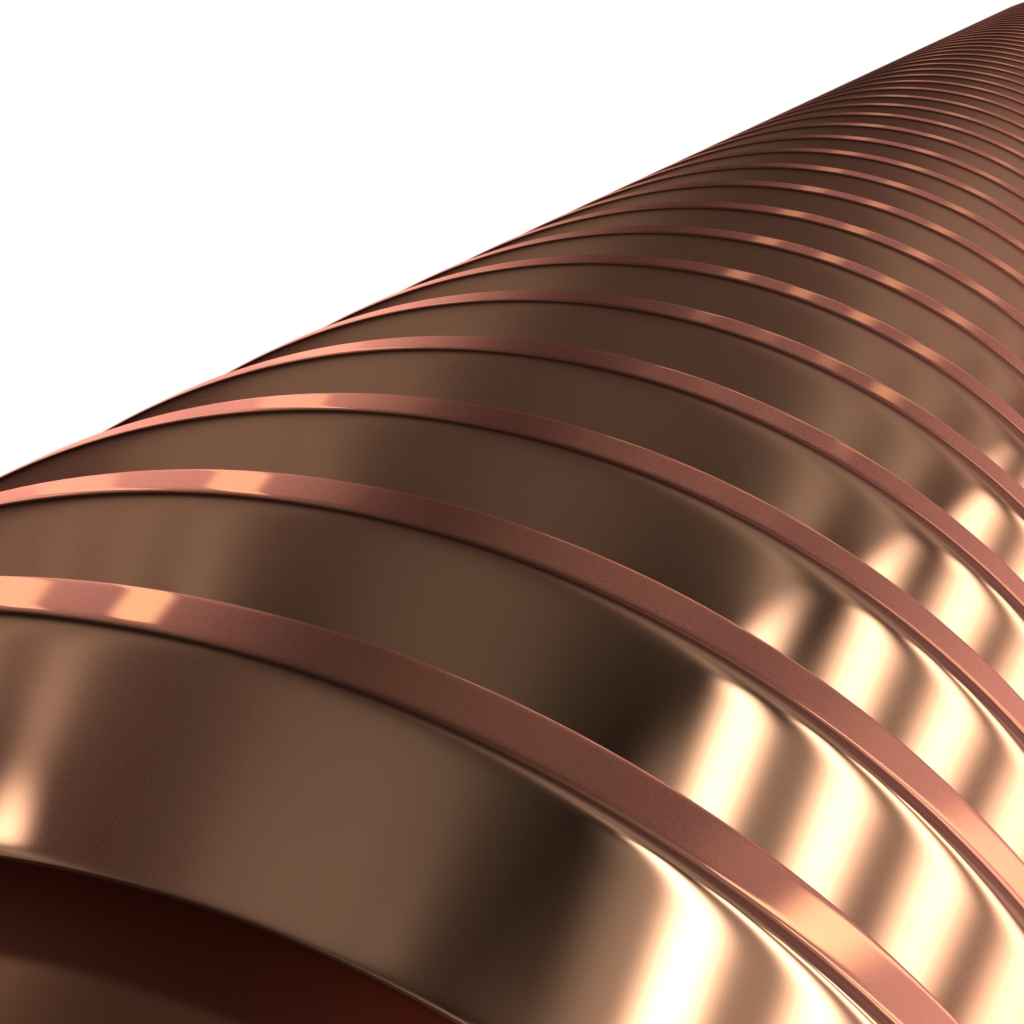
The screw fragment is ready. To obtain a larger number of turns, change the initial dimensions of the plane and the number of subdivisions of the edge.