Creating a model of dice. The model creates only “by geometry” and may be useful in any major plan renders.
Creation process:
First, we will create single side of a dice with markings for the location of ist dots.
- Create a circle. This will be the place for central dot on the single side of our dice.
- shift+a – Mesh – Circle
- Vertices = 8
- shift+a – Mesh – Circle
- Enter Edit mode (tab) and reproduce it by 9 dots of dice side:
- shift + d – x – 3 – enter
- shift + d – x – -6 – enter
- a – a
- shift + d – y – 3 – enter
- shift + d – y – -6 – enter
- Create edges of singse side of the dice:
- shift + a – Circle
- Vertices = 4
- r – 45 – enter
- s – 7 – enter
- shift + a – Circle
- For correct filling the space between dice edges and its dots divide side edges to the required number of parts:
- w – Subdivide
- Number of Cuts = 9
- w – Subdivide
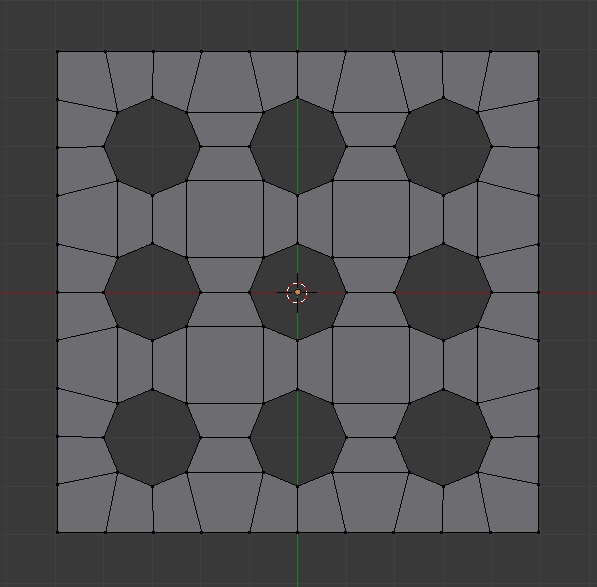
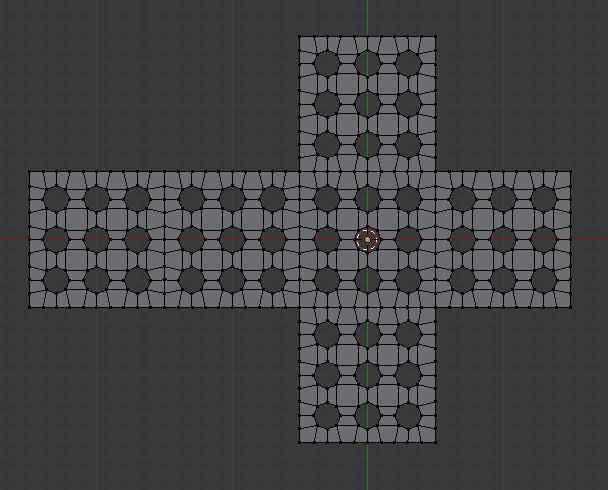
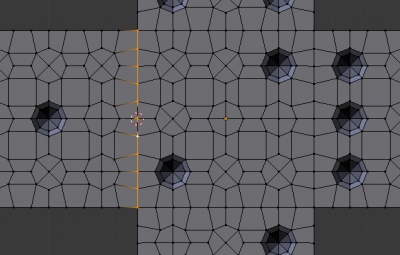
- Then fill in the area between dice dots end its side edges with polygons. Select the desired vertices and fill them with polygon (f). If some polygons creates with reverse normals – correct their normals direction:
- a – a – ctrl + n
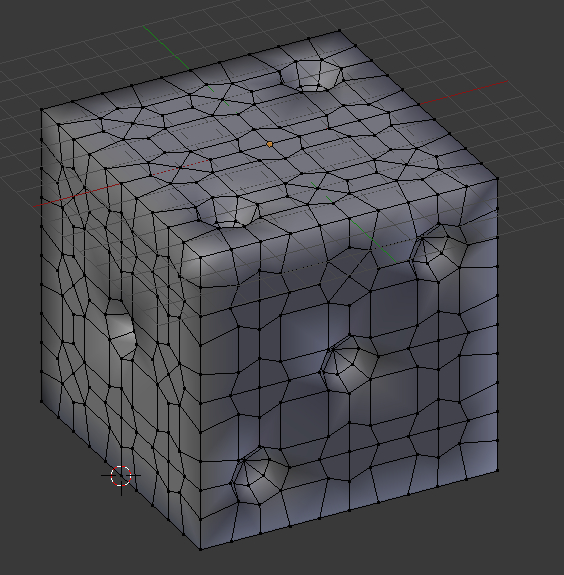
As a result one side of the dice with nine holes for future dots is created.
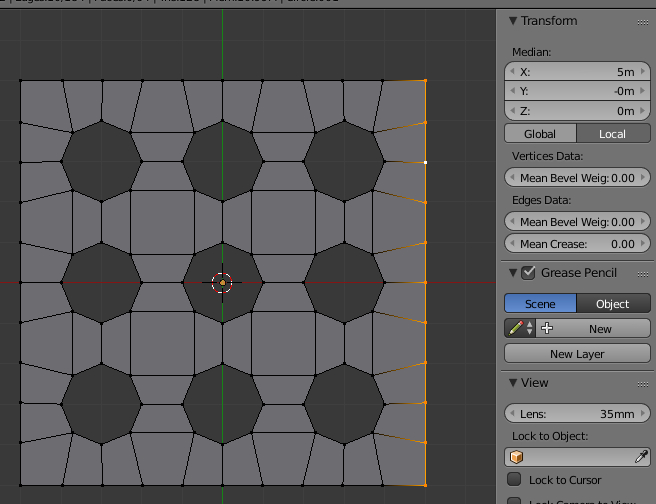
For convenience align each dice side edge so that its distant from the center is exactly 5 m. Select side (click with pressed alt) and in N-tab set:
- Transform
- Median
- in certain axis direction put the value 5, or -5.
- Median
- Real dice has six sides. Clone existing side by making one copy right, up, down and 2 copyes left:
- a – a – shift + d – x – 10 – enter
- shift + d – x – -10 – input – g – y – 10 – enter
- shift + d – y – -20 – enter
- shift + d – y – 10 – input – g – x – -10 – enter
- shift + d – x – -10 – enter
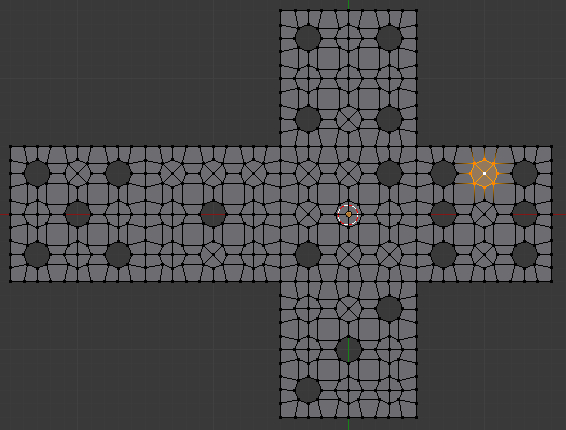
The classic arrangement of the dice dots is that the sum of them on opposite sides is equal 7. Fill the unnecessary dots openings:
- Select the necessary circle (click with pressed alt)
- ctrl + f – Grid Fill
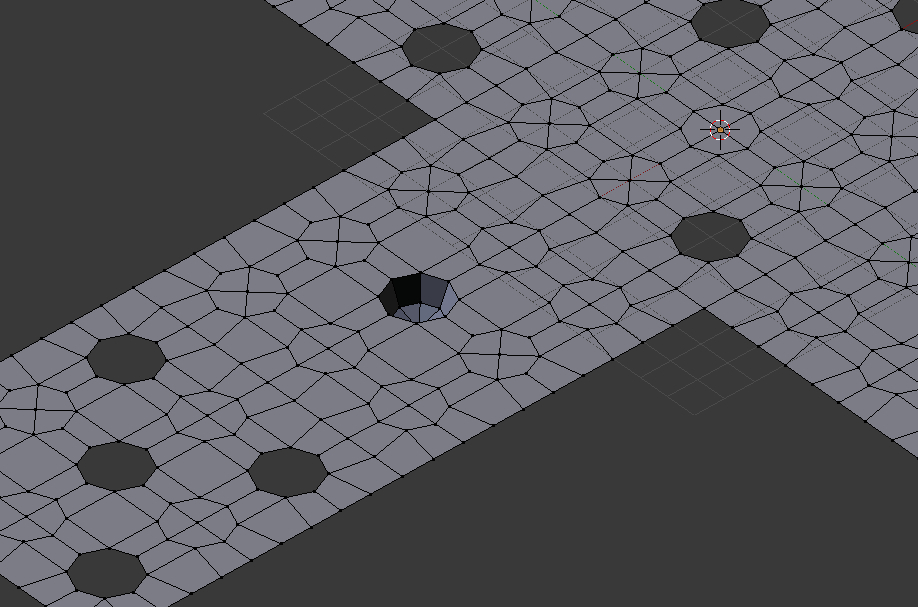
Fill the remaining dots with volume:
- Add sphere
- shift + a – UV Sphere
- Segments = 8
- Rings = 4
- Move it to “snake eye”
- g – x – -10 – enter
- Select and remove the top half of the sphere.
- shift + a – UV Sphere
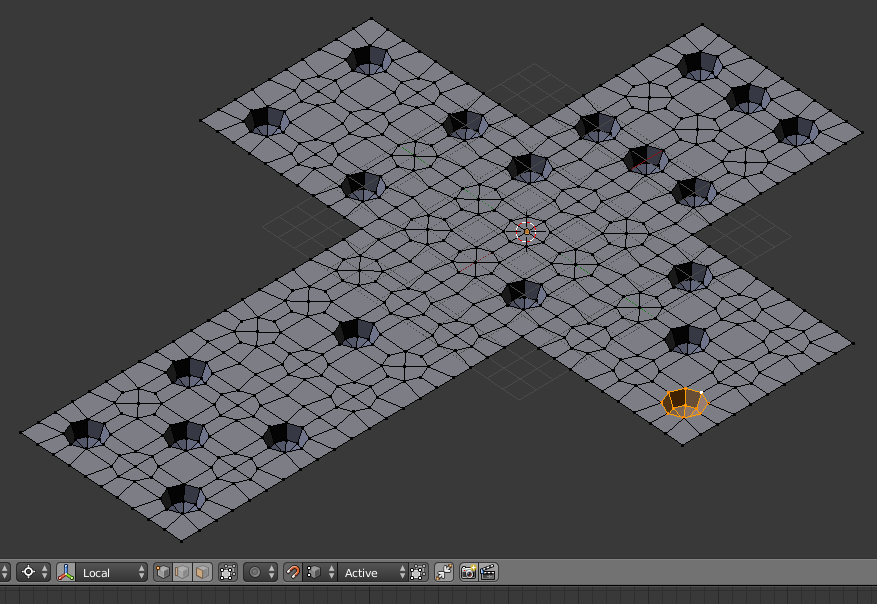
- Reproduce hemisphere on the remaining dice sides holes.
- Select hemisphere. It is necessary to have one active vertex in the upper loop (double click with pressed shift).
- Enable binding by vertex, set active vertex as binding magnet.
- Now we can conveniently fill the remaining holes with hemispheres, copying (shift + d) and dragging selected hemisphere.
- Now we need to assemble dice sides into right position.
- Select one joint edge (click with pressed alt). Place the cursor into its center
- shift + s – Cursor to Selected.
Setting side rotation point
- shift + s – Cursor to Selected.
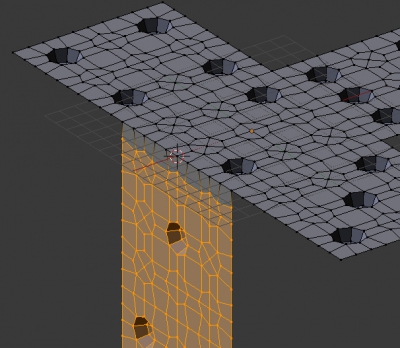
- Enter wireframe mode (z), select steered faces (b).
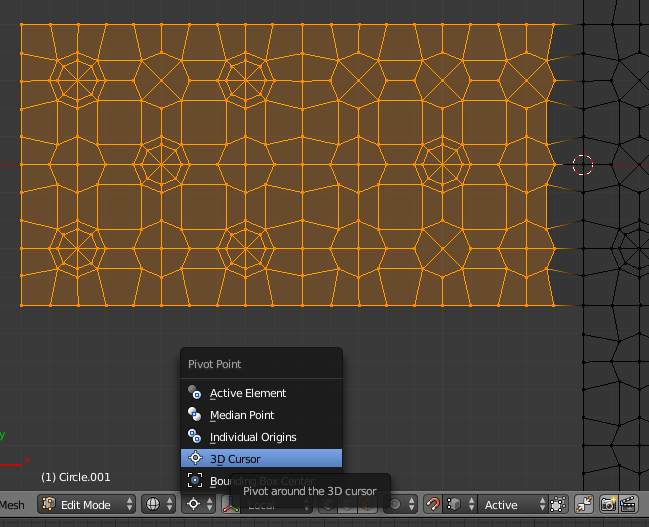
- Set the rotation mode – around the 3D cursor.

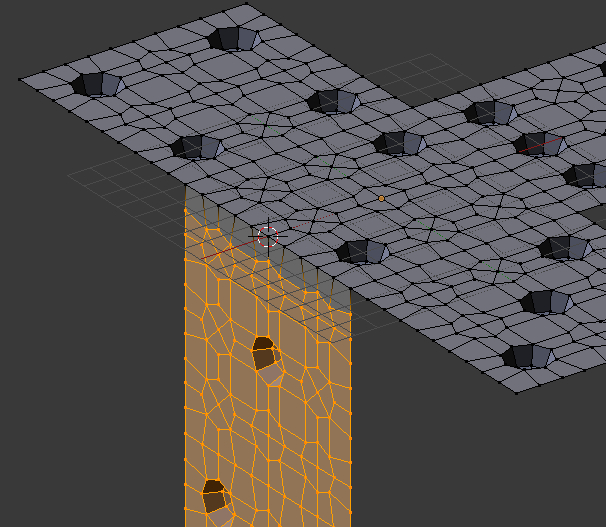
Setting pivot point around 3D Cursor - Rotate the selected faces.
- r – y – -90 – enter
Rotating dice side - Also turn the rest dice sides into right position.
- Select one joint edge (click with pressed alt). Place the cursor into its center

Check again correct normals direction and remove jointed vertexes.
- Select the entire dice (a – a)
- Align normals
- ctrl + n
- Merge jointed vertexes
- w – Remove Doubles
- Align normals
Make dice edges and dots look like more natural:
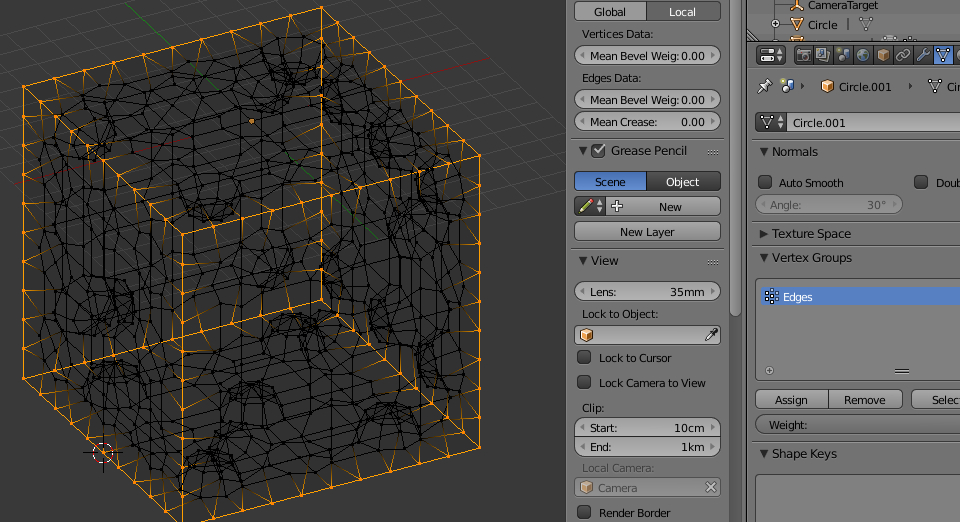
- Select all external dice edges. Create a vertex group, name it “Edges”, assign the selected vertexes to group.
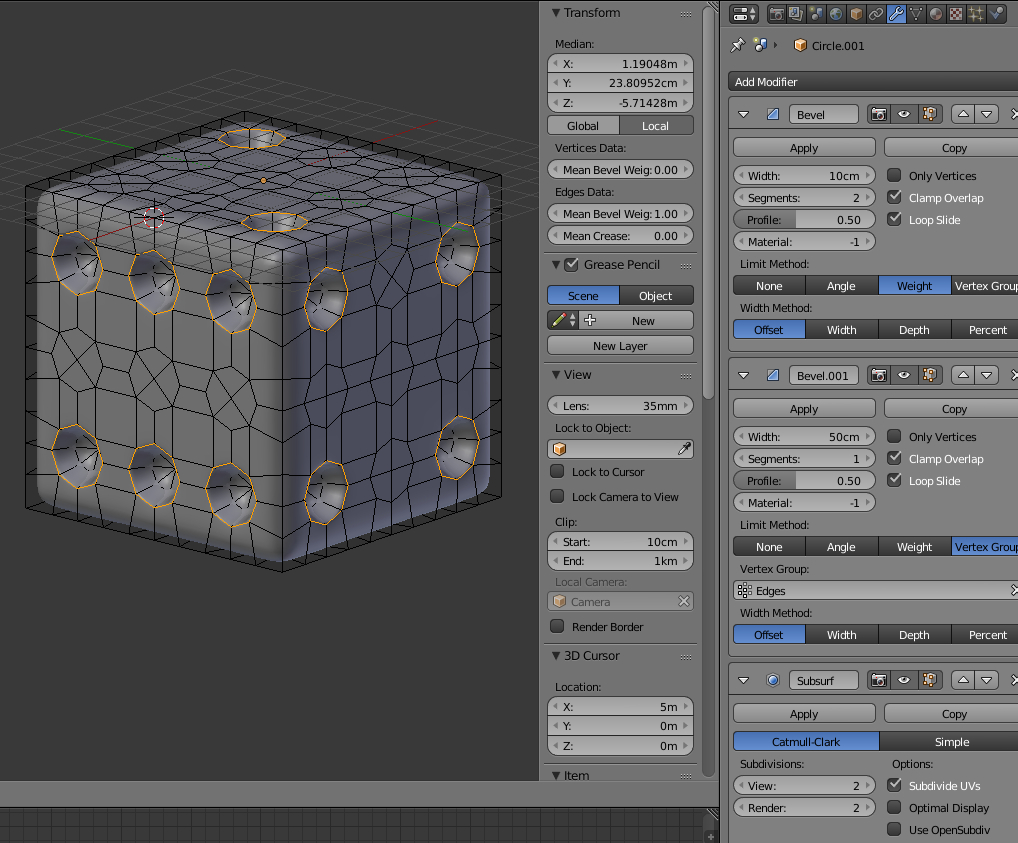
- Setup smoothing and chamfering modifiers for a dice model:
- Select all edges forms dice dots borders.
- In modifiers panel (Modifiers)
- Add Bevel modifier
- Width = 0.1
- Segments = 2
- Limit Method = Weight
- In the N-tab
- Transform
- Edges Data
- Set Mean Bevel Weight = 1 for selected edges
- Edges Data
- Transform
- Add another Bevel modifier
- Width = 0.5
- Limit Method = Vertex Group
- Specify created in st. 13 group “Edges”
- Add Subdivision Surface modifier
- Add Bevel modifier
Our dice is almost ready.
It remains to create and setup materials.
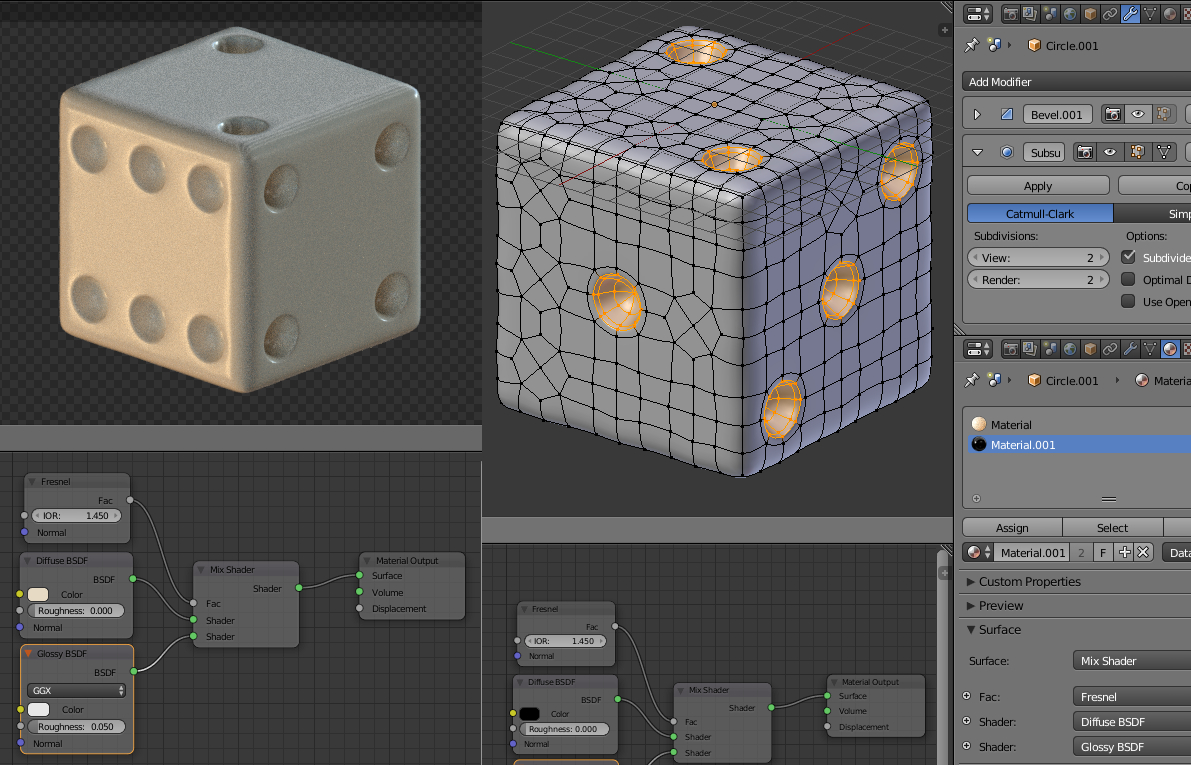
Before materials setup it is necessary to apply top Bevel modifier (which refers to the dice dots). It is necessary because Subdivision Surface modifier smoothes bisegmental chamfer that one segment of it lies inside dice dot, and the other segment – outside of it (on dice side surface). Chamfer central egde places clearly at the intersection of dice sides and its dots volume. Blender, in the modifier usage mode, can designate single material only the entire chamfer, but not its individual segments. Assigning material without applying Bevel modifier will seems that dice dots material is beyond the boundary of the dot or does not reach it. After applying a modifier, you can manually specify what chamfer segments assign dot material, and what – the side of the dice.
- Create basic material for dice sides – the usual mixture of Diffuse shaider with white, slightly eyllowish, color and Glossy shaider by “Fresnel” mixture factor. Assign it to our dice.
- Select dice dots polygons and assign them the same material but with black diffuse color.
- Off edit mode (tab).
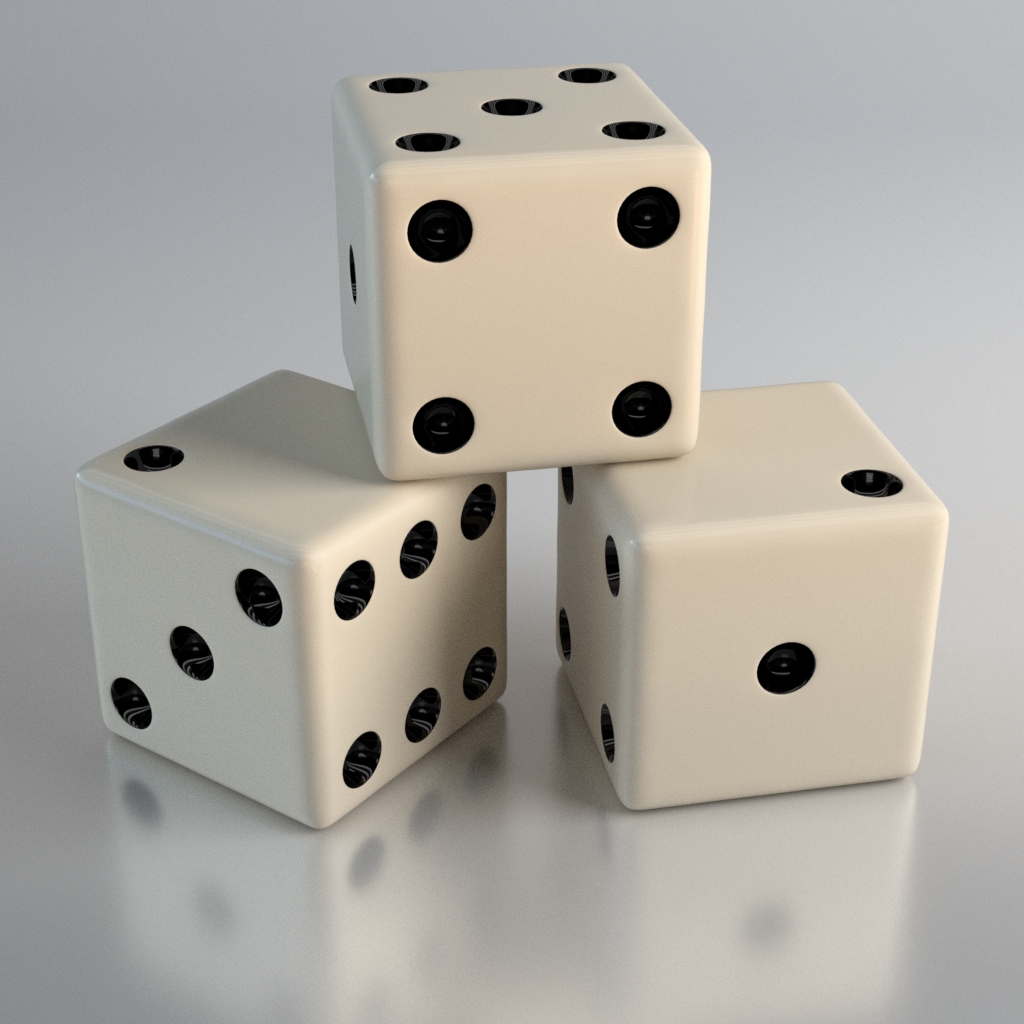
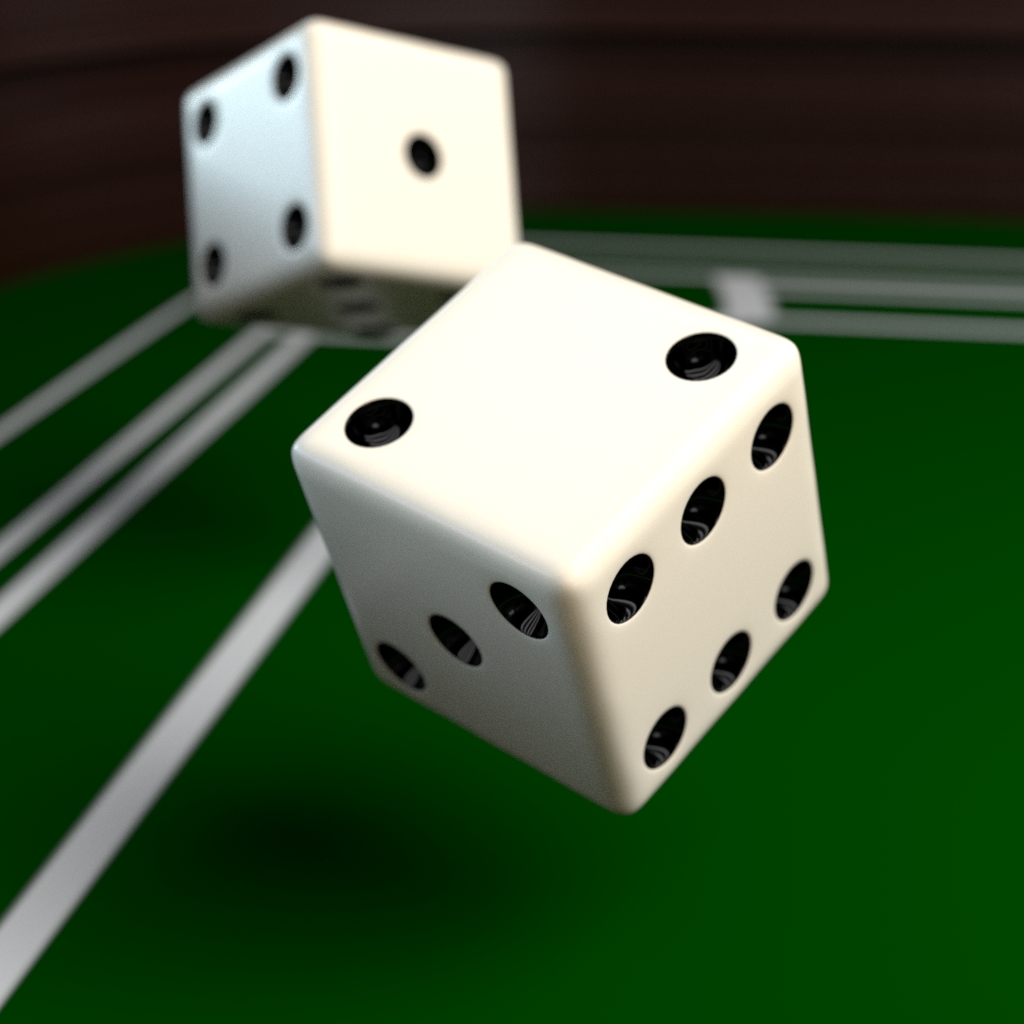
The dice is ready. Customize final scene and render.