Tips

How to snap to the center of the edge or polygon

In order to align an object to the middle of the edge:

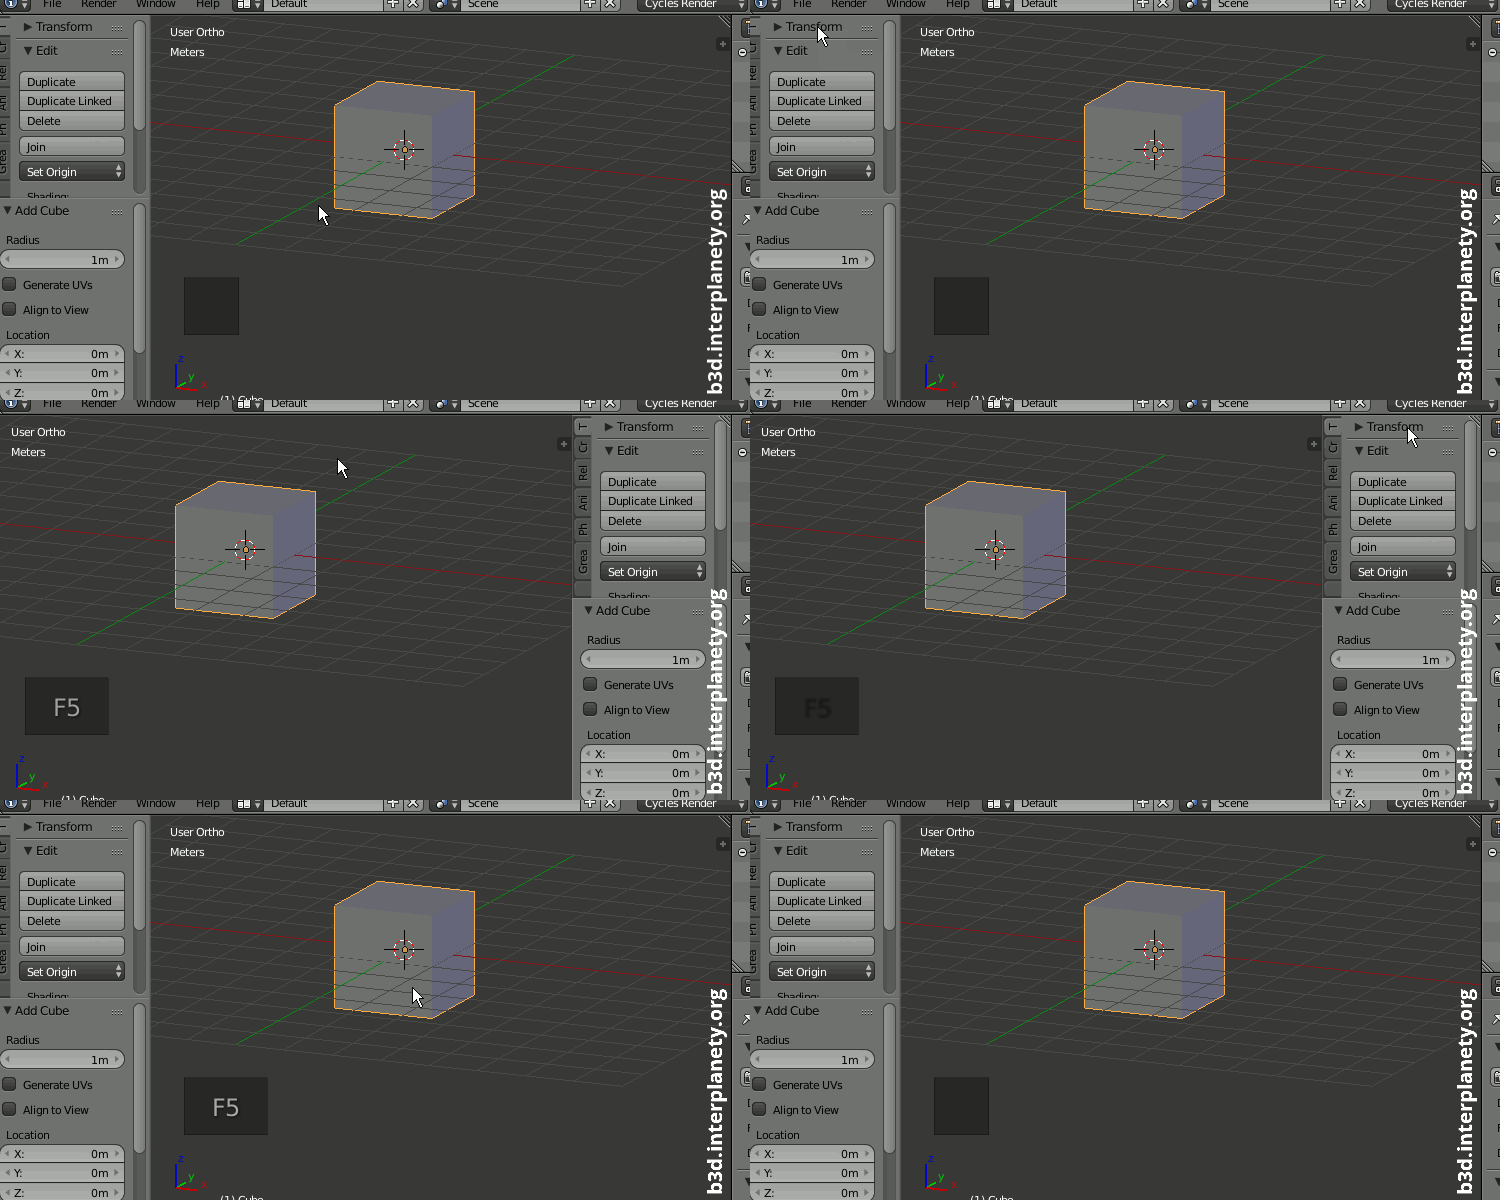
  1. enable snapping: press “shift+tab”, or click the icon with the magnet,
  2. start moving by pressing “g”,
  3. move the cursor to the first vertex of the desired edge,
  4. make an anchor by pressing the “a” key,
  5. move the cursor to the second vertex of the desired edge,
  6. fix the position of the object between two points (anchor and current) by pressing “enter”.

How to make Blender fully portable

Even if Blender was downloaded as a zip-file and started from the unpacked archive instead of the installation, the files with its settings are stored separately in the user’s directory. The history, the start scene, and user-installed add-ons are also stored there. So if you transfer Blender to another computer, all these preferences will be lost.

However, at startup, Blender first looks for a config directory in its own folder and only if it does not find it there, it accesses the folder in the user’s directory.

In order to make Blender completely portable, it is enough to copy config folders “config” and “scripts” from the user’s directory into Blender’s own directory into the folder with the version number. This will transfer the settings and installed add-ons to the Blender directory, and now all the changes will be made already here, not in the user directory. Blender becomes portable and can be copied to another computer or removable device.

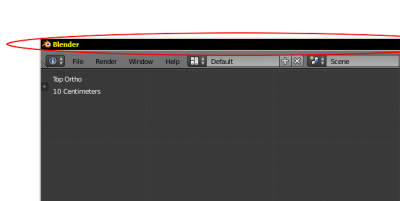
How to hide the title of the Blender window

Every 3D-artist knows that the workplace is always less. The larger monitor, the larger available workspace on it – the work is more convenient and faster. Blender allows winning some extra space on the screen, hiding the window title, which is still not useful.

The key combination:

alt + F11

allows to hide the Blender window title and expand the work area to the entire monitor. Pressing this key combination again returns Blender to its original state.

How to render in Blender without slowing down the other programs

During the image rendering in Blender, it is impossible to do anything else, the computer is strong “brakes”. Blender takes all available computing power without leaving almost nothing to other applications.

In order to run render in Blender with a low priority, so that it does not fill the entire computer and is guaranteed not to slow down the other programs work, you need:

  • Switch the render mode to the CPU
  • Run the render in Blender from the command line:

Windows:

parameters used :

  • /LOW – means that Blender will be launched with the lowest priority, computing power will be allocated to it after the all other programs.
  • /MIN – the window will be minimized in the taskbar.
  • /B – no separate window for launching Blender.
  • /D _path_to_blender_directory_ – here you need to specify the path to the directory where Blender is installed. Since usually all programs are installed in the “Program Files” or “Program Files (x86)” directories (there are spaces in the directory name), you need to enclose it in quotation marks.
  • _full_path_to_blender_ – specify here the full path to the blender.exe file. Enclose it in quotation marks by the same rules.
  • -b – Blender background launch (no graphical interface is created).
  • _path_to_blend_file_ – the full path to the project you need to render. If there are spaces in the path, it must also be enclosed in quotation marks.
  • -f X – instead of X, you need to specify the number of the frame you need to render.
  • -t X1 – instead of X1 you need to specify the number of processor cores that would be allocated for rendering. It is worth to allocate the half of the available cores.

Example:


Linux:

used parameters:

  • -n 20 – means that Blender will be launched with the lowest priority, computing power will be allocated to it after the all other programs.
  • -b – Blender background launch (no graphical interface is created).
  • _path_to_blend_file_ – the full path to the project you need to render.
  • -f X – instead of X, you need to specify the number of the frame you need to render.
  • -t X1 – instead of X1 you need to specify the number of processor cores that would be allocated for rendering. It is worth to allocate the half of the available cores.

Example:


Fast intermediate nodes view in compositing

Creating a node tree in the compositing window, sometimes it is necessary to see the intermediate result given by some parts of the node tree. For fast viewing click left mouse button on the desired node with the “ctrl” and “shift” keys pressed. Blender adds a new View node (or uses one of the existing) and connects the output of the selected node to it. The result is displayed on the backdrop (if the corresponding checkbox checked) or in the UV/Image Editor window in “Viewer Node” mode.

If the clicked node has several outputs, each subsequent click on that node switches the view to its next output.