Get Specular reflections from IOR
The official Blender documentation provides a method to get the “Specular” value for the PBR-material reflections if the “IOR” value is known. To get the “Specular” value from the “IOR” value, we can use the following equation:
It is not difficult to create it with nodes:
Blender add-on: BIS v. 1.8.1.
BIS (Blender Interplanety Storage) updated to v.1.8.1.
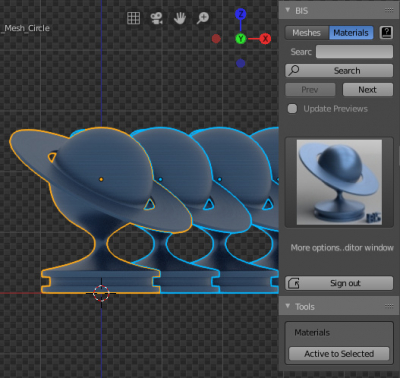
- If you get material from the “3D Viewport” window it sets to all selected objects, not only to active.
- New sub-panel “Tools” was added to the BIS panel in the “3D Viewport” window. Added new tools button “Active to Selected” to copy material from active object to all selected objects.
EEVEE Shadow Catcher
There is a convenient opportunity in the Cycles render engine to render an object with shadows on a transparent background using material with the “shadow catcher” option. There is no such material in EEVEE render engine, however, in EEVEE we can make our own “shadow catcher” based only on nodes.
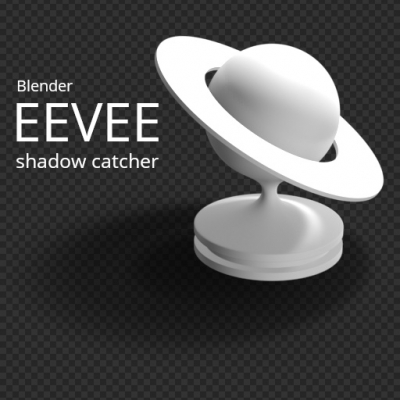 Completed “EEVEE Shadow Catcher” material you can get from the BIS library.
Blender add-on: BIS v. 1.8.0.
BIS (Blender Interplanety Storage) updated to v.1.8.0.
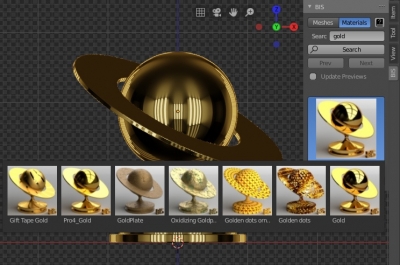
- Added two modes to the BIS panel in the 3D_VIEW window: Materials and Meshes. “Meshes” works as previously for saving/loading objects. “Materials” – for simply adding materials to the active object.
- Fixed critical bug from the previous version which breaks saving/load materials with nested groups.
Bloom effect in EEVEE on transparent background
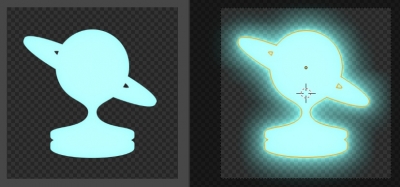
The “Bloom” effect in the EEVEE rendering engine looks very impressive but does not visible when rendering on a transparent background.
But this can be fixed.
How to render only the object’s shadow in Eevee
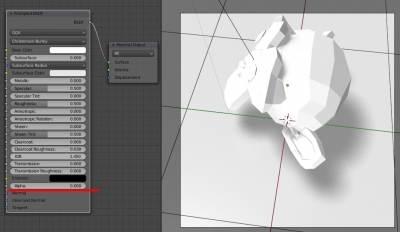
To render only the shadow of the object in Blender Eevee:
- Assign to the object the default material with the Principled BSDF shader and set its Alpha value to 0.
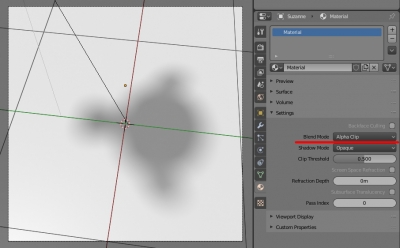
- In material properties switch the Blend Mode to “Additive” or “Alpha Clip”.
Sofa “Canasta” modeling timelapse
Sofa “Canasta” polygonal modeling tutorial.
By 1D_Inc.

 Download