MatCap is a way to simulate material and ambient lighting settings in a scene with only one single image. Most often, matcaps are used to control an object shape when sculpting, but they are good for working with shapes in any kind of modeling.

 .blend file on Patreon
By default, Blender provides the user with a set of the most common matcaps, but if necessary, it can be easily extended with your own.
First let’s create our own matcap image.
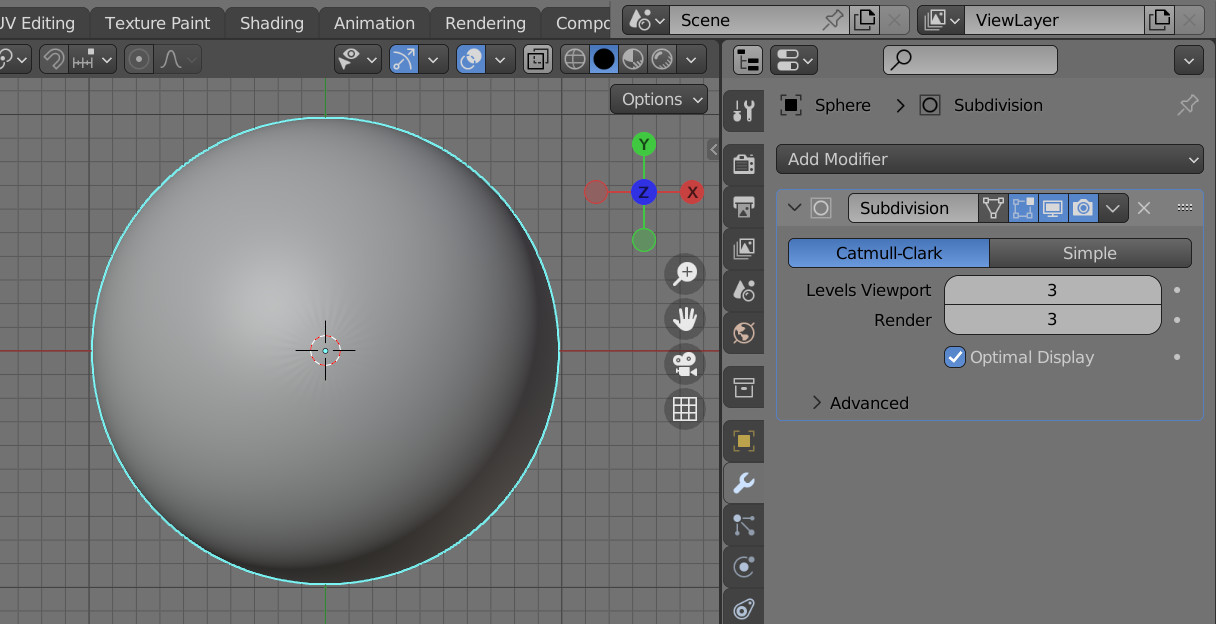
Open an empty scene. Add a sphere to the scene (shift + a – Mesh – UV Sphere). Enable the smooth shading mode for it (RMB – Shade Smooth) and add the Subdivision Surface modifier to it, with the number of subdivisions in 3.
Add a camera to the scene (shift + a – Camera) and track it at the sphere. To do this, first select the camera, and then, with the Shift key, select the sphere. Next, in the main menu, press Object – Track – Track to Constraint.
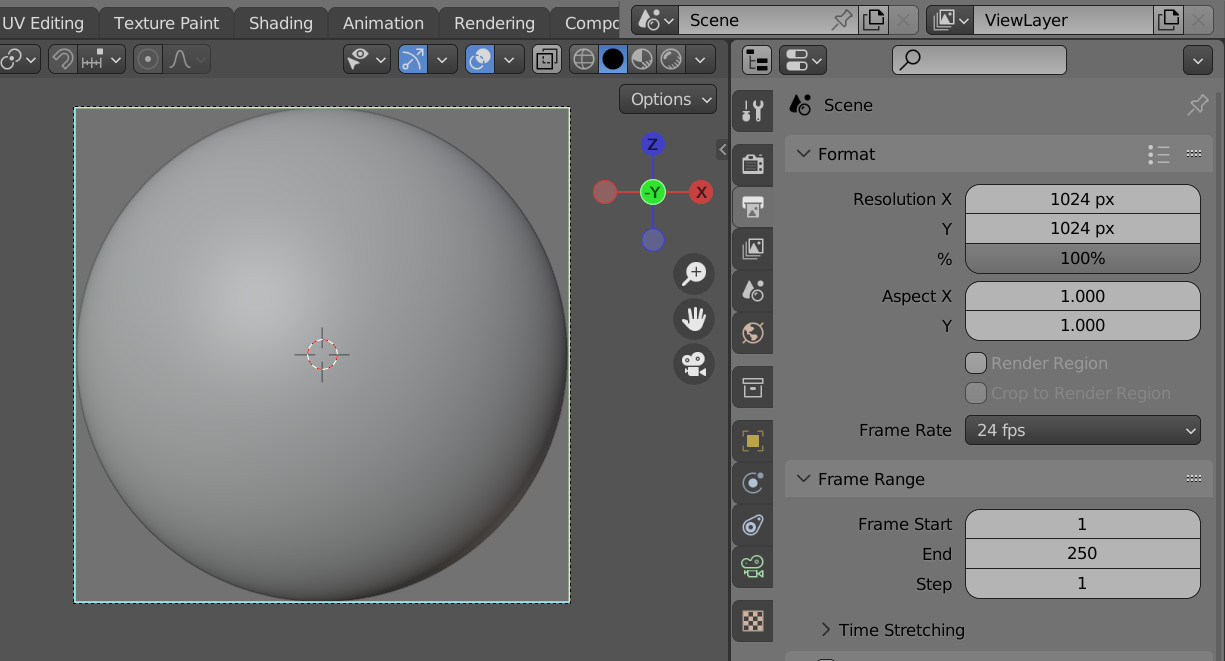
Switch to camera view mode (Num0) and move it away from the sphere so that the sphere occupies the maximum area of the view.
Set the render resolution to 1024×1024 pixels.
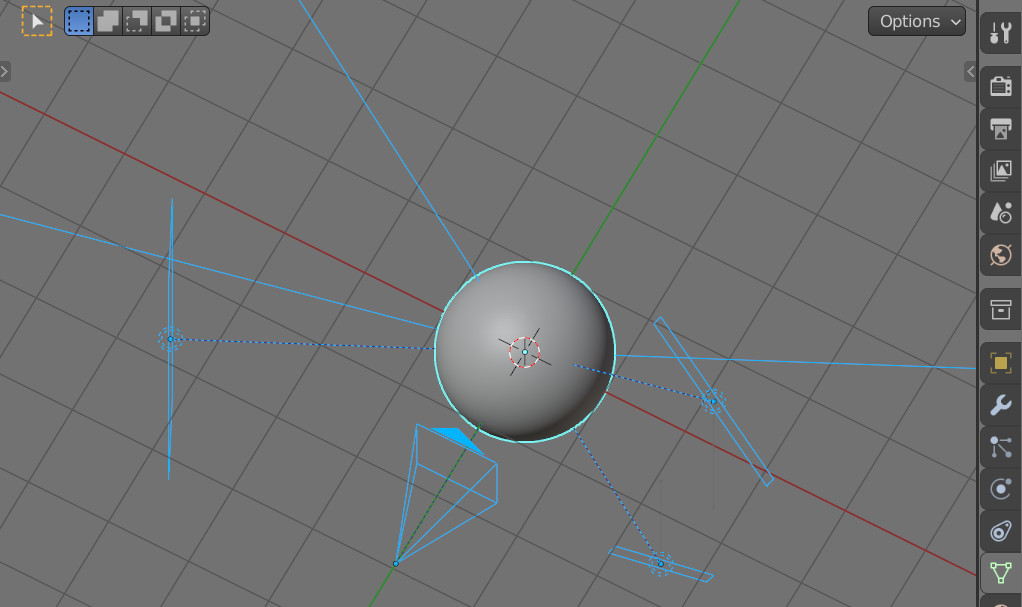
To create highlights, let’s add a light source (shift + a – Light – Area).
Track it to the sphere in the same way as we did with the camera – select the light source, then the sphere (don’t forget to hold the Shift button) and press Object – Track – Track to Constraint in the main menu.
Increase the power of the light source and adjust its dimensions so that a highlight of the required shape is clearly visible on the sphere.

Add a few more lights and arrange them as needed around the sphere.
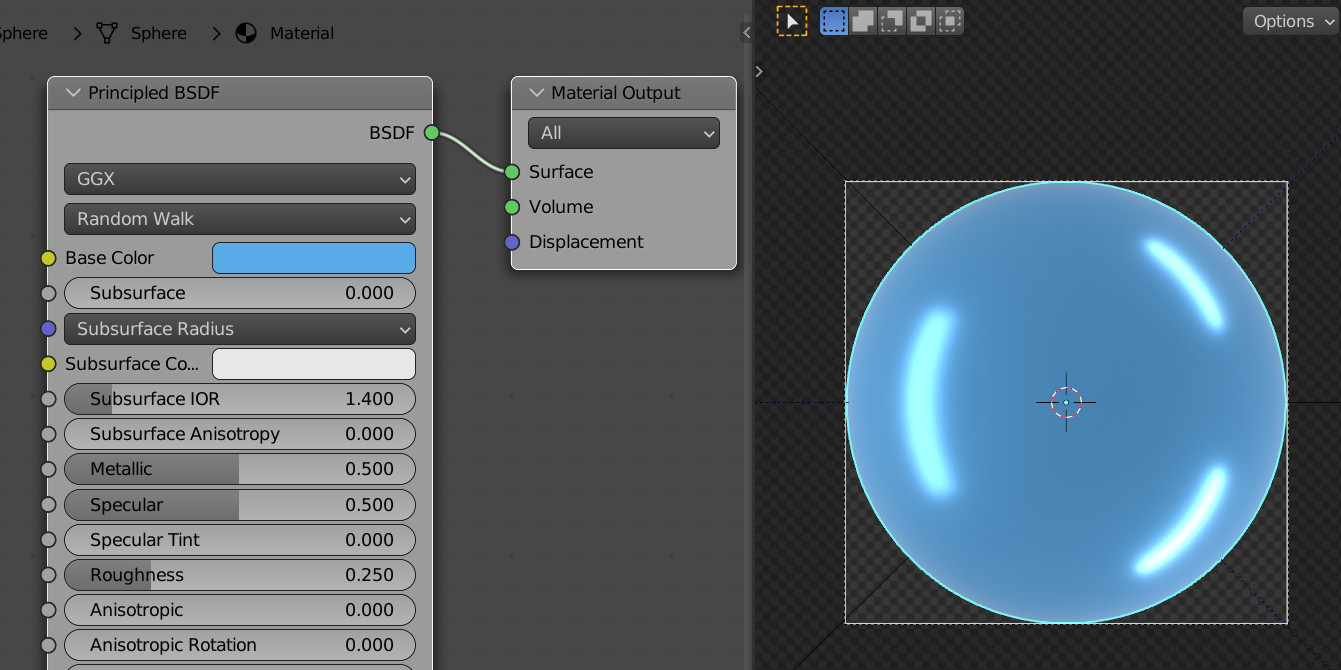
Open the Shader Editor area, add a new material for the sphere and set it up the way you want. For example, set the light-blue Base Color = 0.1, 0.4, 0.8, high Metallic = 0.5, and low Roughness = 0.25.
If desired, you can customize any material, even with using procedural and image textures.
Render (F12) and save the resulting image (alt + s).
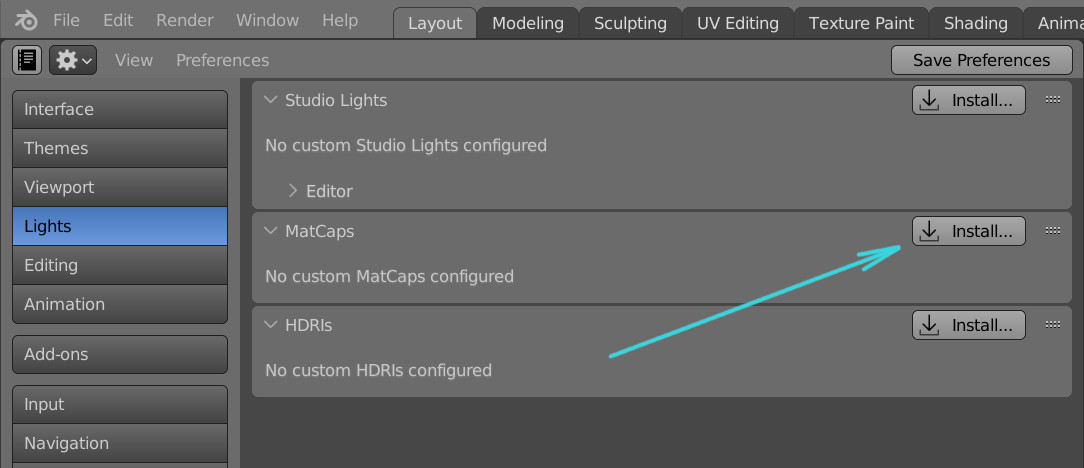
Now let’s add the saved image to the list of matcaps in Blender.
Open the Preferences area and switch to the “Lights” category. In the “MatCap” section, press the “Install” button and select the previously saved image with our matcap.
Custom matcap image files are stored in the user directory
|
1 |
c:\Users\_USER_NAME_\AppData\Roaming\Blender Foundation\Blender\3.3\datafiles\studiolights\matcap\ |
Instead of installing through the Blender interface, we can simply copy the images to this directory.

Once the matcap image is installed in Blender, its preview will appear in the scene’s matcap list.
Now, this matcap can be selected and used with objects.
