The correct planets texture mapping, creating 3D space scenes, plays a key role. If texture mapping is distored, “rides” or has a clearly visible seams – a beauty image will never succeed. There is a convenient method properly map the texture to the planet surface in Blender.
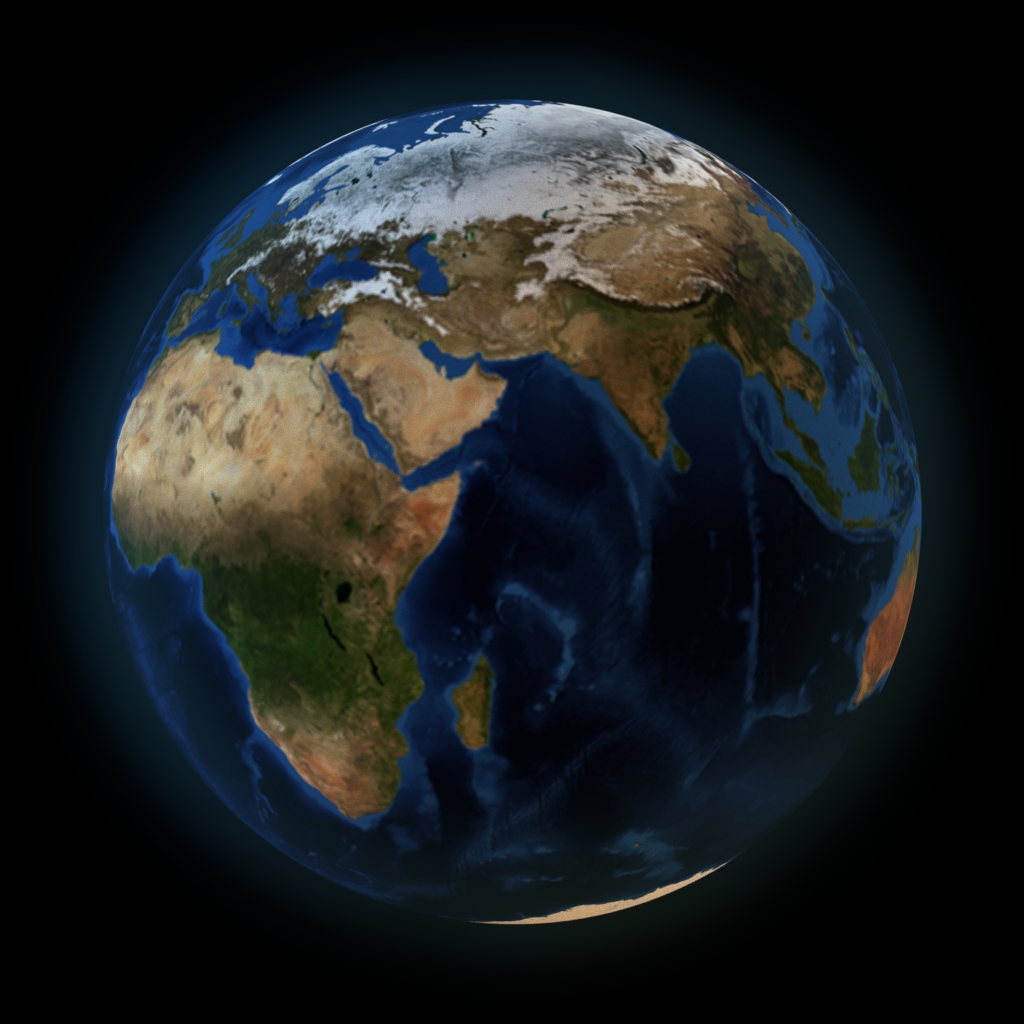
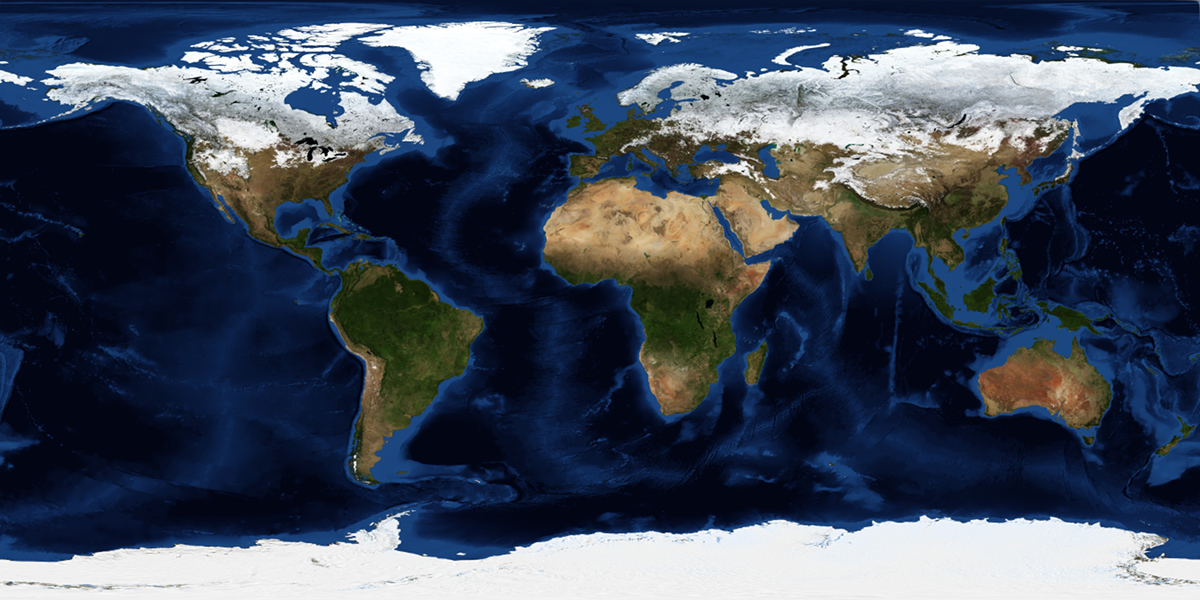
Typically, the surface texture of the planet looks like this:
The main problem of texture mapping to the planet sphere is that the UV Sphere in Blender configuration projects to plane not very well. We can try some different algorithms for projecting:
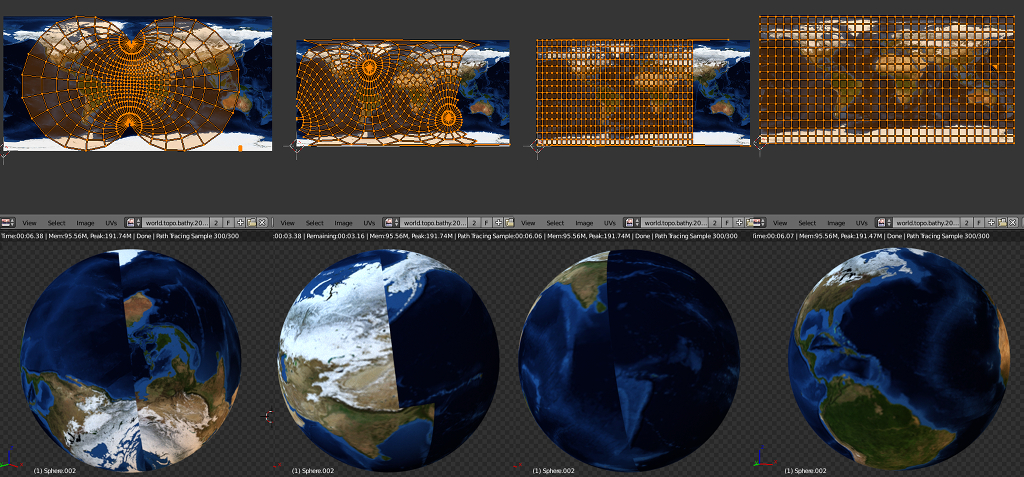
UV Sphere projection ways (from left to right):
- Standard projection: u – Unwrap
- Spherical projection from the equator: u – Sphere Projection (View on Equator)
- Spherical projection by the object: u – Sphere Projection (Align to Object)
- Standart projection with following from active polygon: u – Unwrap – u – Reset – u – Follow Active Quad – adjust projection position and scale to image
The fourth method makes possible to apply a texture to the planet surface after a small fit correction and may be quite useful.
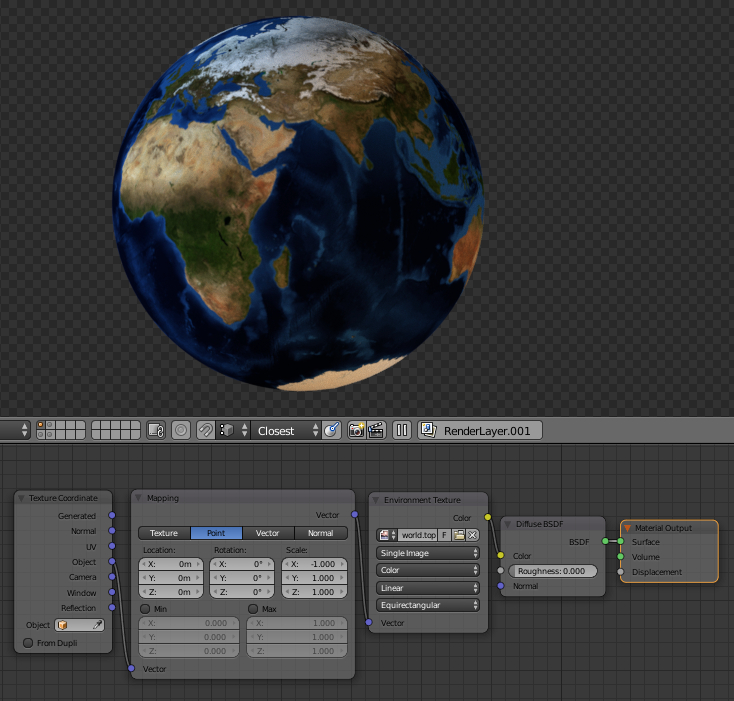
However Blender has an easier and more convenient method which also did not require any projection creation. The way is to use Enwironment Texture node, which is commonly used for scene environment texture mapping. Scene environment is like a huge sphere with texture shows all the things around scene. For example in exterior scenes – the sky, the sun, perhaps, mountains on the horizon, in interior scenes – room walls with windows and furniture. Most often environment is simulated by texture, not by creaion all real objects. In our case it is interesting that by default environment node correctly maps the texture to spherical surface, and we will use this.
- Create new material for sphere-planet
- Add Environment Texture node
- shift + a – Texture – Environment Texture
- connect with Diffuse node
- Add Mapping node
- shift + a – Vector – Mapping
- connect with Environment Texture node
- Add Texture Coordinates node
- shift + a – Input – Texture Coordinates
- Object output connect with Mapping node input
- Adjust Mapping node, set
- Scale
- X = -1
- Scale
Planet texture will be applied to sphere surface. Environment Texture node applies the texture to the sphere with horizontal reflection. To correct this, we added Mapping nod in a bunch of nodes and set the X axis scale equal to -1.
Earth texture is taken from nasa.gov site for educational purposes only.
Very helpful, thanks!