The simplest “Inset Faces” operation – extruding polygons individually into themselves, can be done in Blender Geometry Nodes with just two nodes.
 .blend file on Patreon
As an example, let’s add a cube to the scene (shift + a – Mesh – Cube), assign it a Geometry Nodes modifier and create an initial tree of geometry nodes by clicking on the “New” button.

Add an Extrude Mesh node (shift + a – Mesh – Operators – Extrude Mesh) to the main branch of the node tree.
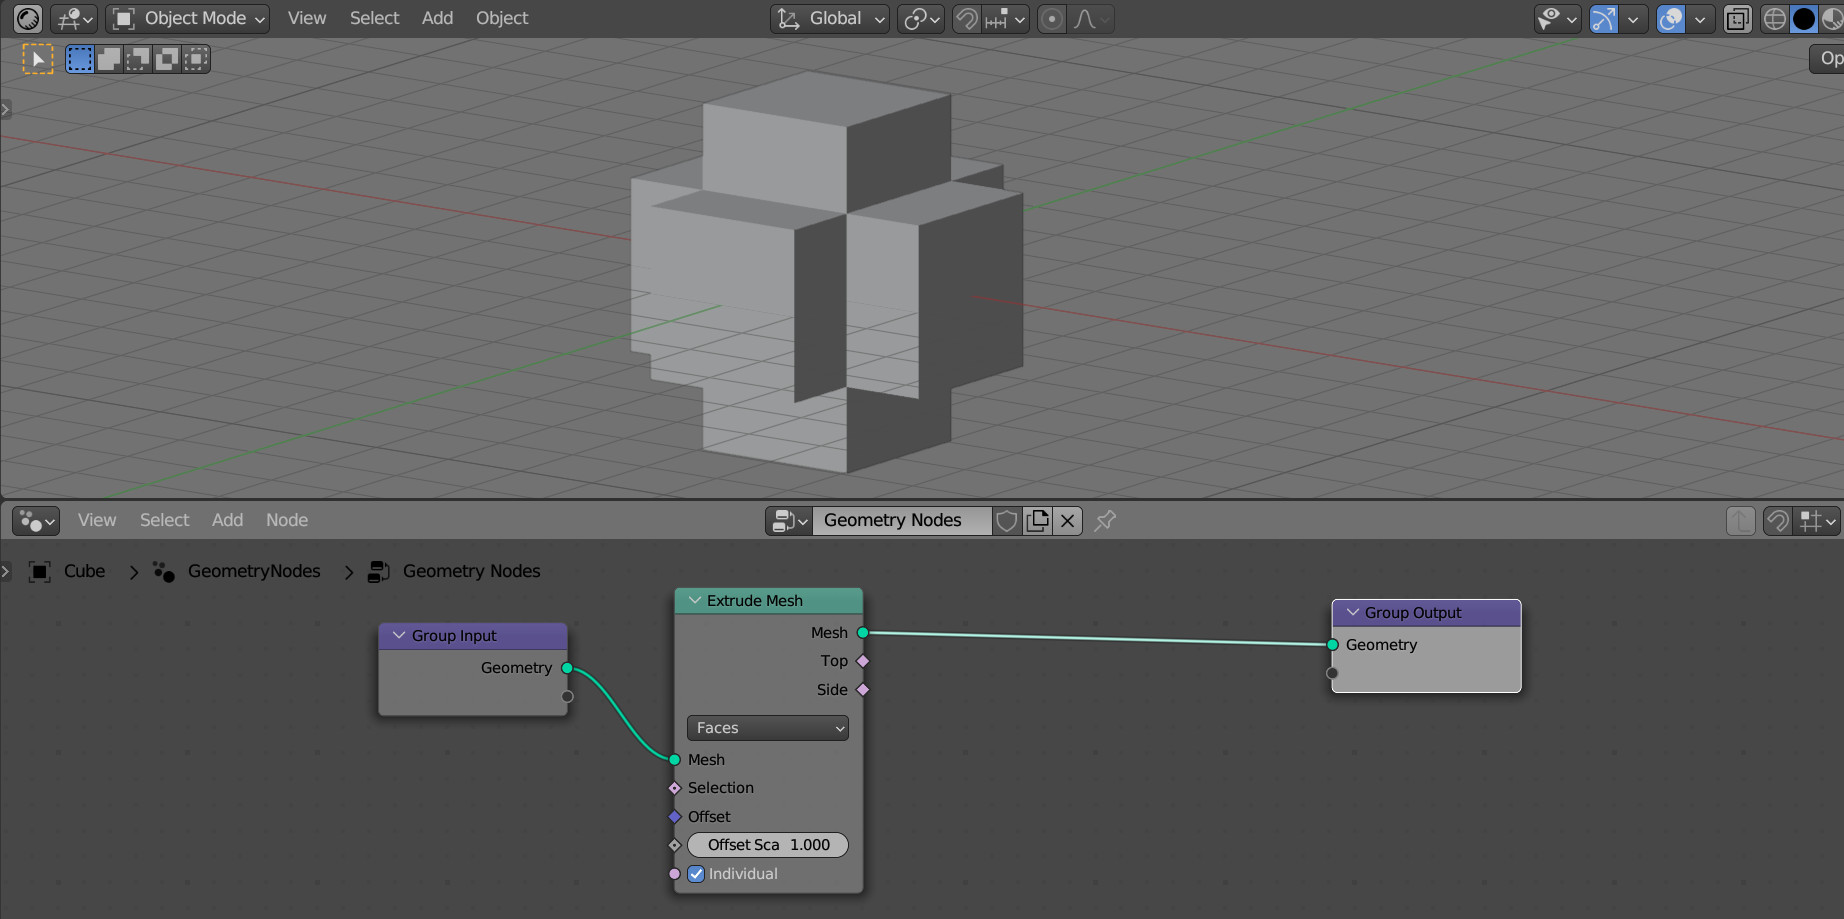
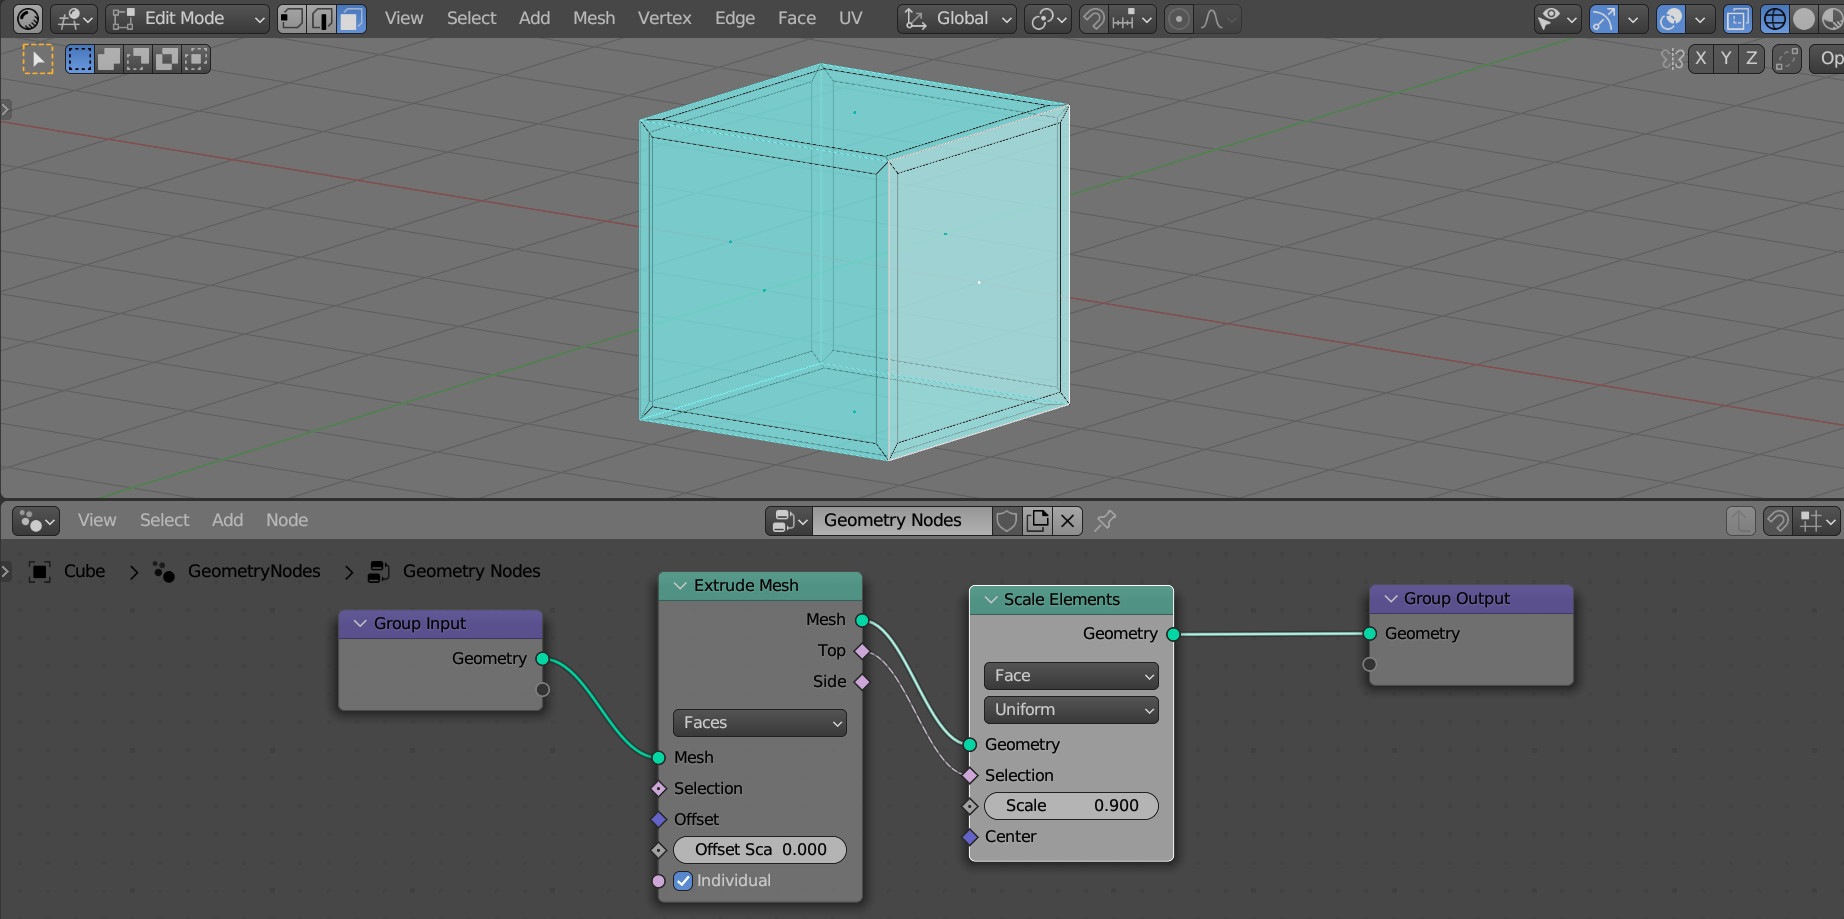
Set the “Offset Scale” parameter value to 0. Thus, the extrusion operation will be done, but the extruded geometry will remain flush with the base one.
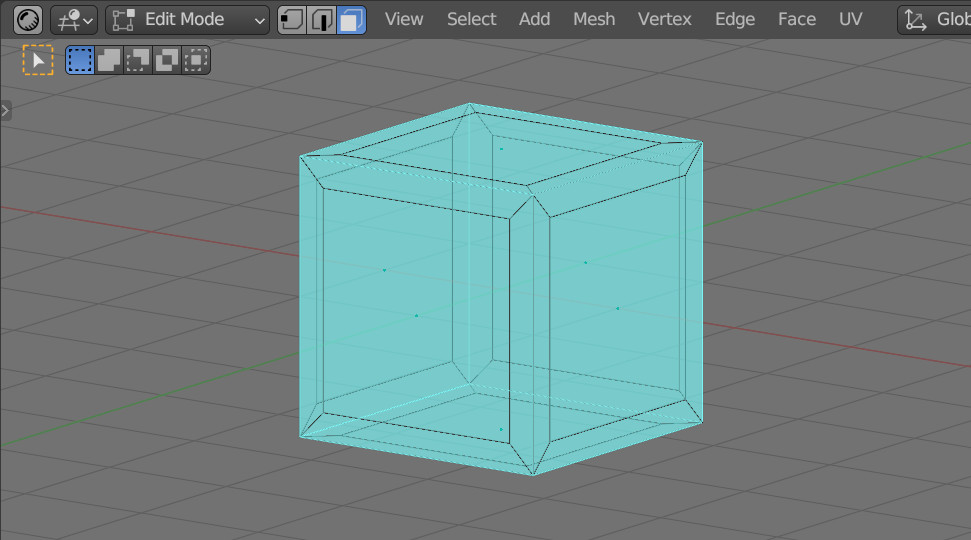
Now we can simply scale it along the surface of the polygons. Add a Scale Elements node (shift + a – Mesh – Operators – Scale Elements) after the Extrude Mesh node to the main branch of the node tree.
Set the “Scale” parameter to 0.8, and to scale only the previously extruded polygons, link the “Top” output of the Extrude Mesh node with the “Selection” input of the Scale Elements node.
As a result, we got the same effect as when performing the Inset Faces operation.