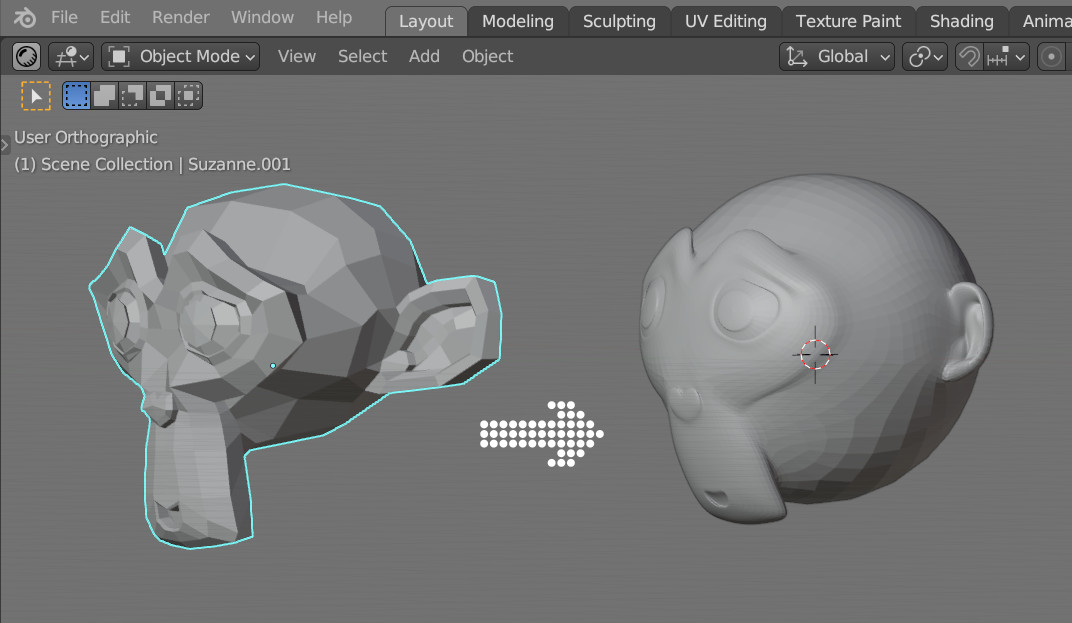
Most Blender modifiers can be realized using Geometry Nodes. For example, to make meshes “spherical” we can realize the Cast To Sphere modifier with only 5 geometry nodes.
 .blend file on Patreon
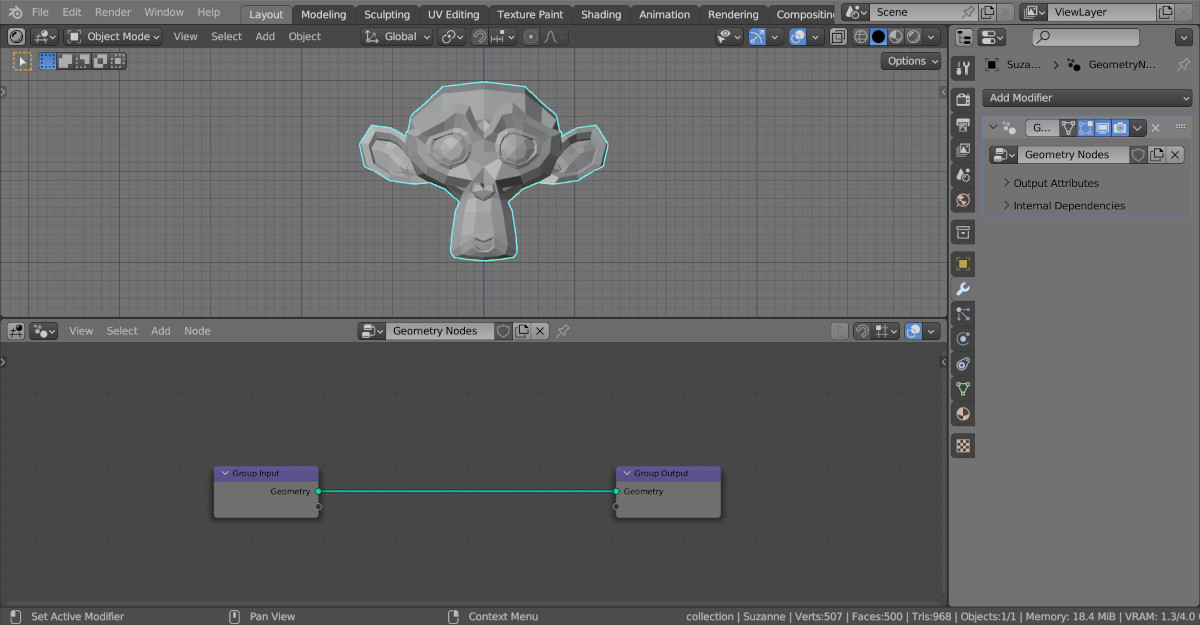
Add Susanna’s mesh to the scene (shift + a – Mesh – Monkey), assign the Geometry Nodes modifier to it, and initiate the geometry node tree by pressing the New button.
The principle of casting any mesh into the shape of a sphere is very simple. At first, all mesh vectors pointing from the mesh’s origin, to current coordinates. In order for the mesh to take the form of a sphere, it is necessary that these vectors, without changing their direction, become equal in length.
To manipulate the position vectors of the mesh, add the Set Position node (shift + a – Geometry – Write – Set Position) to the tree.
We can get the current position value for each mesh vertex using the Position node. Add it to the node tree (shift + a – Geometry – Read – Position) and link its “Position” output with the “Position” input of the Set Position node.

So far, nothing has changed, but let’s add some vector transformation magic: after the Position node, insert a Vector Math node (shift + a – Utilities – Vector – Vector Math) and switch it to the “Normalize” mode.

Normalizing a vector transforms it so that the vector retains its direction, but its length became equal to 1.
Therefore, now all vertices of Suzanne’s mesh lie on the surface of a sphere with a radius of 1.
To make the result smoother, add the Subdivision Surface node to the main branch of the node tree (shift + a – Mesh – Operator – Subdivision Surface) to increase the detail of the mesh. Set the subdivision level in the “Level” field to 2.
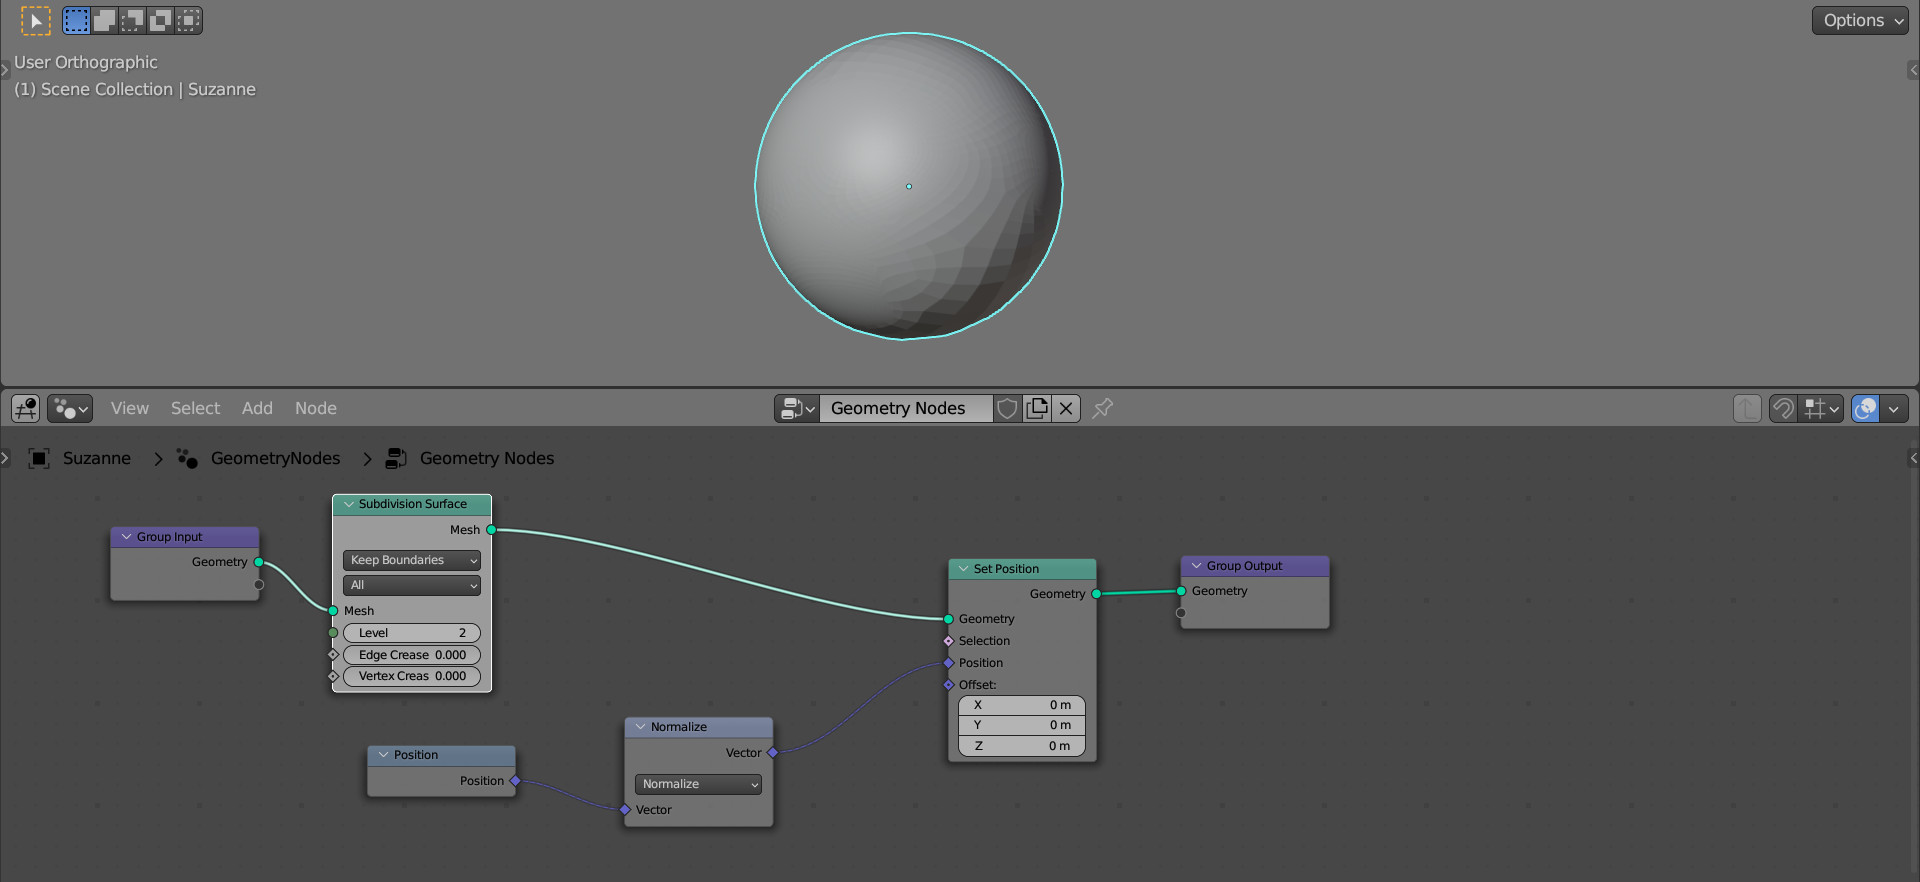
Now we got a sphere from Suzanne.
To fix the intermediate states of the mesh, add the Mix Vector node after the Normalize node (shift + a – Utilities – Vector – Mix Vector). The remaining free input “B” link with the “Vector” output of the Position node.
The Mix Vector node finds the proportional value between the two vectors from inputs “A” and “B”, and the proportion value is determined by the “Factor” field.
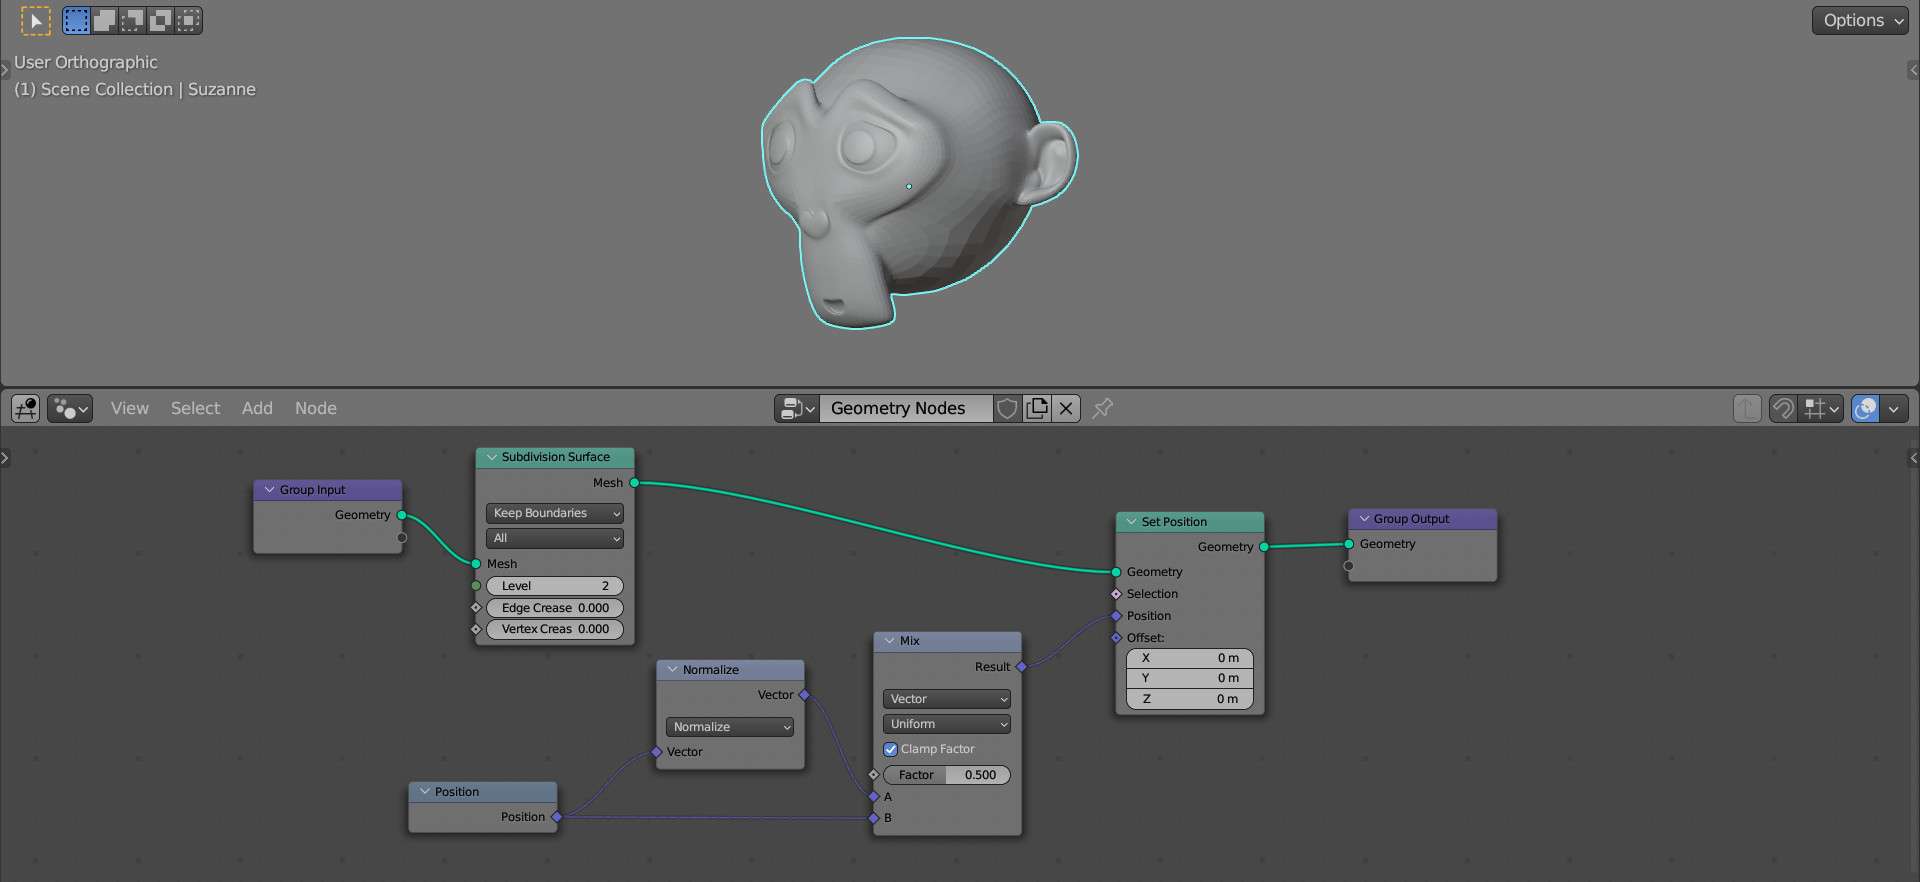
In our case, we get an intermediate value of the Position vector between its initial value in the Suzanne mesh and the normalized value – reduced to unit length.
By moving the slider in the “Factor” field, we can see the process of Suzanne’s transformation into a sphere and back.