We can do a lot of interesting and useful things in Blender using Geometry Nodes. For example, finding the surface area of any object.
 .blend file on Patreon
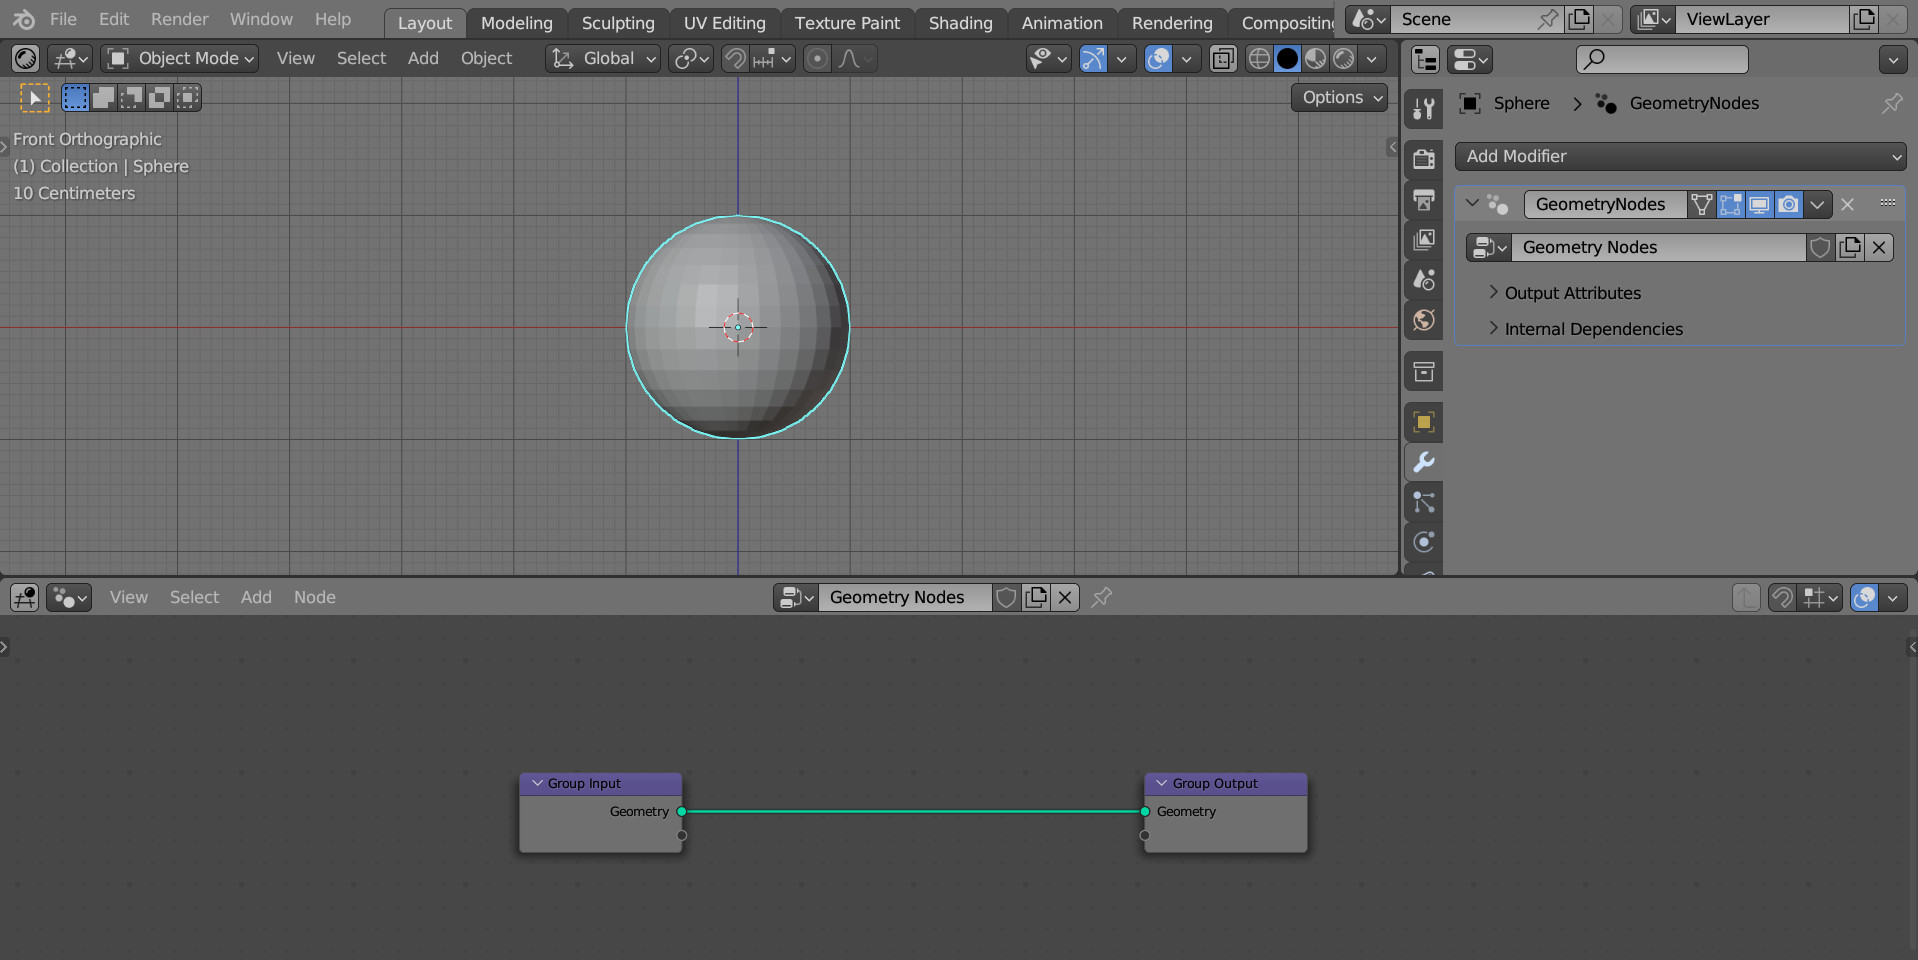
Add a sphere to the scene (shift + a – Mesh – UV Sphere), assign it the Geometry Nodes modifier, and press the “new” button to create the initial tree of geometry nodes.
The surface area of a mesh can be represented as the sum of the areas of all its faces.
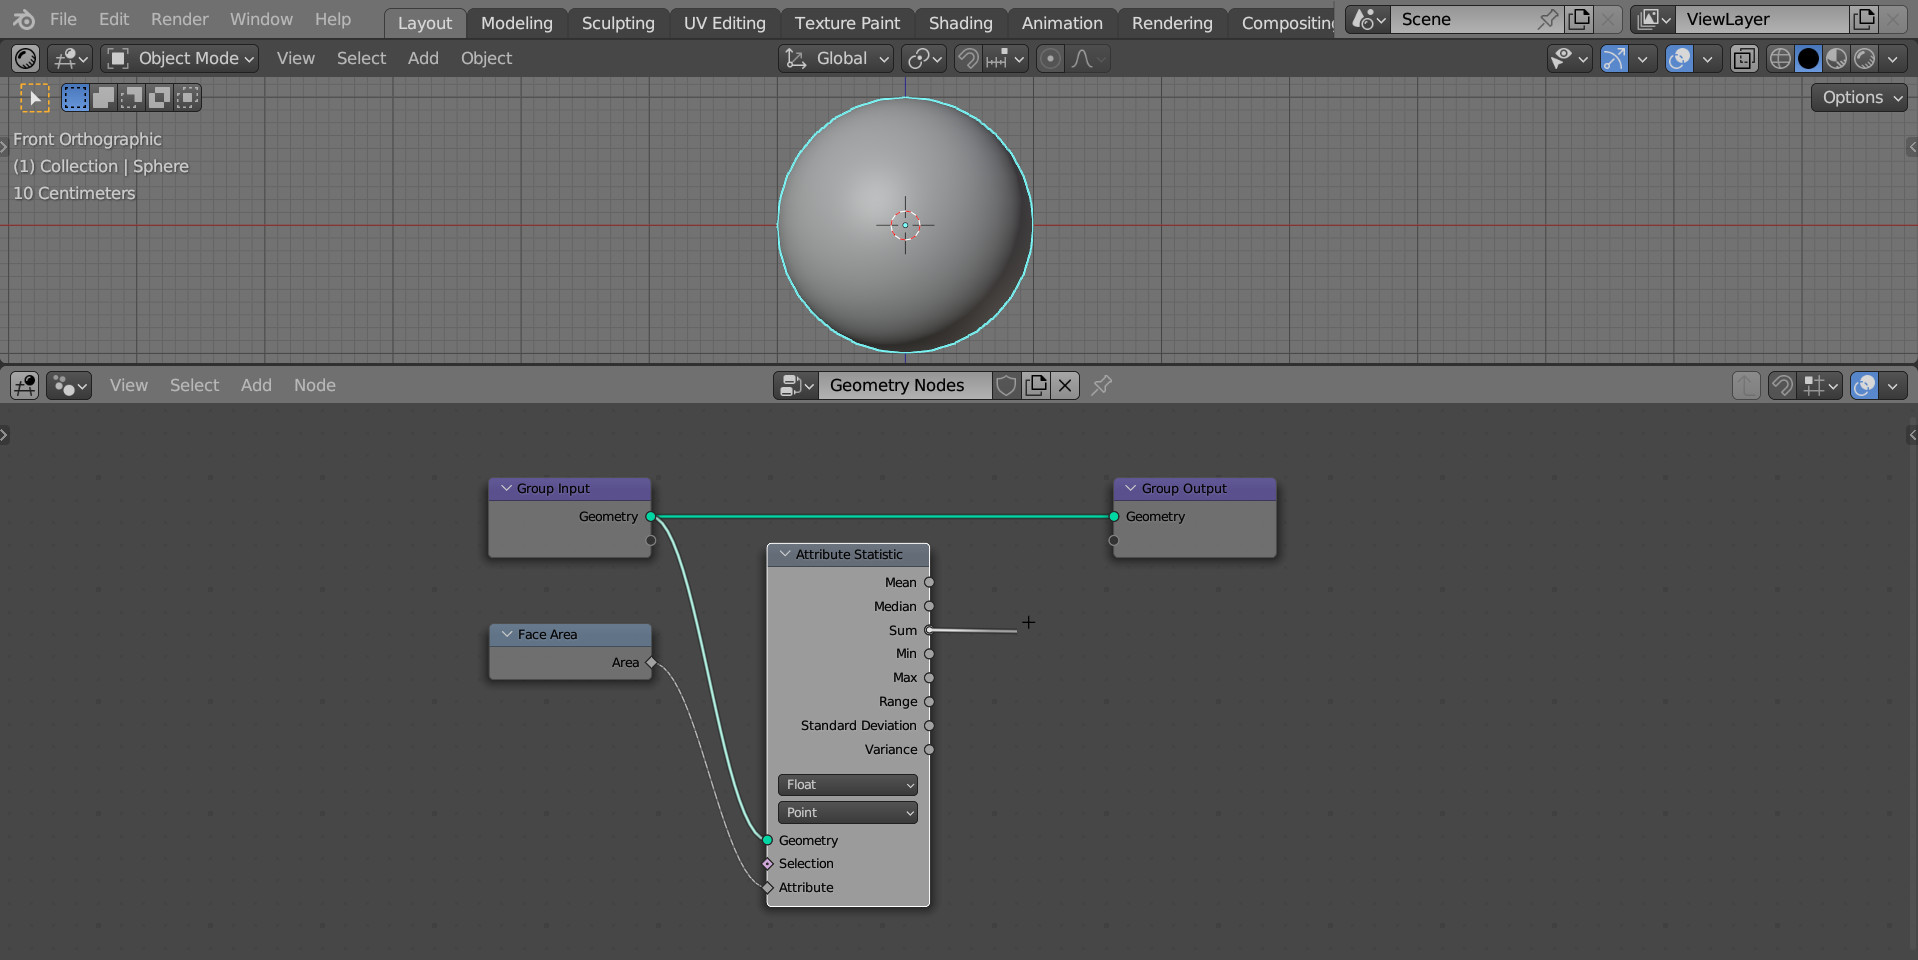
The area of a separate face can be obtained using the Face Area node. Add it to the node tree: shift + a – Mesh – Read – Face Area.
To summarize the areas of all faces, add the Attribute Statistic node (shift + a – Attribute – Attribute Statistic). Link its “Geometry” input with the main geometry branch of the node tree. Link the “Area” output of the Face Area node with the “Attribute” input of the Attribute Statistic node.
Now, at the “Sum” output of the Attribute Statistic node, we will receive the required sum of the areas of all polygons of the object – the surface area of the entire object.
To see it in numerical terms, add the Viewer node (shift + a – Output – Viewer). Link its “Geometry” input with the main geometry branch of the node tree. Link the “Sum” output of the Attribute Statistic node with the “Value” input of the Viewer node.
Open the Spreadsheet area and switch it to “Viewer Node” mode.
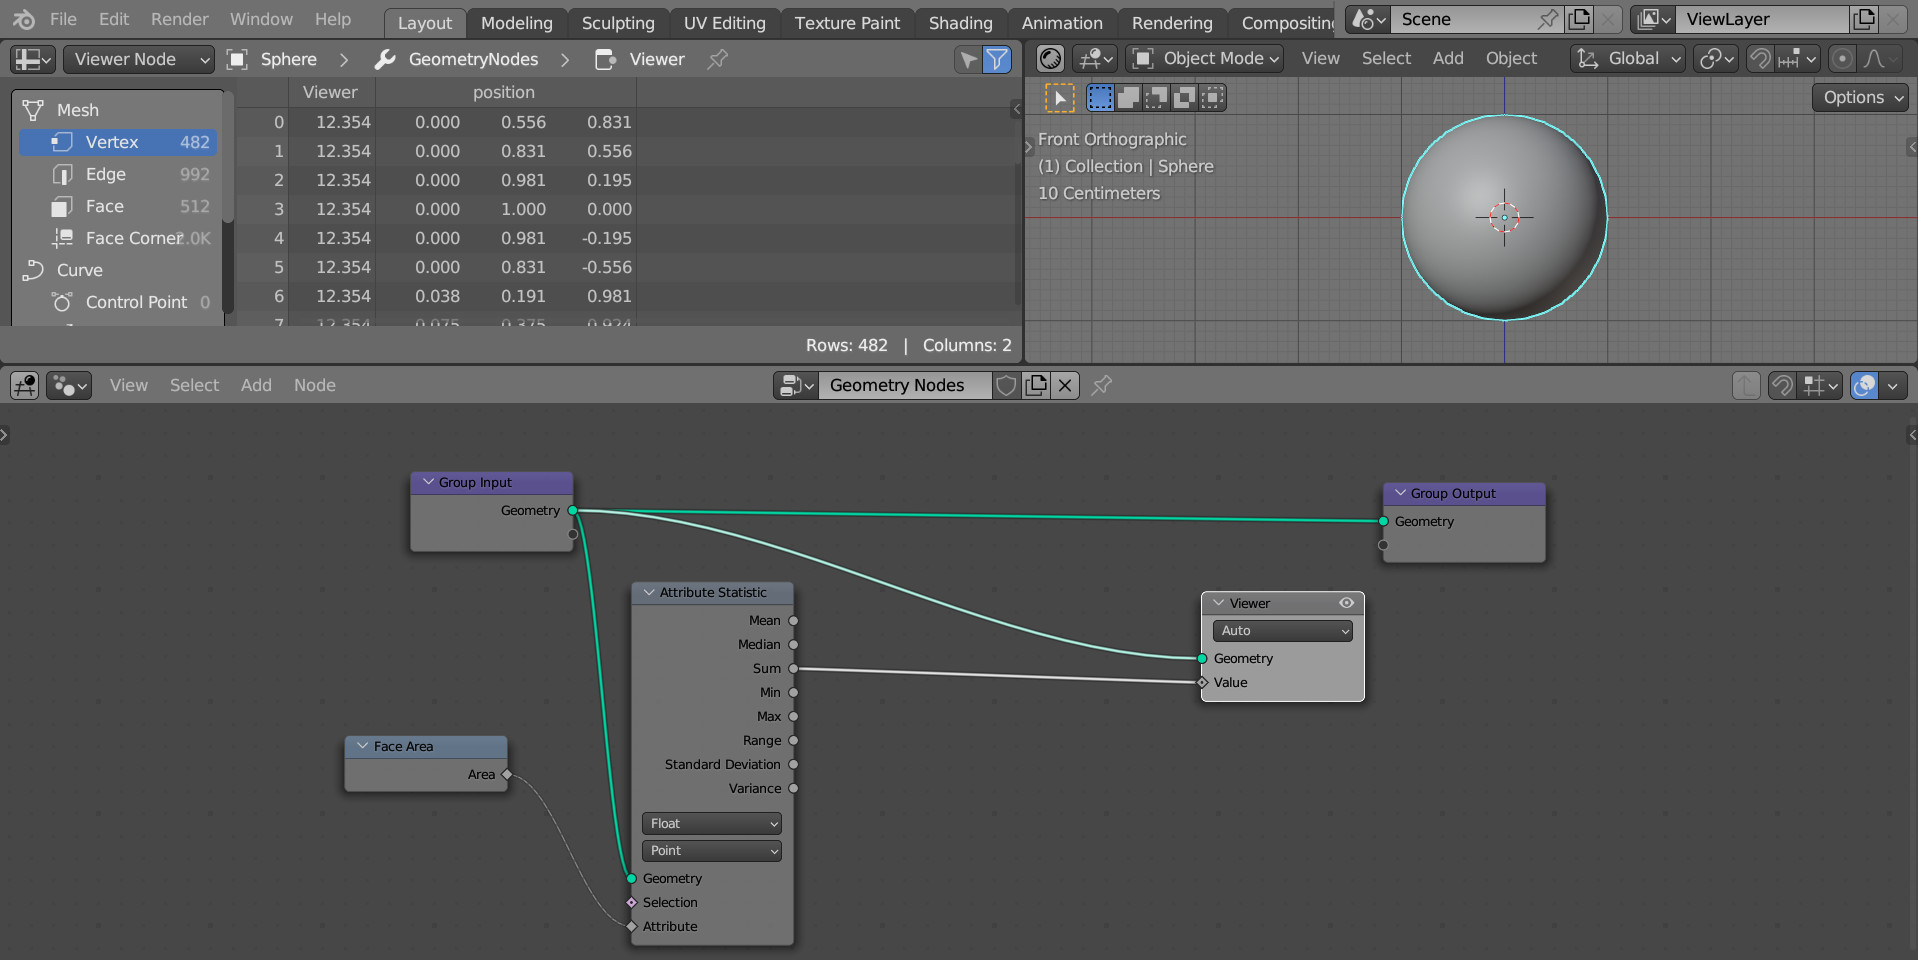
In the “Viewer” field in the Spreadsheet we see the value 12.354. This is the surface area of our sphere.
The values are indicated for each vertex, because The Attribute Statistic node outputs a value to the mesh vertices attribute. However, the value will always be the same.
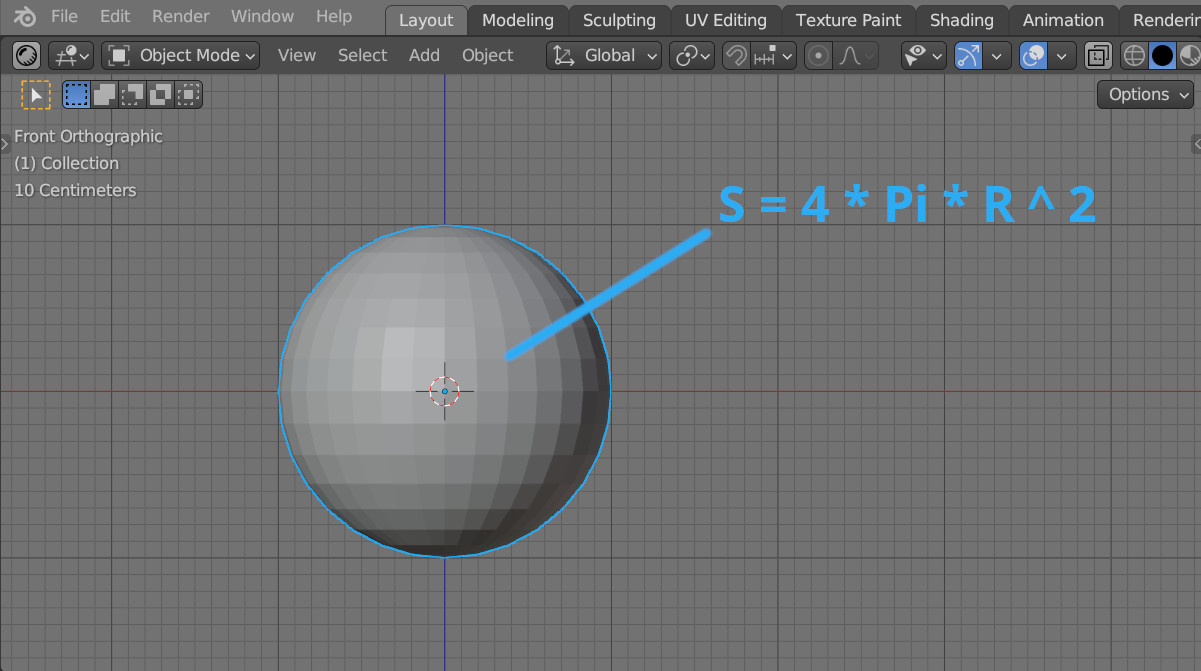
To validate the calculation, we can manually calculate the area of a sphere with radius 1 using the formula 4 * Pi * R^2, and we will get the same value as when calculated using Geometry Nodes.
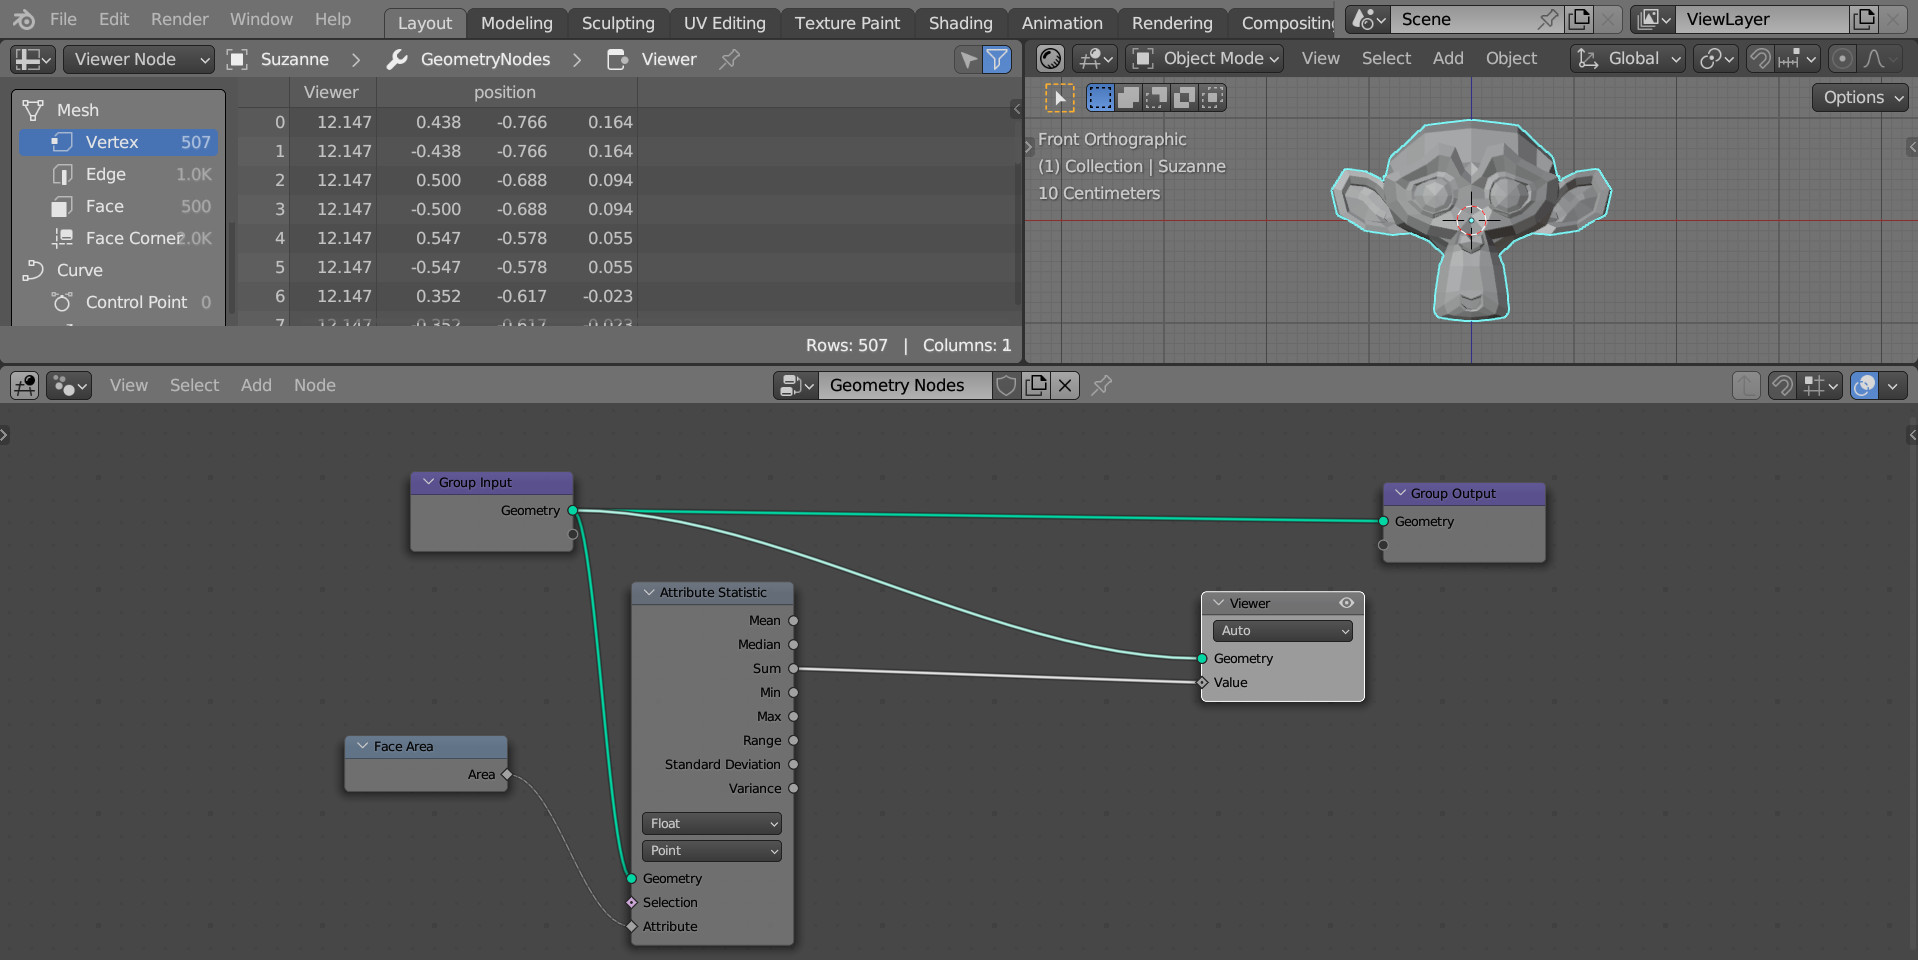
By the way, Suzanne’s surface area is 12.147.