The common icons used in the UI and operators are packed inside Blender, and therefore we cannot edit or add new icons without a complete recompile of Blender. Icons for toolbars are not tied to the Blender assembly, they are stored in separate files, and we can replace or create and add new toolbar icons.

 .blend file on Patreon
All icons for Blender tools are placed in separate .dat files in the following directory:
|
1 |
PATH_TO_BLENDER/BLENDER_VERSION/datafiles/icons/ |
To add a new icon to the set, we need to create a file in the desired format and simply copy it to this directory.
We can create an icon file using Blender itself.
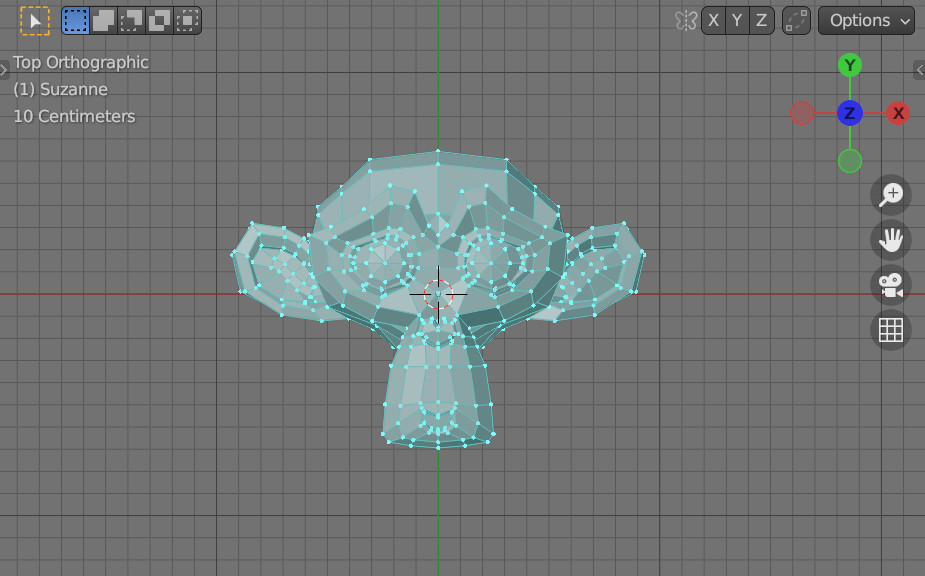
Let’s open an empty scene and create a mesh in it, the image of which we want to see on a new icon. For example, just add a “Suzanne” mesh to the scene.
The mesh should be placed so that its front is facing along its local z-axis. Switch to the edit mode and rotate the mesh’s points so that its “face” is looking in the desired direction.
The center of the icon will be at the origin point of the mesh. Therefore, the geometry needs to be adjusted so that the origin of the mesh is in the center.
The icon will be generated from a 2 x 2 stage size, and the mesh needs to be resized so that all its points were placed inside the 2 by 2 square.
Geometry is all set. But we still need to color our icon.
The color of an icon is determined by the product of the color taken from its shader and the color of its vertices painted in the Vertex Paint mode.
To set the base color in the shader, only one “RGB” node is used. No other nodes need to be added to the tree, they will be ignored anyway.

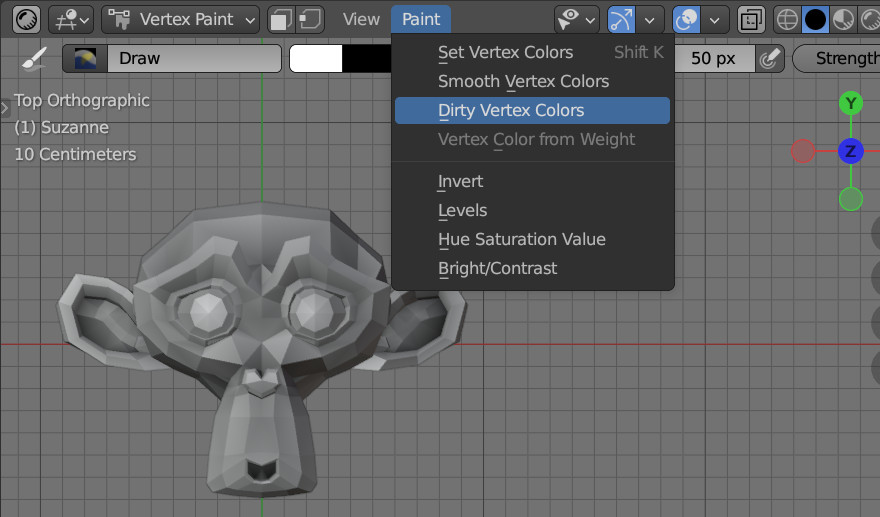
The second color is set by painting the mesh in the Vertex Paint mode. We can colorize the icon manually or, for a simple addition of volume, execute the Paint – Dirty Vertex Color operation.
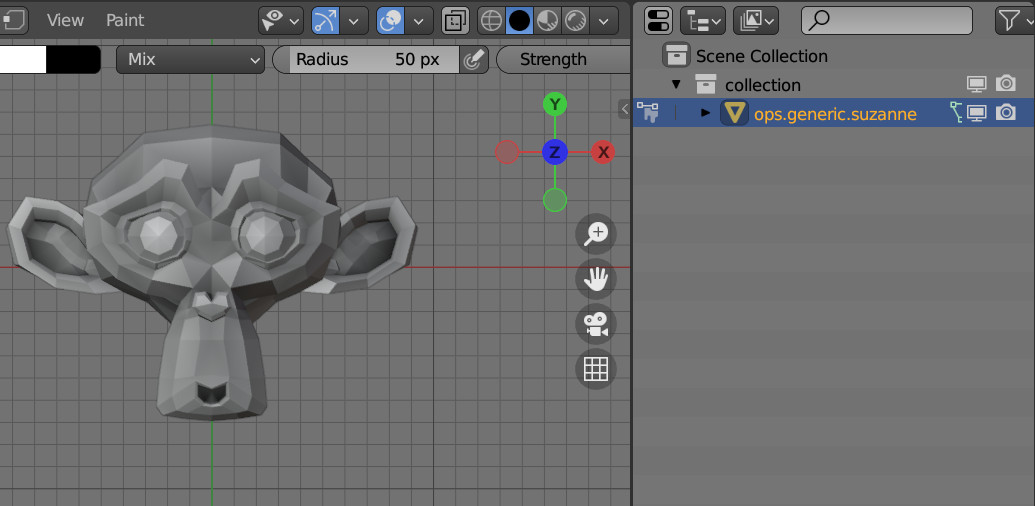
The file name for the icon is taken from the mesh name. Rename the mesh according to the rules, for example, to “ops.generic.suzanne”.
Note that mesh copies (names ending with .001, .002, etc.) will be ignored.
Now all the necessary for the artistic part steps are completed, and we can generate an icon from our mesh.
The script provided by the Blender developers is used to generate the icon file. I slightly changed it with the ability to specify the path where to save the finished icon in the script itself, so that it would be convenient to call it from the Blender text editor.
My version of the script can be downloaded from GitHub: https://github.com/Korchy/blender_create_toolbar_icon
Open the create_toolbar_icon.py file in Blender text editor.
Specify the path where you want to save the finished icon in the icon_file_path variable:
|
1 |
icon_file_path = "c:/temp/" |
If the value of the variable is left empty, the finished file will be saved to the location of your .blend file (or to the system temporary directory if your .blend file is not saved)
Execute the script by pressing the arrow button.
The file with the finished icon, in our case the ops.generic.suzanne.dat, will be saved in the specified location.
Now we can copy it to the /datafiles/icons/ directory in Blender and use it when creating custom tools by specifying the icon ID in the bl_icon parameter:
|
1 |
bl_icon = 'ops.generic.suzanne' |

The icon we created is now displayed in the Blender toolbar.
The original script by Blender developers can be downloaded from the repository: https://svn.blender.org/svnroot/bf-blender/trunk/lib/resources
Thank you! I’ve always wanted to created custom icons in tool menu and other parts of Blender and had no idea how.
See this
https://b3d.interplanety.org/en/custom-icons-in-blender-ui/