Creating procedural rocky ground material in Blender
Creating procedural rocky ground material in Blender by Ryan King Art.
Creating procedural rocky ground material in Blender by Ryan King Art.
Control-net is one of the tools for simplifying image creation using neural networks / AI image generators. Control-net allows specifying a source image, on the basis of which the neural network will create a new generative image, preserving the general form and content taken from the specified source. The “Character bones that look like Openpose” scene for Blender allows quickly create such source images for further use in the AI generation workflows.
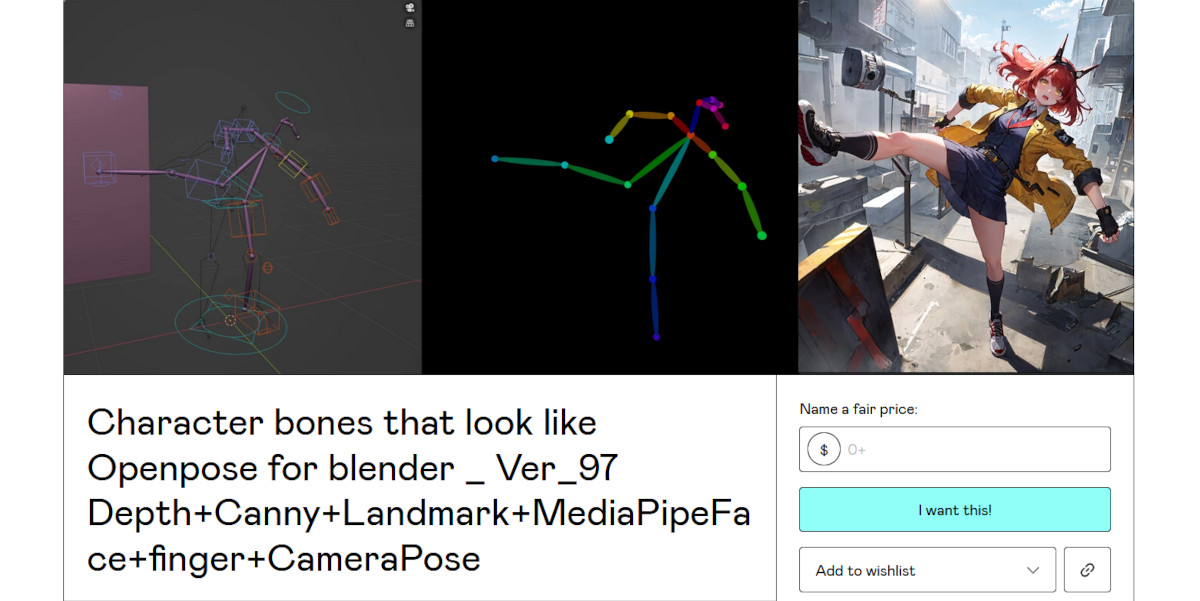
Control-net template images generator for creating AI imagesRead More »
In Blender version 4.1 and below, all add-ons were installed locally. To install the add-on, we have to download it to our computer, open the Preferences area, switch to the Add-ons tab and install the add-on by clicking on the Install button. Starting with version 4.2, extensions opened – add-ons published online became available for installation.
Creating procedural scratched metal material in Blender by Ryan King Art.
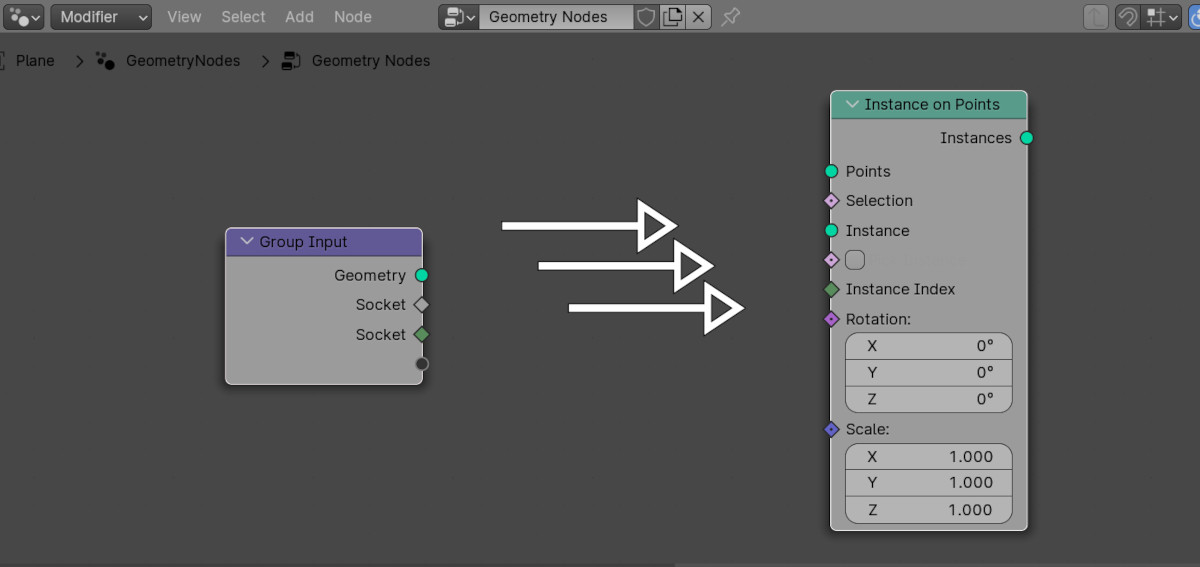
In order to display the value of a socket on the Geometry Nodes modifier panel in Blender, we simply need to create a link and connect the desired socket of the desired node with an empty socket on the Group Input node. After this, a field appears in the modifier panel in which we can change the value of the desired socket. We can then place this field on the user panel by accessing it as a dynamic property.
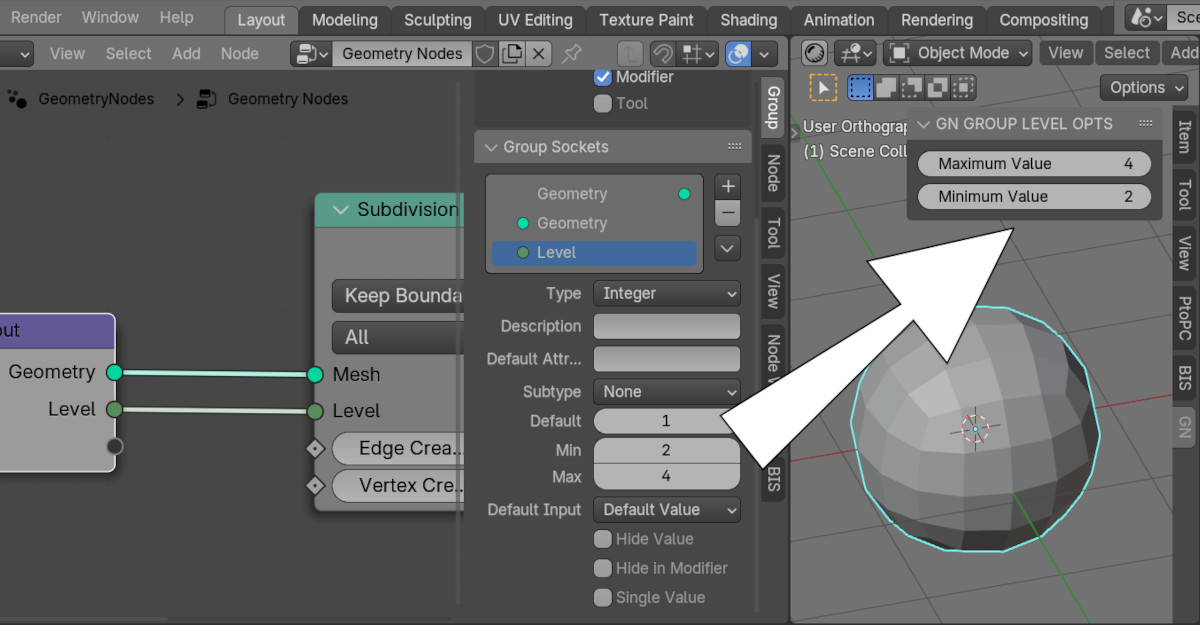
Placing Max/Min socket controls of geometry node on the user panelRead More »
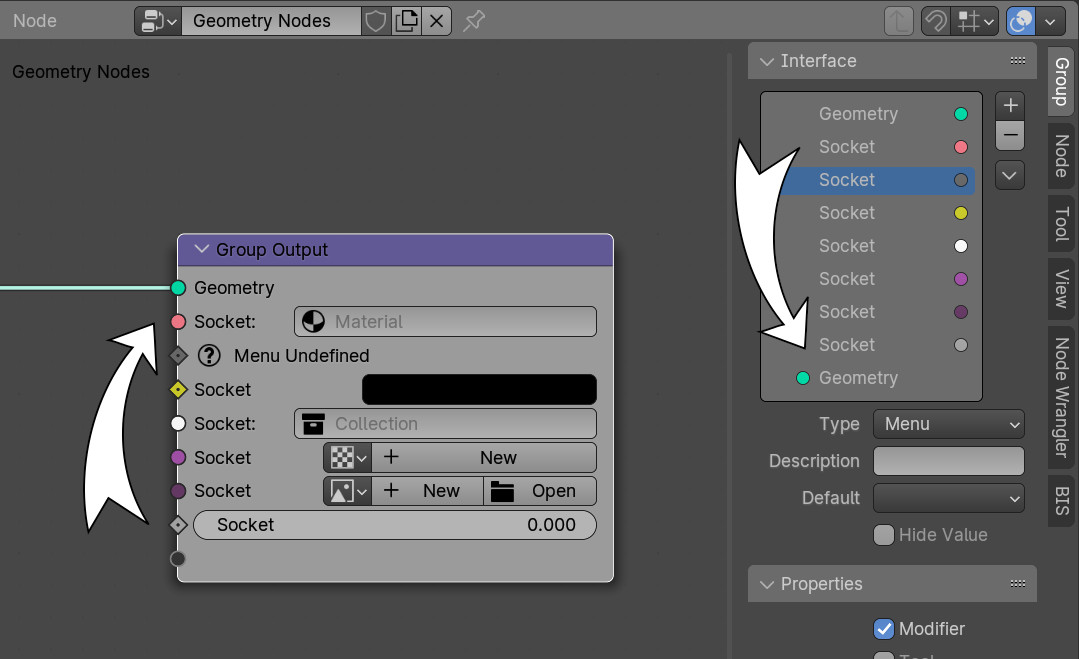
We can change the order of sockets in a Blender Geometry Nodes node group manually by simply dragging it – in the N-panel in the Group – Interface tab, hold down the desired socket and drag it with the mouse to the desired place. We can move a socket in a group node to a new location using the Blender Python API with the move() function of the “interface” object.
Changing the order of sockets in Blender Geometry Nodes groupsRead More »
Creating procedural breaded/fried chicken material in Blender by Ryan King Art.
Usually we create links between two nodes by left-clicking the desired socket on the first node and drag-and-drop the link to the desired socket on the second node. This is not always convenient, especially if the nodes are located far from each other. However, in Blender it is possible to quickly connect two nodes with links based on the socket type, simply by pressing the “f” key.
 .blend file on Patreon