To create screws in Blender the easiest way is to use plugin, like Bolt Factory, which comes in standart complectation. But the plugin features are not always enough, and the result of using Subdivision Surface modifier on the screw created by plugin is not very beautiful. However, it is not difficult to create screw manually.
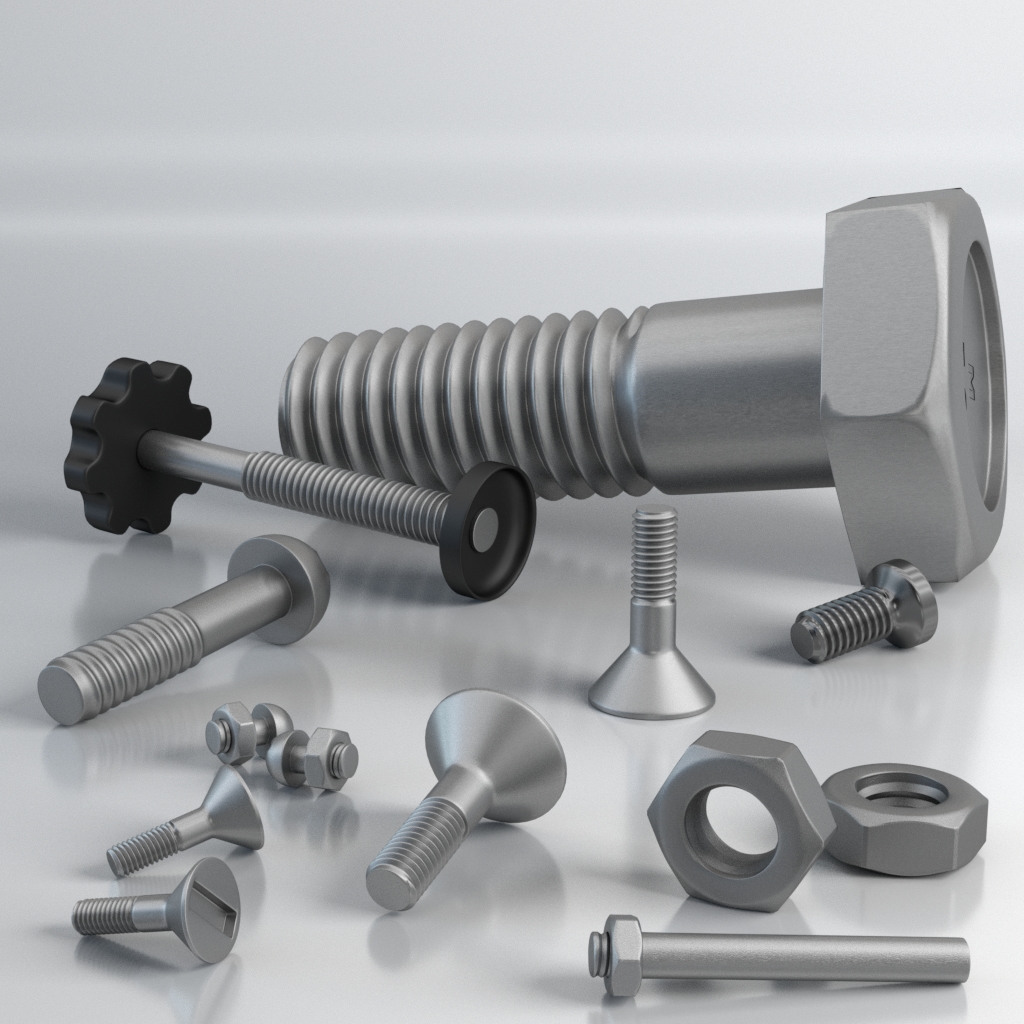
Lets create high poly screw suitable to render in any major plans.
First we need to create a profile of required screw thread.
- Add plane to the scene:
- shift+a – Mesh – Plane
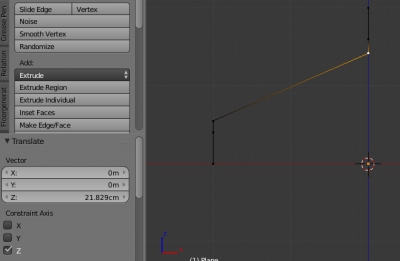
- In edit mode rotate it vertically (along the Z axis) and move so that the origin becomes in the lower left corner:
- tab
- r – x – 90 – enter
- g – x – -1 – enter
- g – z – 1 – enter
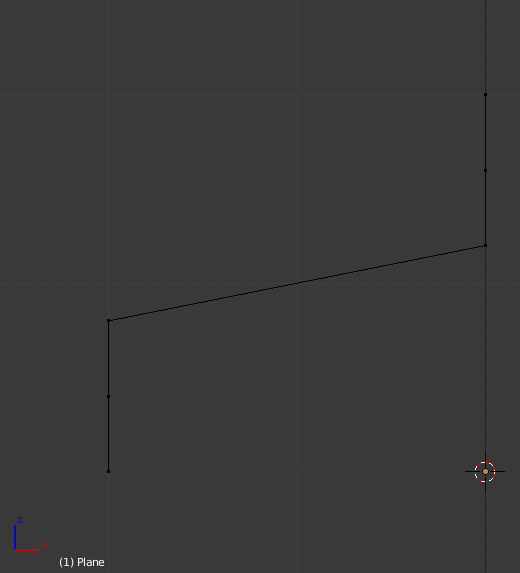
- Cut a half ot the desired profile from plane:
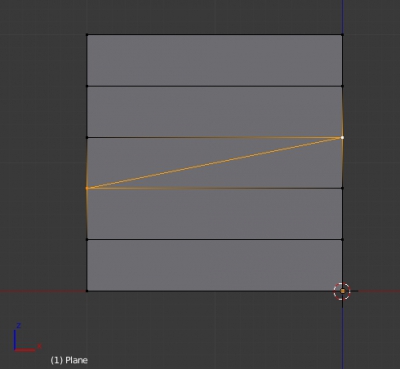
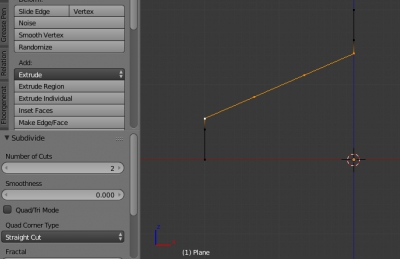
- Subdivide plane vertically into 4 parts
- ctrl+r – enter
- Number Of Cuts = 4
- Select vertexes: the third from the bottom left and the third from the top right and connect them with edge
- j
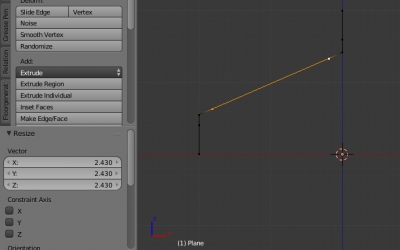
Cutting edge - Select the top three vertexes from the left and three bottom from the right side of the plane and remove them
- delete – Vertices
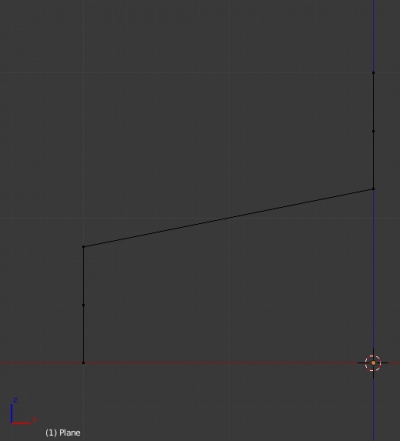
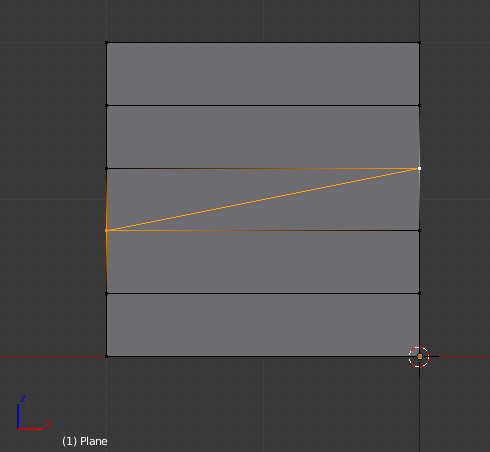
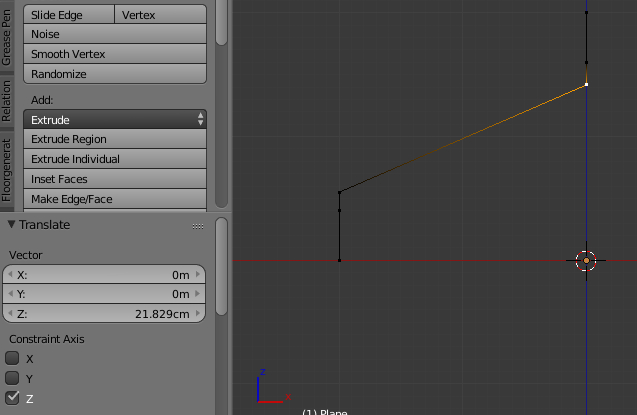
Creating a part of screw profile - Move the corner vertexes along Z-axis, making the profile more sharp. The location of these corner vertexes, and the top right vertex are set parameters to creating screw thread. Their location makes the final screw thread more dense or thin, rough or sharp.
- Select a vertex
- g – z – move – enter
- Select a vertex
Setting screw profile - Select the angeled edge and subdivide it into three parts:
- w – Subdivide
- Number of Cuts = 2
Subdividing angeled edge
- w – Subdivide
- Move vertexes on the angled edge closer to the corners:
- Select both vertexes
- g – g – s – move – enter
Correcting vertex position
- Select both vertexes
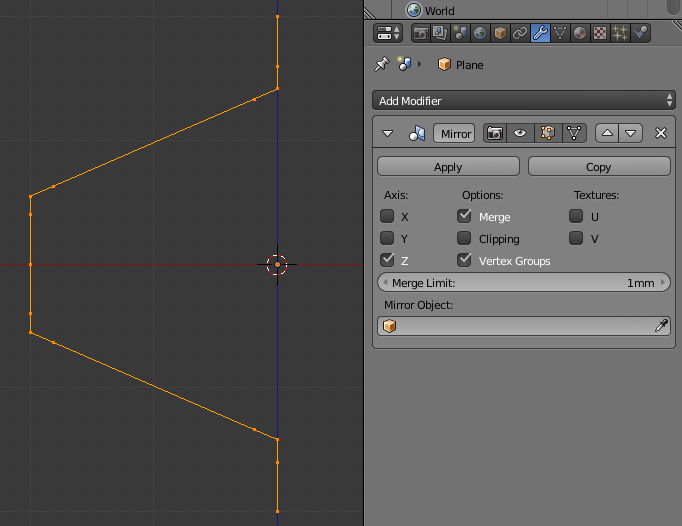
- Add bottom half to screw thread profile:
- Add Mirror modifier with Z-axis reflection
- In the modifiers panel
- Add Modifier
- Mirror
- Remove the check mark from Axis X checkbox
- Check the Axis Z checkbox
- Mirror
- Add Modifier
- In the modifiers panel
- Add Mirror modifier with Z-axis reflection


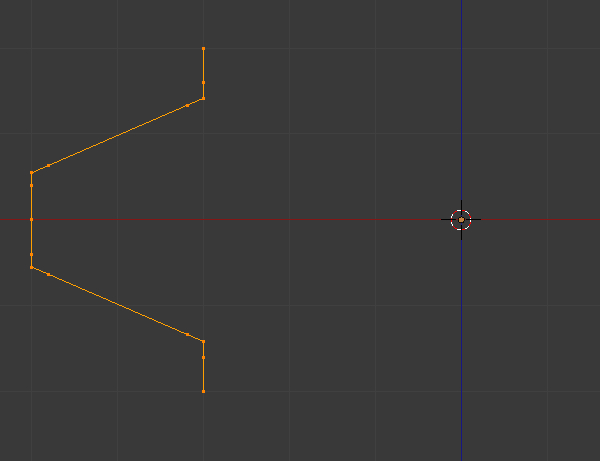
Now we have finished screw thread profile. Move it along X axis to form the base on which the actual thread is cutted. More profile moving – the base will be thicker.
- Move profile for 10 m along the X axis – select all vertexes and move them
- a – a
- g – x – -10 – enter
Everything is ready to create a thread by the profile.
- Off Edit mode
- tab
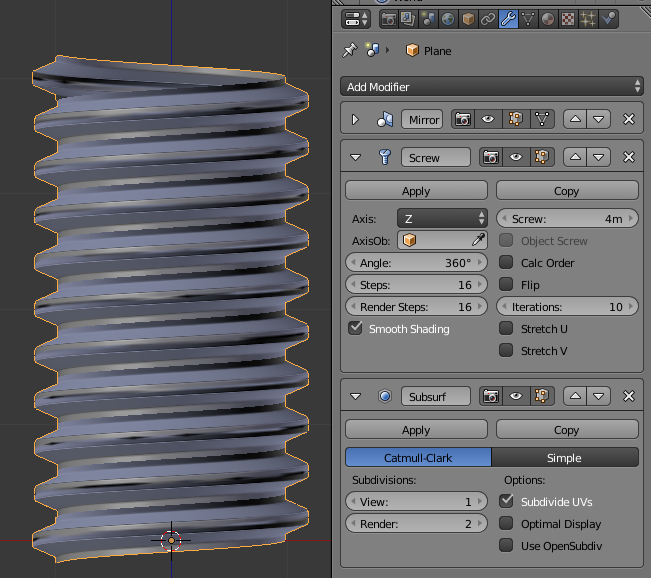
- Add Screw modifier
- In the Modifiers panel
- Add Modifier
- Screw
- The total height of our profile is 2 m., so the Screw option should be set to 4 m. to correctly connect each next thread with previous. Also define the required number of turns through the Iterations parameter.
- Screw = 4
- Iterations = 10
- The total height of our profile is 2 m., so the Screw option should be set to 4 m. to correctly connect each next thread with previous. Also define the required number of turns through the Iterations parameter.
- Screw
- Add Modifier
- In the Modifiers panel
- For better smoothing add Subsurf modifier
- In the Modifiers panel
- Add Modifier
- Subdivision Surface
- Add Modifier
- In the Modifiers panel
The screw is ready. If it is necessary to change step, edge sharpness, base thickness and other screw parameters – just enter Edit mode and change the location of vertexes that form the screw profile.
Lets finalize created screw to a complete bolt. Remember that since modifiers applying it is impossible to change the screw parameters by movement of its profile vertexes.
- Apply Mirror and Screw modifiers.
- Enter Edit mode and correct normals.
- tab
- ctrl+n
- The vertexes of upper thread turn overlap vertexes of its lower turn – remove duplicates
- w – Remove Doubles
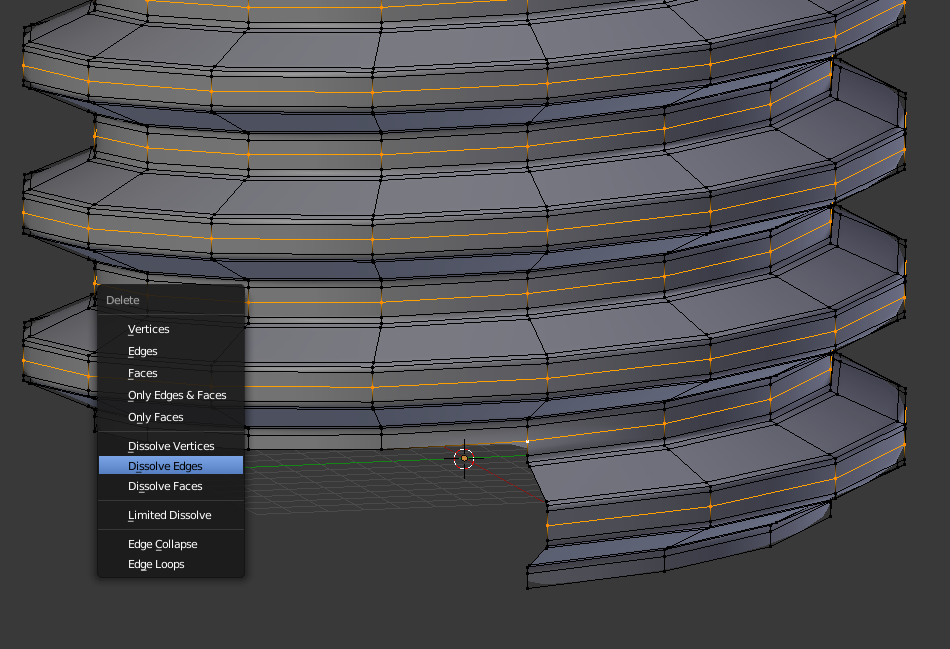
- Central thread loops and loops in turns connection are not necessary – remove them
- Select these two loops (with pressed shift)
- del – Dissolve Edges
- Select these two loops (with pressed shift)
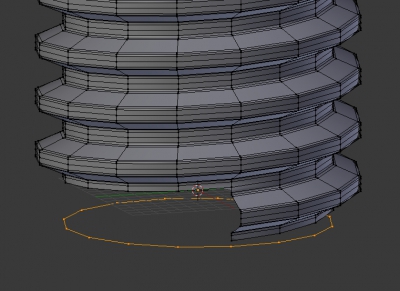
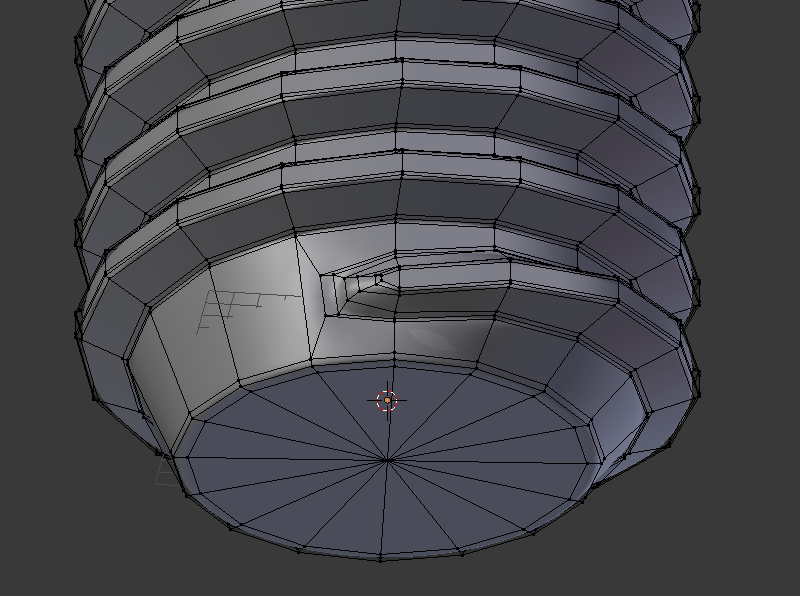
- Close the bolts end. The default value of the Screw modifier Steps parameter is 16 – so one screw thread turn has 16 segments. Add the circle with also 16 vertexes.
- shift+a – Circle
- Vertices = 16
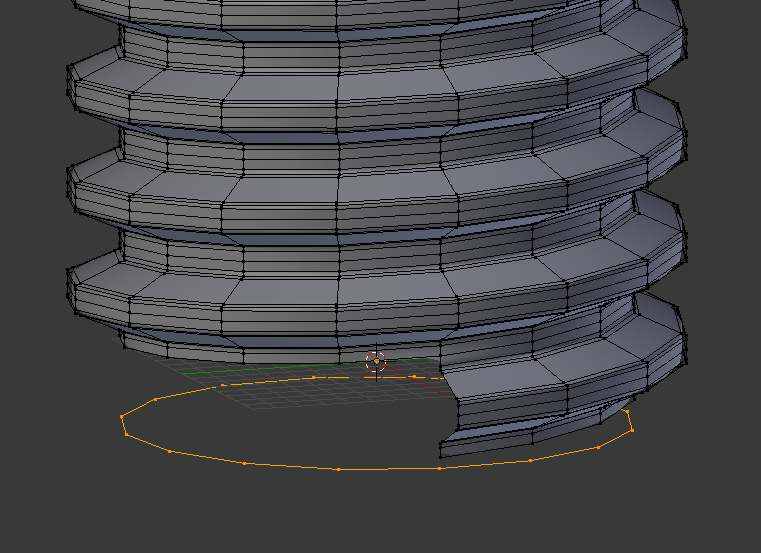
- Enlarge it and move down to the bottom of the thread
Forming bolts close - Connect the circle with thread with filling polygons.
- Also fill the circle itself.
- e – s – move- enter
- alt+m – At Center
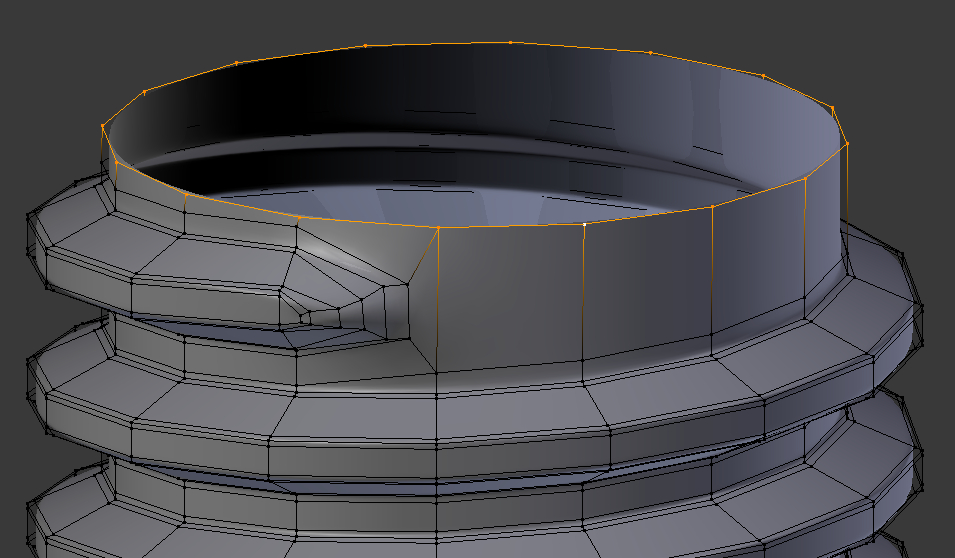
- shift+a – Circle
- Create the same circle above the top of the screw, also connect them. Do not fill the circle itself, leave it blank for forming the cap of the bolt.
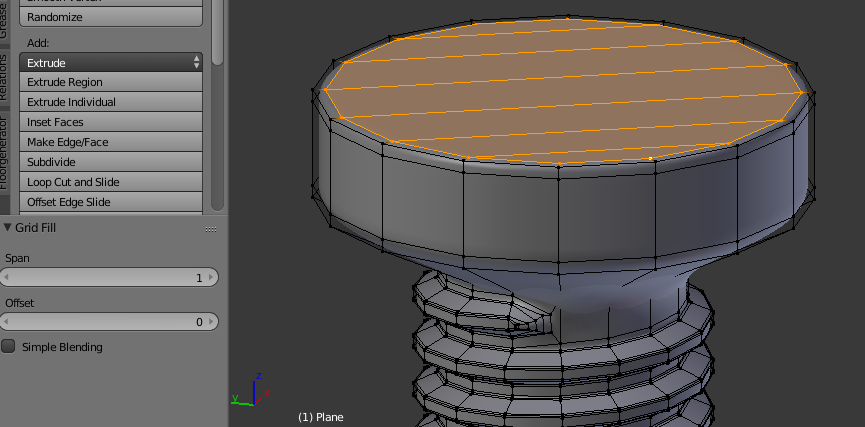
- Create bolts cap:
- e – z – 5 – enter
- s – 2 – enter
- e – z – 1 – enter
- e – z – 7 – enter
- e – z – 1 – enter
- e – s – 0.95 – enter
- ctrl+f – Grid Fill
- Span = 1
- Lets form the screwdriver groove:
- Create some indent from the edges of the cap
- i – move – enter
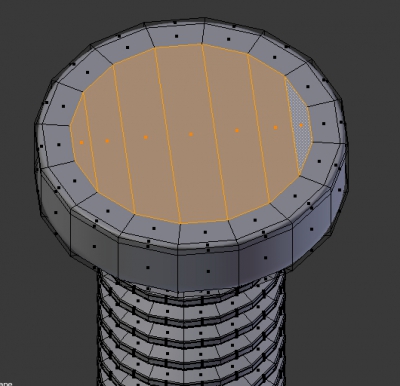
Inset bolts hat - Create polygons for cross groove:
- Form polygons by selection two end points and connecting them
- Select 2 points
- j
- Select 2 points
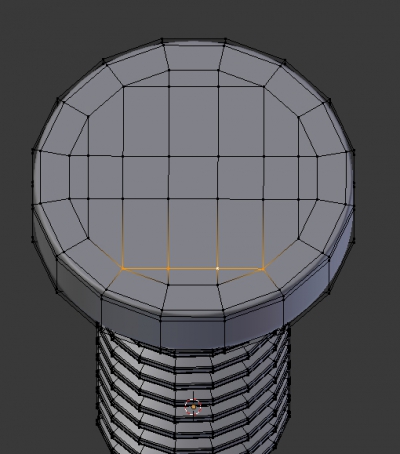
Forming polygons for screwdriver slot - Form polygons by selection two end points and connecting them
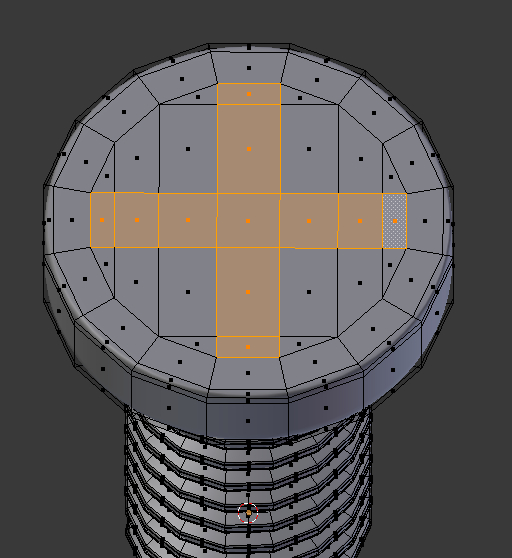
- Select polygons cross
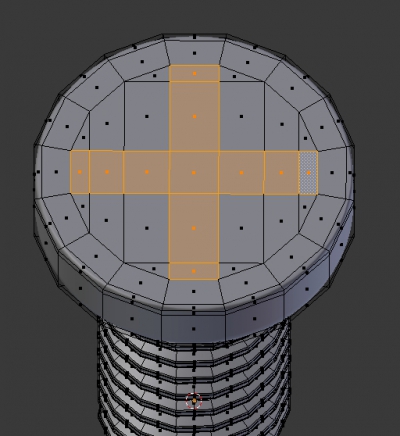
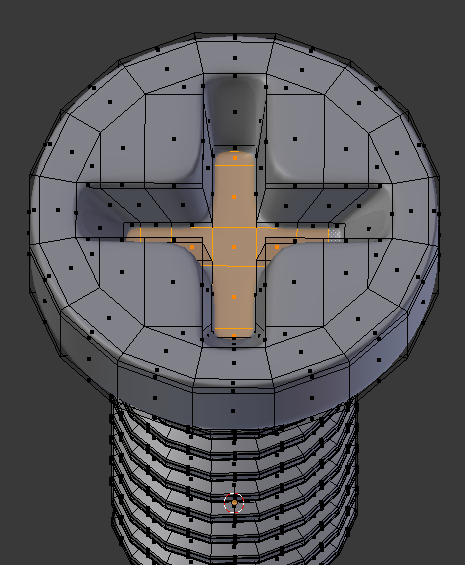
Select polygons for screwdriver slot - Squeeze screwdriver slot
- e – -1 – enter
- e – -5 – enter
- s – 0.7 – enter
- e – -1 – enter
- Create some indent from the edges of the cap


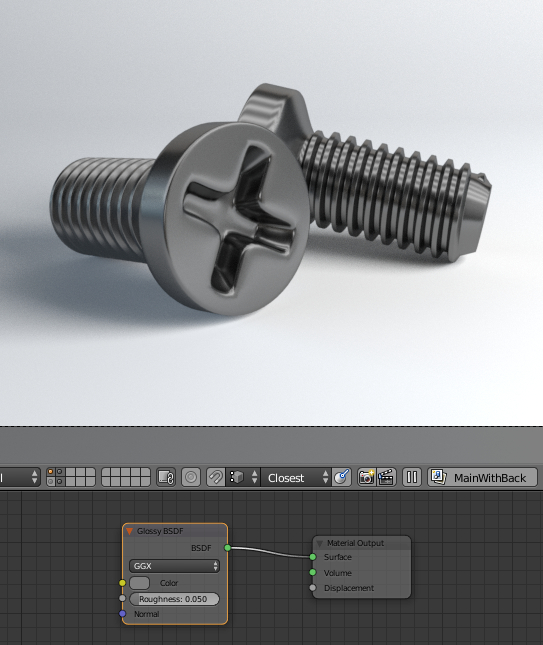
Bolt is finished. It remains to assign the material – the simple Glossy with a roughness of 0.05.