Creating beautiful and impressive procedural shaders or geometric nodes in Blender requires building complex node trees consisting of a large number of nodes and many connections (links) between them. After some time it becomes difficult to track where this or that link, stretched across the entire node tree “on three screens”, begins and where exactly it ends. A simple trick can help to simplify the node tree a little and reduce the number of connections – using several copies of the Group Input node.
The secret is simple – all outputs on all copies of the Group Input node work exactly the same and produce the same values.
Therefore, instead of conducting a long link from a single Group Input node somewhere at the far end of a complex node tree, it is much simpler and more convenient to create a copy of the Group Input node by pressing the shift + d key combination or simply adding another such node (shift + a – Group – Group Input) and place it in the right place.
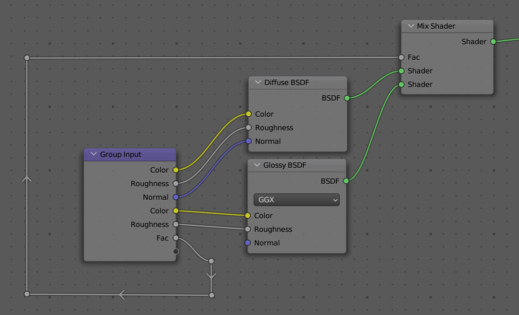
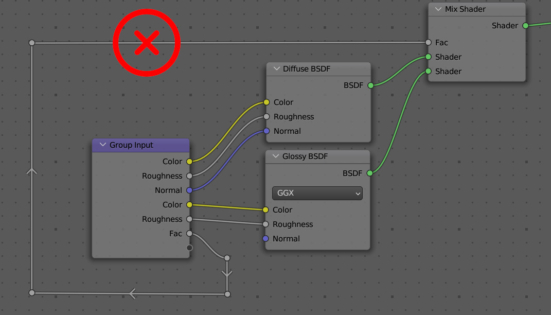
This is a node tree with the single Group Input node and a long link:
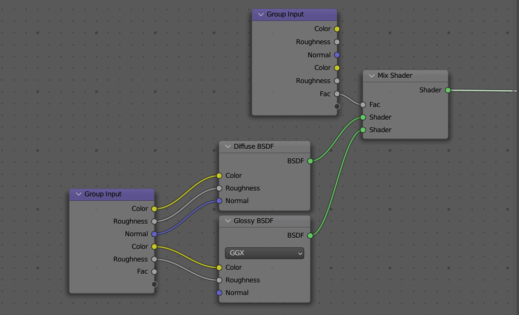
It will work exactly the same as a node tree with two Group Input nodes:
However, in the second case, there is no need to create a long link.
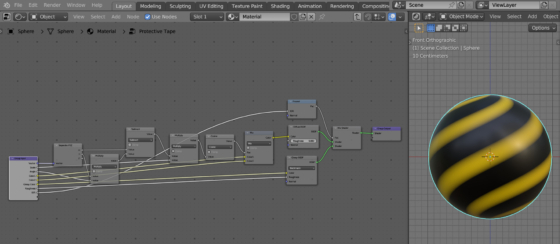
For example, let’s discover a slightly more complex node tree. With the single Group Input node, it might look like this:
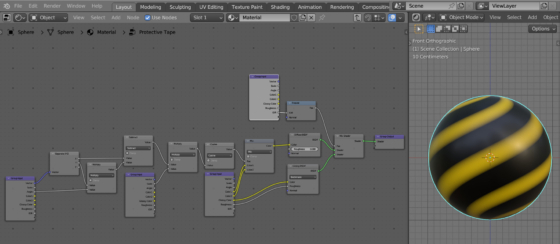
Or using several Group Input nodes – like this:
In the second case, the node tree obviously looks more accurate and easier to read.
This principle works in both Shader Nodes and Geometry Nodes in Blender.
- ВКонтакте
- LiveJournal
- РћРТвЂВВВВВВВВнокласснРСвЂВВВВВВВВРєРСвЂВВВВВВВВ
- Telegram
- Viber
- Evernote
- Skype
 .blend file on Patreon