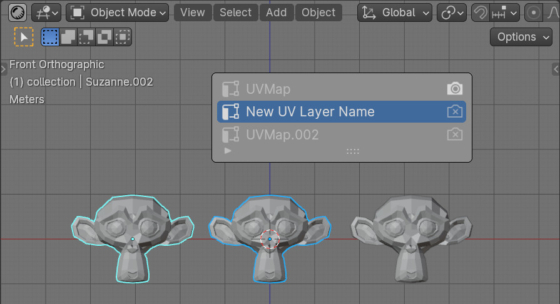
If we need to quickly rename the desired UV Layer for all selected objects in Blender, we can use a simple Python API script to do this in a one button press.
In general, the name of an object’s UV layer can be accessed through its “data.uv_layers” property, which stores a list of all the object’s UV layers.
So for the current active object:
|
1 2 3 |
bpy.context.object.data.uv_layers[:] # [bpy.data.meshes['Suzanne.002'].uv_layers["UVMap"], bpy.data.meshes['Suzanne.002'].uv_layers["UVMap.001"], ...] |
UV layers are sorted in the list in the same order in which they are displayed in the interface panel.
We can get a pointer to a specific UV layer by its name
|
1 2 3 |
bpy.context.object.data.uv_layers["UVMap.001"] # bpy.data.meshes['Suzanne.002'].uv_layers["UVMap.001"] |
or by its index in a list
|
1 2 3 |
bpy.context.object.data.uv_layers[1] # bpy.data.meshes['Suzanne.002'].uv_layers["UVMap.001"] |
Don’t forget that indexes start at 0.
The name of the UV layer is available through the “name” property
|
1 2 3 |
bpy.context.object.data.uv_layers[1].name # 'UVMap.001' |
To rename a UV layer, we simply need to assign a new value to its “name” property
|
1 2 3 4 5 |
bpy.context.object.data.uv_layers[1].name = "New UV Layer Name" bpy.context.object.data.uv_layers[1].name # 'New UV Layer Name' |
To do this with all selected objects, we can loop through the selected objects and assign the desired name to the desired UV layer.
|
1 2 3 4 5 |
import bpy for ob in bpy.context.selected_objects: if len(ob.data.uv_layers) >= 2: ob.data.uv_layers[1].name = 'New UV Layer Name' |
This simple script will assign to the second UV layer a new “New UV Layer Name” name for each selected object.
An additional condition checks that the number of UV layers for the current object is at least two, so as not to throw an error if the second UV layer does not exist.

 .blend file on Patreon