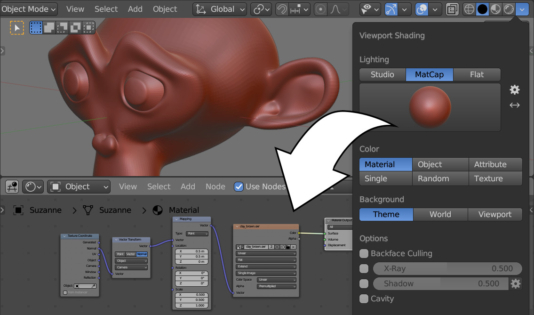
MatCap is a material with just one texture, but it allows to quickly and conveniently show how a mesh will look with a certain material and in a certain light. When we assign a MatCap by selecting it in the 3D viewport shading options (Shading – Lighting – MatCap), the MatCap is assigned to all objects in the scene at once. However, if we need to selectively assign a MatCap to some meshes, MatCap can be emulated using shader nodes.
The author of this method is Vitek Mukaev.
The principle of displaying a MatCap on a mesh is that a part of its texture is projected onto the mesh depending on the direction of its normals. We can emulate this using shader nodes.
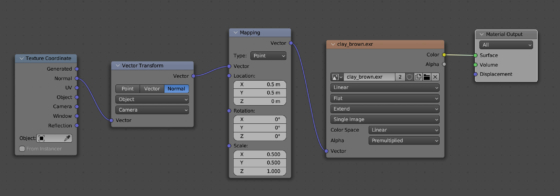
Let’s open the Shader Editor, make a new material and build the following node tree:
Here we are taking the coordinates of the mesh’s normals and converting them to the camera projection using the Vector Transform node.
Through the Mapping node, we align the position of the texture so that its center matches the center of the mesh.
Now we can load the texture of the required MatCap into the Image Texture node.
For example, we can take one of the Blender system MatCaps. System MatCaps are stored in the directory where Blender is installed:
|
1 |
_PATH_TO_BLENDER_\3.6\datafiles\studiolights\matcap\ |
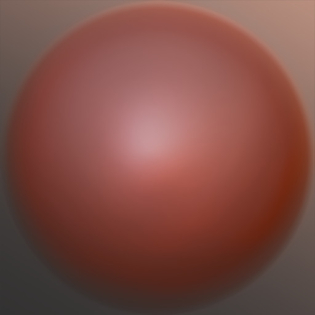
Take, for example, the clay_brown.exr file.
Load it into the Image Texture node and assign the material to the mesh.
For comparison, let’s open two 3D viewport areas. On the left, turn on the “Rendering” shading mode so that the material assigned to the mesh by nodes can be seen. On the right, select the “Solid” mode, but in the Viewport Shading options, activate the MatCap mode and select the clay_shadow MatCap from the system library.
As we can see, the displaying result of materials on the mesh is identical, and all the highlights from the MatCap lighting are in the right places.
This method of emulating MatCaps by nodes can be used if it is necessary to assign different MatCaps on several objects in the scene.
- ВКонтакте
- LiveJournal
- РћРТвЂВВВВВВВВнокласснРСвЂВВВВВВВВРєРСвЂВВВВВВВВ
- Telegram
- Viber
- Evernote
- Skype

 .blend file on Patreon

