Procedural golf ball with Blender Geometry Nodes
With Blender Geometry Nodes we can easily and quickly create a fully procedural golf ball.

 .blend file on Patreon
With Blender Geometry Nodes we can easily and quickly create a fully procedural golf ball.
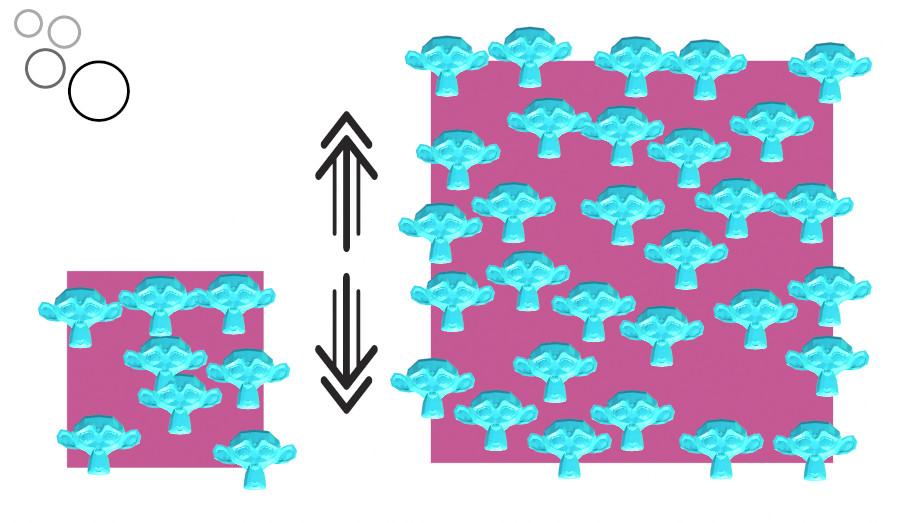
The distribution of object instances over the mesh surface in Blender is easily implemented with Geometry Nodes. In the simplest setup of such a node tree, when the scale of the base object changes, the dimension of the instances distributed on its surface also changes proportionally. However, it is possible to set a node tree in such a way that when the size of the base mesh changes, the size of the instances on it will remain unchanged, but their number will change.
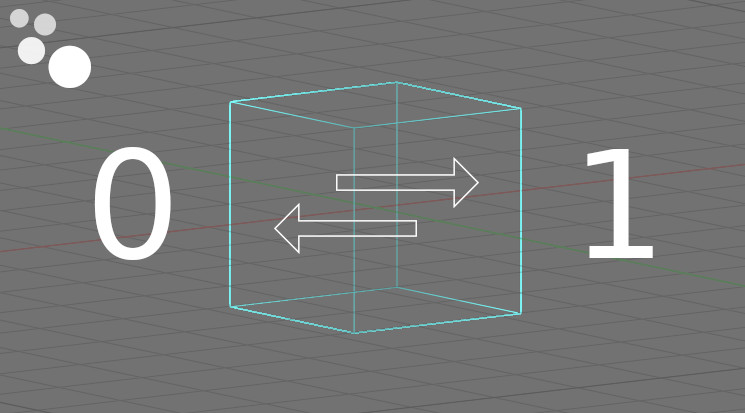
In order to make an inversion of the boolean value: invert 1 to 0 and 0 back to 1, we only need to use two Math nodes in the Blender node editor.
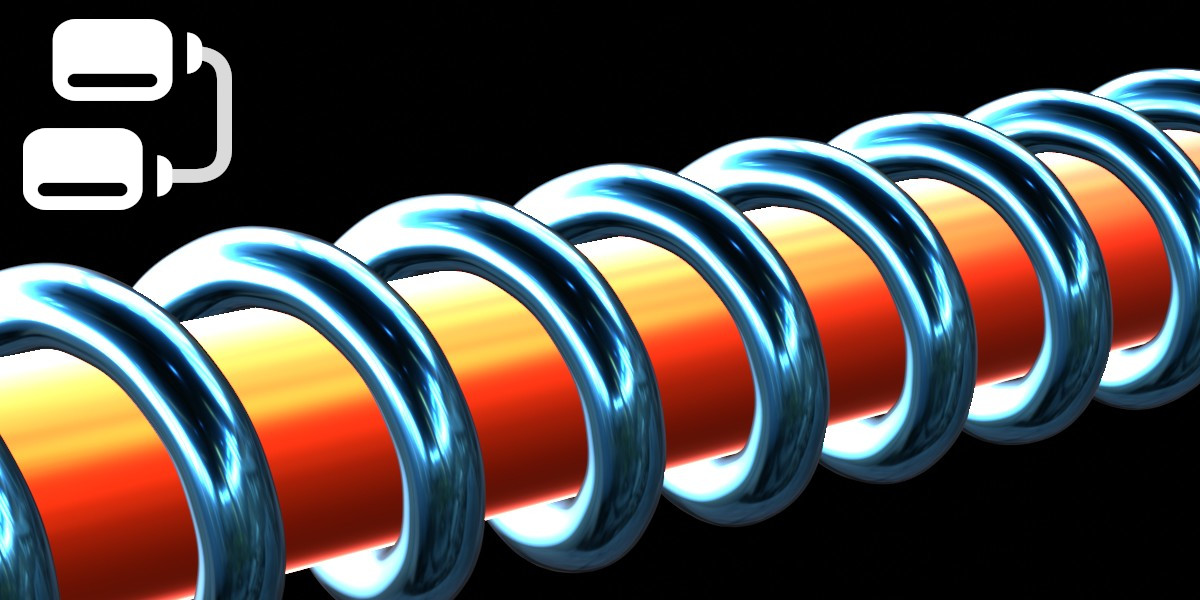
To make a spring with Geometry Nodes in Blender, all we need to do is use some vector math. Taking a straight line as a basis, we can move its points in accordance with the circle equation so that in the end they form a spring.
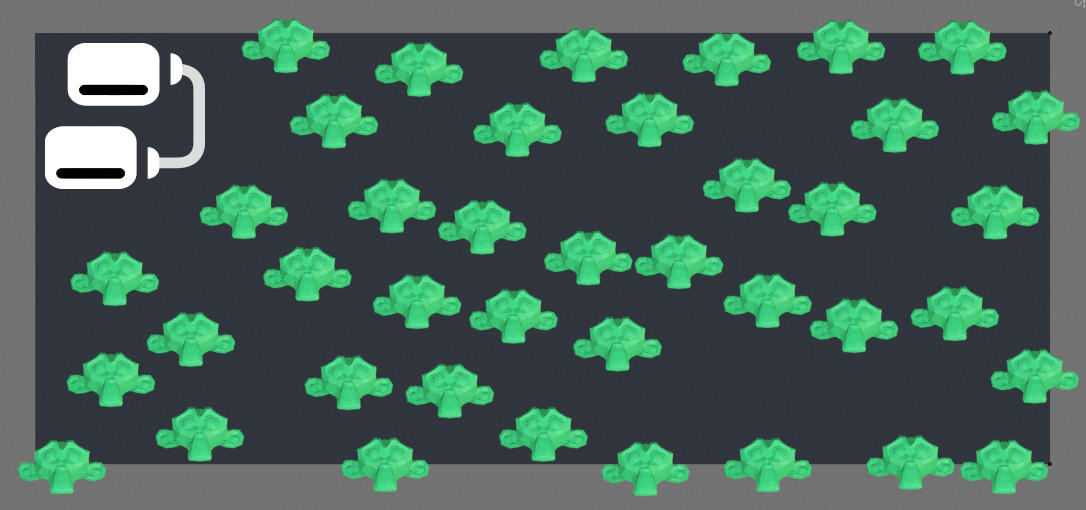
To distribute objects with Blender Geometry Nodes, the “Distribute Points on Faces” node is usually used. It produces a set of points randomly scattered over the surface of the mesh polygons. Next, the necessary objects are located at these points. In common case, these points are located randomly, and the objects located on them can intersect with each other if the points are close. However, we can configure the nodes so that the meshes located on the points will not intersect.
Distributing objects on a plane without intersections with Blender Geometry NodesRead More »
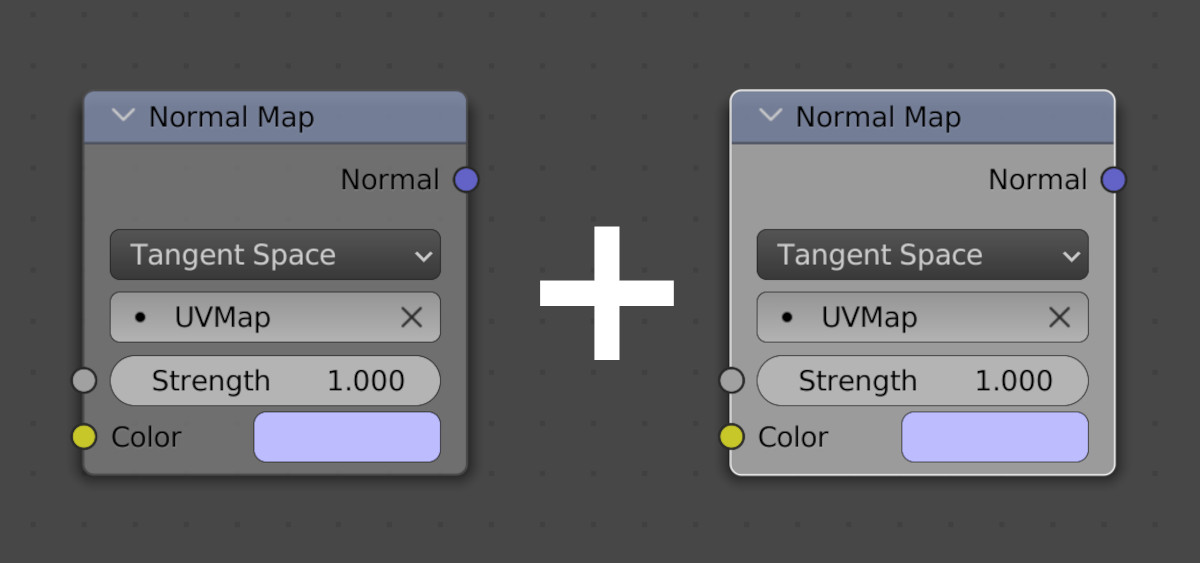
In order to mix two normal or bump maps in Blender shader so that they overlap as required, we need to correctly connect their nodes in the Node Editor.
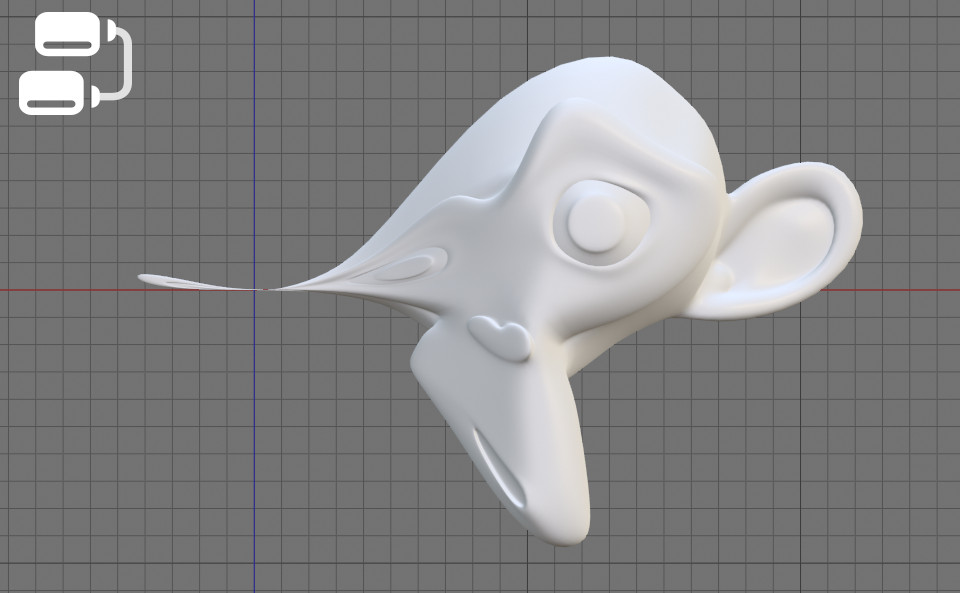
With Geometry Nodes in Blender we can easily create the effect of an object flowing from place to place. The effect is universal and can be applied to any mesh.
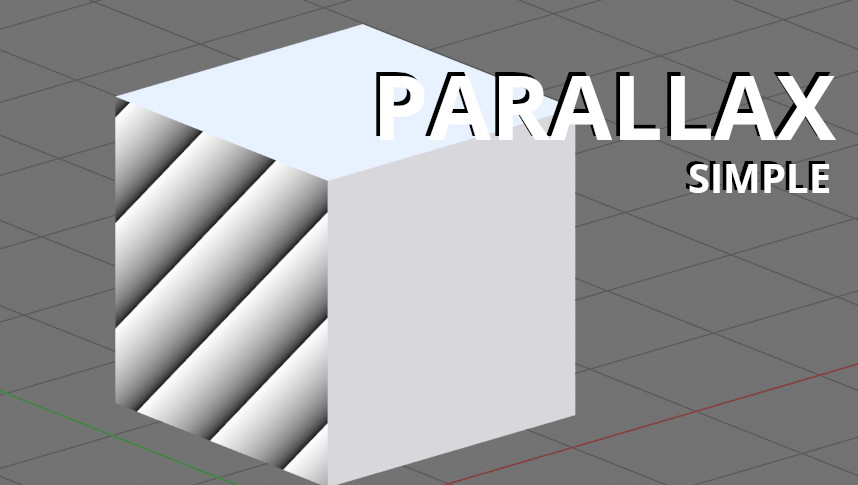
It doesn’t need to assemble a large and complex shader node tree to make a parallax shader in Blender. The simplest parallax effect can be achieved by connecting just 3 nodes.
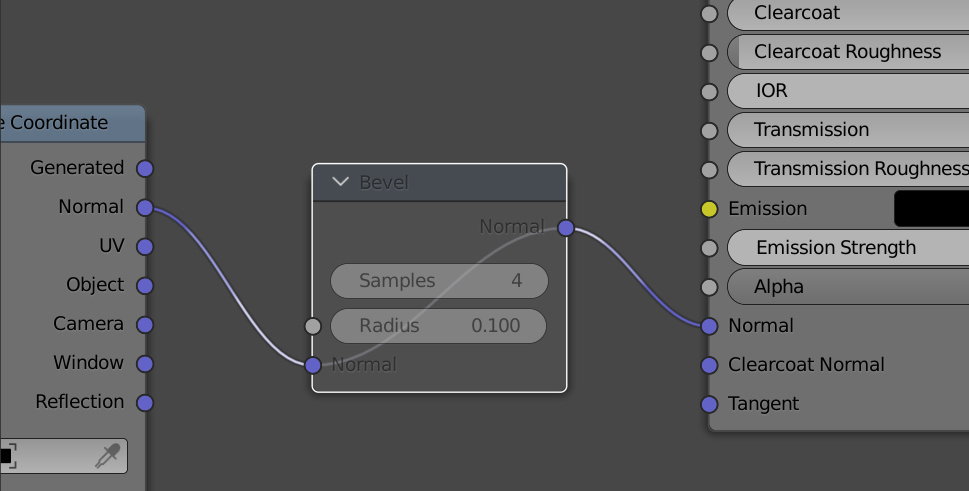
If it is necessary to exclude all nodes of a certain type from the shader calculation, they can be muted by their type. The muted node remains in the node tree, retaining all links, but doesn’t affect the final result.
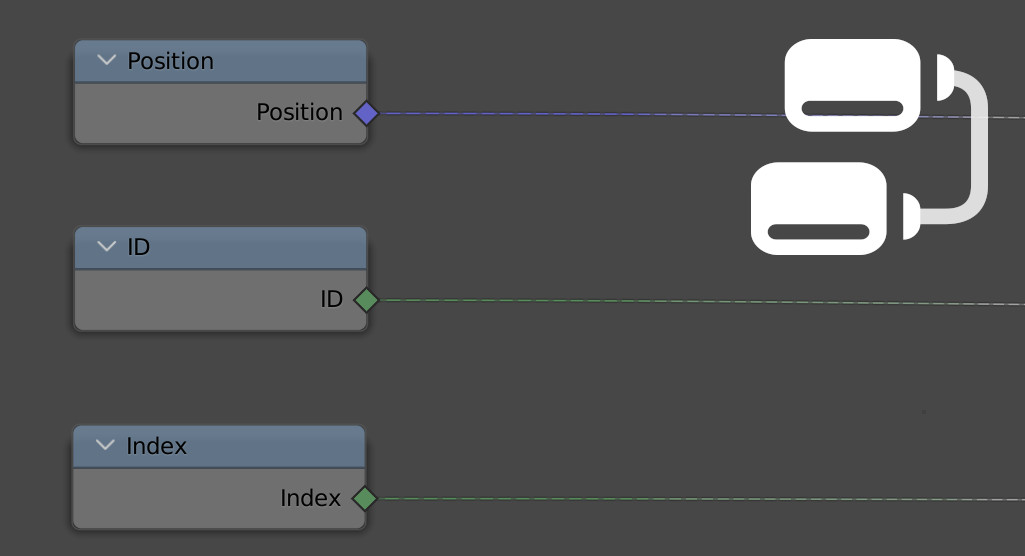
When we use “Position”, “Index”, “Normal” or any other nodes from the “Input” group in Blender Geometry Nodes we need to be clear about exactly what information they provide.
Features of using nodes from the Input group in Blender Geometry NodesRead More »